13
Making coee using pre-ground coee
Important!
• Never place coee beans in the pre-ground coee funnel
as this could damage the appliance�
• Never add pre-ground coee when the machine is o or
it could spread through the inside of the machine and
dirty it� This could damage the
appliance�
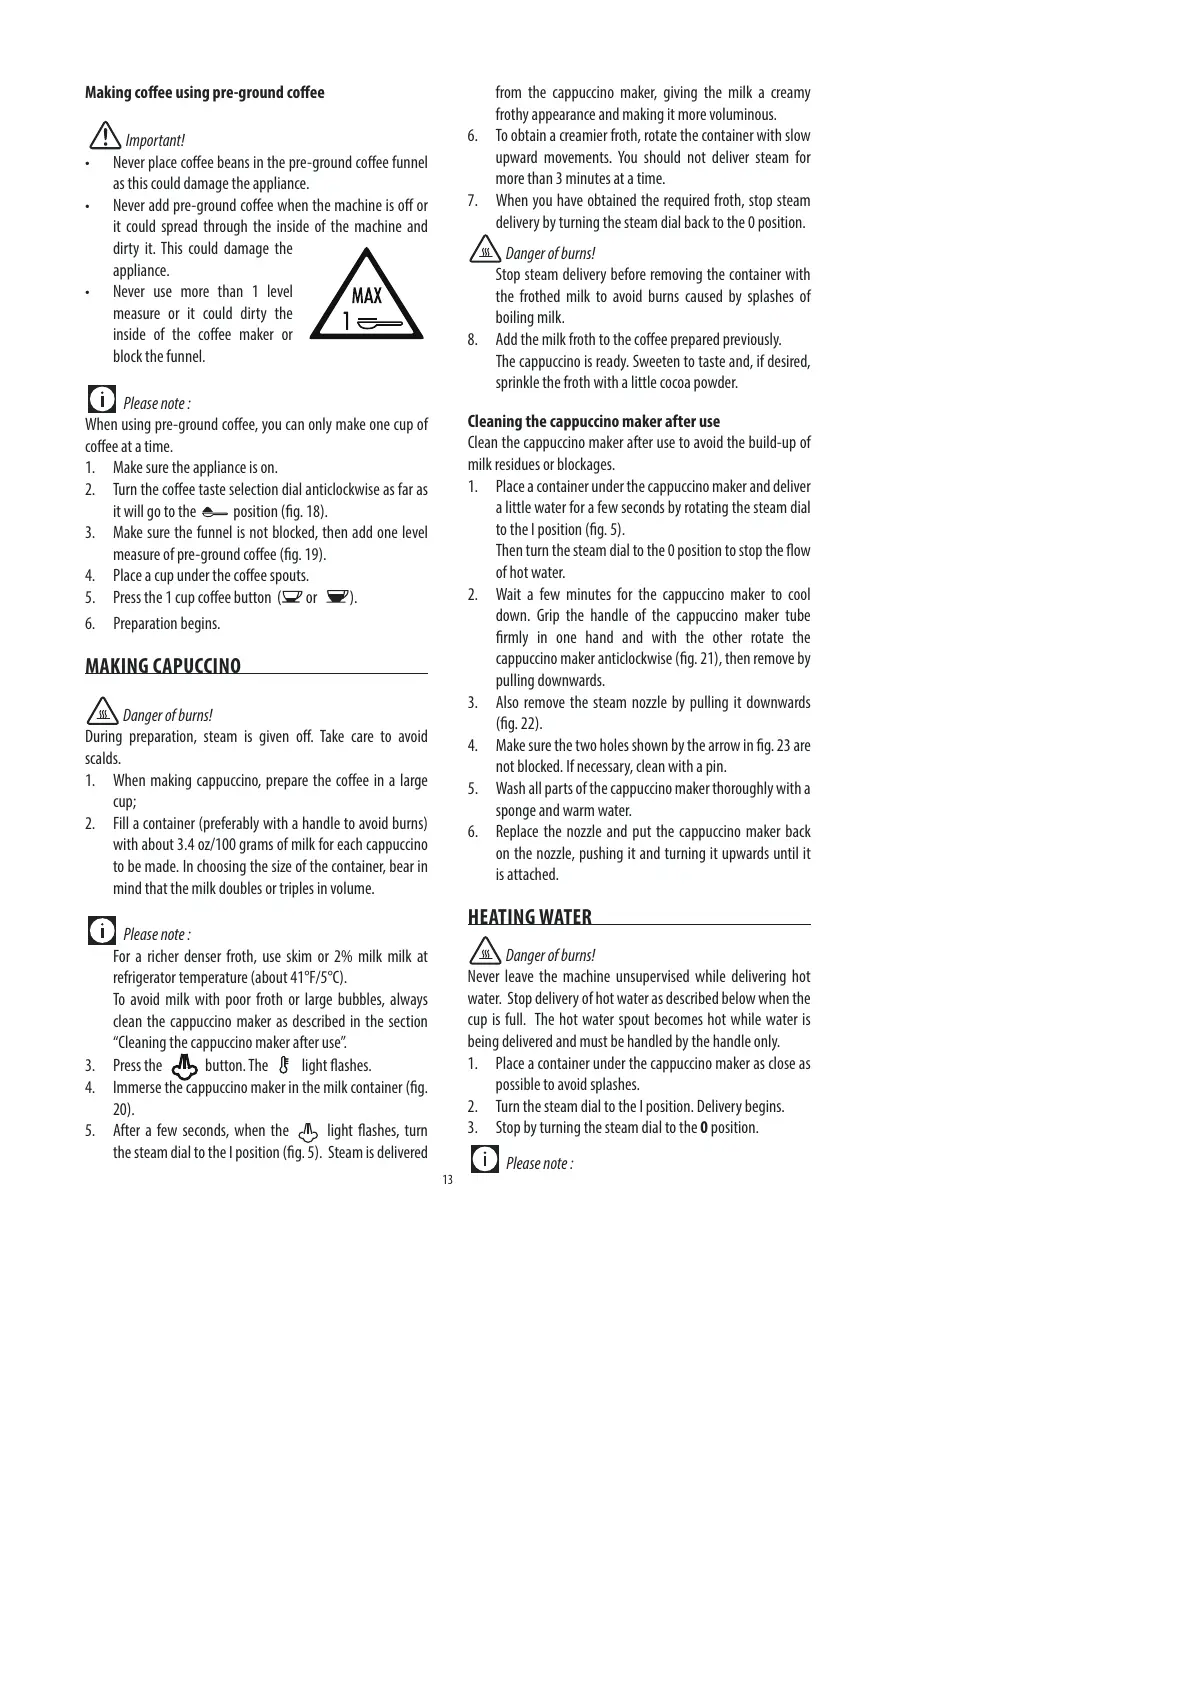
• Never use more than 1 level
measure or it could dirty the
inside of the coee maker or
block the funnel�
Please note :
When using pre-ground coee, you can only make one cup of
coee at a time�
1� Make sure the appliance is on�
2� Turn the coee taste selection dial anticlockwise as far as
it will go to the position (g� 18)�
3� Make sure the funnel is not blocked, then add one level
measure of pre-ground coee (g� 19)�
4� Place a cup under the coee spouts�
5� Press the 1 cup coee button ( or )�
6� Preparation begins�
MAKING CAPUCCINO
Danger of burns!
During preparation, steam is given o� Take care to avoid
scalds�
1� When making cappuccino, prepare the coee in a large
cup;
2� Fill a container (preferably with a handle to avoid burns)
with about 3�4 oz/100 grams of milk for each cappuccino
to be made� In choosing the size of the container, bear in
mind that the milk doubles or triples in volume�
Please note :
For a richer denser froth, use skim or 2% milk milk at
refrigerator temperature (about 41°F/5°C)�
To avoid milk with poor froth or large bubbles, always
clean the cappuccino maker as described in the section
“Cleaning the cappuccino maker after use”�
3� Press the
button� The light ashes�
4� Immerse the cappuccino maker in the milk container (g�
20)�
5� After a few seconds, when the
light ashes, turn
the steam dial to the I position (g� 5)� Steam is delivered
from the cappuccino maker, giving the milk a creamy
frothy appearance and making it more voluminous�
6� To obtain a creamier froth, rotate the container with slow
upward movements� You should not deliver steam for
more than 3 minutes at a time�
7� When you have obtained the required froth, stop steam
delivery by turning the steam dial back to the 0 position�
Danger of burns!
Stop steam delivery before removing the container with
the frothed milk to avoid burns caused by splashes of
boiling milk�
8� Add the milk froth to the coee prepared previously�
The cappuccino is ready� Sweeten to taste and, if desired,
sprinkle the froth with a little cocoa powder�
Cleaning the cappuccino maker after use
Clean the cappuccino maker after use to avoid the build-up of
milk residues or blockages�
1� Place a container under the cappuccino maker and deliver
a little water for a few seconds by rotating the steam dial
to the I position (g� 5)�
Then turn the steam dial to the 0 position to stop the ow
of hot water�
2� Wait a few minutes for the cappuccino maker to cool
down� Grip the handle of the cappuccino maker tube
rmly in one hand and with the other rotate the
cappuccino maker anticlockwise (g� 21), then remove by
pulling downwards�
3� Also remove the steam nozzle by pulling it downwards
(g� 22)�
4� Make sure the two holes shown by the arrow in g� 23 are
not blocked� If necessary, clean with a pin�
5� Wash all parts of the cappuccino maker thoroughly with a
sponge and warm water�
6� Replace the nozzle and put the cappuccino maker back
on the nozzle, pushing it and turning it upwards until it
is attached�
HEATING WATER
Danger of burns!
Never leave the machine unsupervised while delivering hot
water� Stop delivery of hot water as described below when the
cup is full� The hot water spout becomes hot while water is
being delivered and must be handled by the handle only�
1� Place a container under the cappuccino ma ker as close as
possible to avoid splashes�
2� Turn the steam dial to the I position� Delivery begins�
3� Stop by turning the steam dial to the 0 position�
Please note :
 Loading...