7
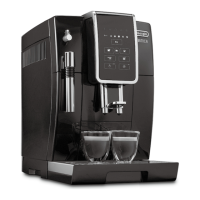
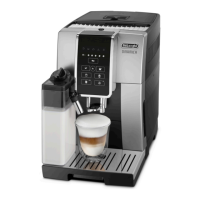
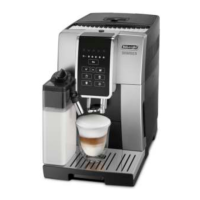
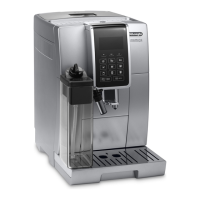
3. SETTING UP THE APPLIANCE
Please note:
• The rst time you use the appliance, rinse with hot water
all removable accessories which may come into contact
with water or milk.
• Possible traces of coee in the grinder are the result of
operating tests performed on the appliance before sale,
proof of the meticulous care and attention we invest in our
products.
• You should customize water hardness as soon as possible
following the instructions in section “15. Setting water
hardness”.
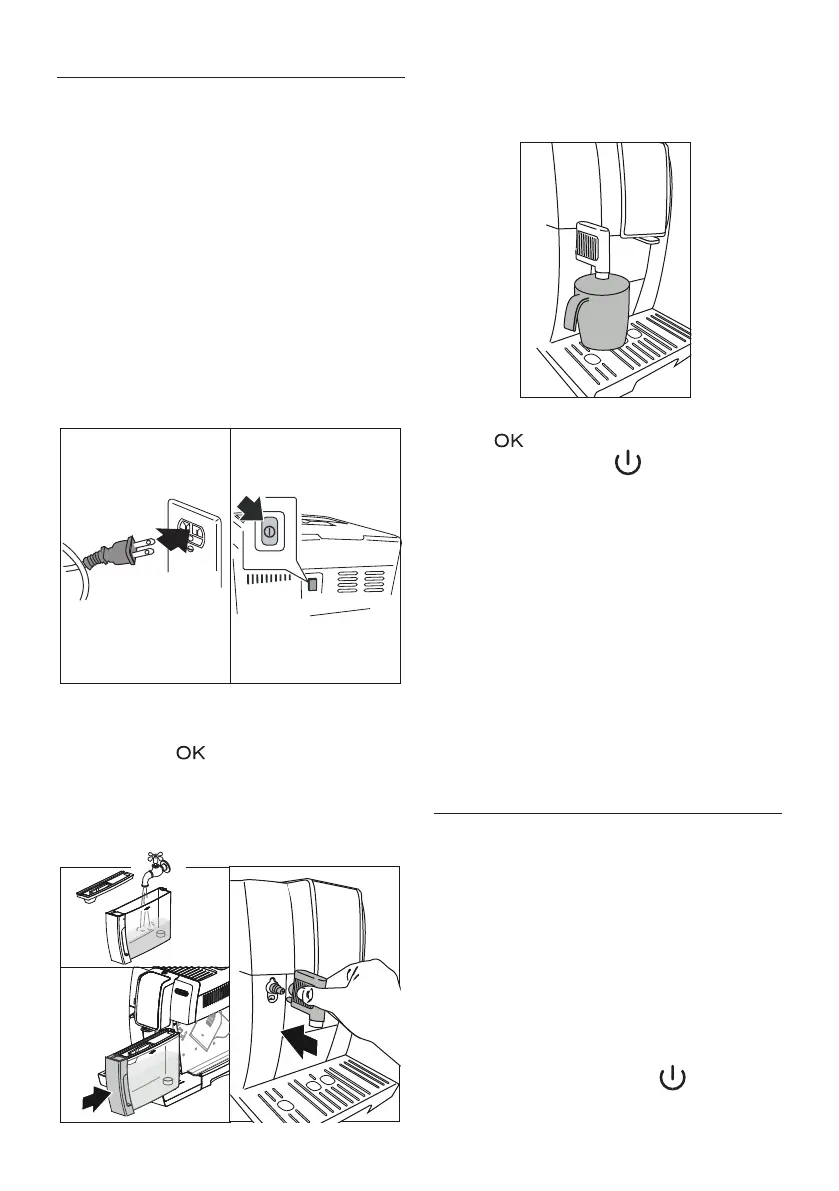
1. Plug the machine into the mains socket and press the main
switch
(g. 1). If your tted in your model, make sure the
main switch (A22) at the back of the appliance is pressed
(g. 2);
21
2. “Language”: press the selection arrow (B2) until the re-
quired language is displayed between the two dotted
lines, then press (B3) to conrm.
Now follow the instructions indicated on the appliance display
(B1):
3. Remove the water tank (A17), ll to the MAX line with fresh
water (g. 3A) then put back in the appliance (g. 3B).
3B
3A
4
4. Check that the hot water spout (C6) is inserted on the con-
nection nozzle (A8) (g. 4) and place a container holding a
minimum of 100 ml underneath (g. 5);
5
5. “Water circuit empty, Fill water circuit, Hot water, Conrm?”;
6. Press
to conrm. The appliance delivers hot water
from the spout. Press the button (A7) to turn the
appliance on again if needed,.
The coee machine is now ready for normal use.
Please note:
• The rst time you use the coee machine, you need to
make 4-5 cups of coee or 4-5 cappuccinos before it starts
to give satisfactory results.
• When making the rst 5-6 cappuccinos, it is normal to hear
the noise of boiling water. After this, the noise becomes
less.
• To enjoy your coee even more and improve the perfor-
mance of your appliance, we recommend installing a water
softener lter (C4) as described in section “16. Water soft-
ener lter”. If your model is not provided with a lter, you
can request one from De’Longhi customer services.
4. TURNING THE MACHINE ON
Please note:
Before turning the appliance on, make sure the main switch on
the back of the appliance is pressed (g. 2).
Each time the appliance is turned on, it performs an automatic
preheat and rinse cycle which cannot be interrupted. The appli-
ance is ready for use only after completion of this cycle.
Danger of burns!
During rinsing, hot water comes out of the coee spouts (A9)
and is collected in the drip tray (A15) underneath. Avoid contact
with splashes of water.
• To turn the appliance on, press the button (A7) (g.
6). The message “Heating Please wait” appears on the dis-
play (B1).
 Loading...