CAIRplus Assembly
PR-2009-0096-GB • Subject to modifications • R8-10/2015 31
• Install the seam cap.
Fig. 5-17: External view
• If the rear side of the unit is not accessible, screw together the interior joint
connection in the corner.
• Do not use partition joint connectors to pull the units together.
• Use screws M8x60.
Fig. 5-18: Internal corners
• Starting from the internal unit width or height of 1280 mm or more an additional joint
connection is provided in the middle of the profile (on the internal side), use the
screws to secure this joint connection as well.
Fig. 5-19: Internal partition join
connector
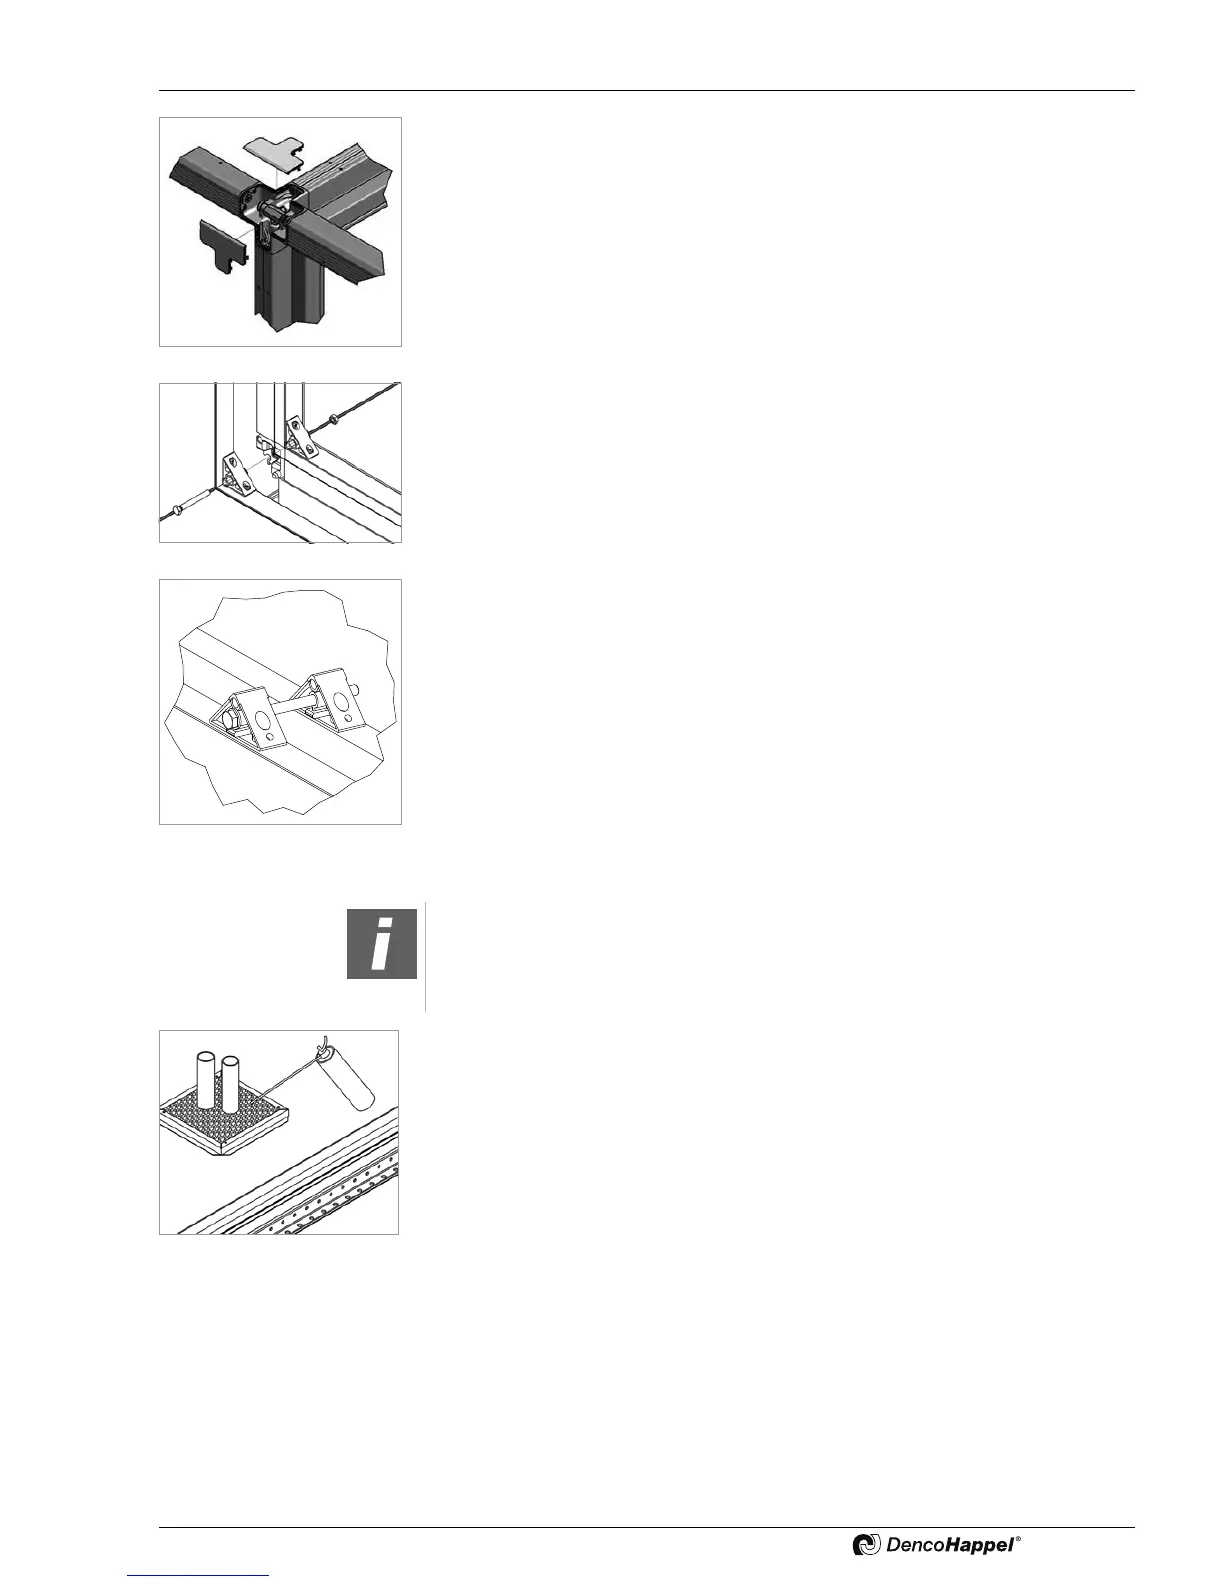
• Seal pipe and cable ducts to prevent air leakage and condensation. For example
use PU-foam to complete the sealing (not included in DencoHappel packaged
content).
Fig. 5-20: Pipe duct
Note on joint connection!
• If screws can not be applied due to the unit components, unscrew the joint
connections, place the screws and mount the joint connections together with
screws.