0
Set “Assign Mode” to “Preamplifier” if connecting all channels to the Pre-out
connectors using an external amplifier. (v p. 215)
This stops operation of the internal power amplifier of this unit, reducing
interference in the preamplifier created by the power amplifier.
0
You can use the “Speaker Connection” setting to disconnect the built-in power
circuit of each channel individually and use just your favorite channel as the
Preamplifier. (v p. 242)
0
When using just one surround back speaker, connect it to the left channel (L)
terminal.
0
The output signal for the PRE OUT connector of Height 1, Height 2, Height 3, and
Height 4 vary depending on the combination of the Height/Ceiling/Dolby Atmos
Enabled speakers that you are using. For the PRE OUT connector that connects
each Height/Ceiling/Dolby Atmos Enabled speaker, refer to “Amp Assign” -
“Layout” (v p. 217).
0
You can connect to the subwoofer with either an RCA connection or the XLR
terminal.
0
The XLR terminal of the subwoofer can be used as a speaker other than a
subwoofer such as the Front Left, Front Right, or Center channel. To use it as a
speaker, assign it to a channel of your choice in “XLR Output Assign”. (v p. 237)
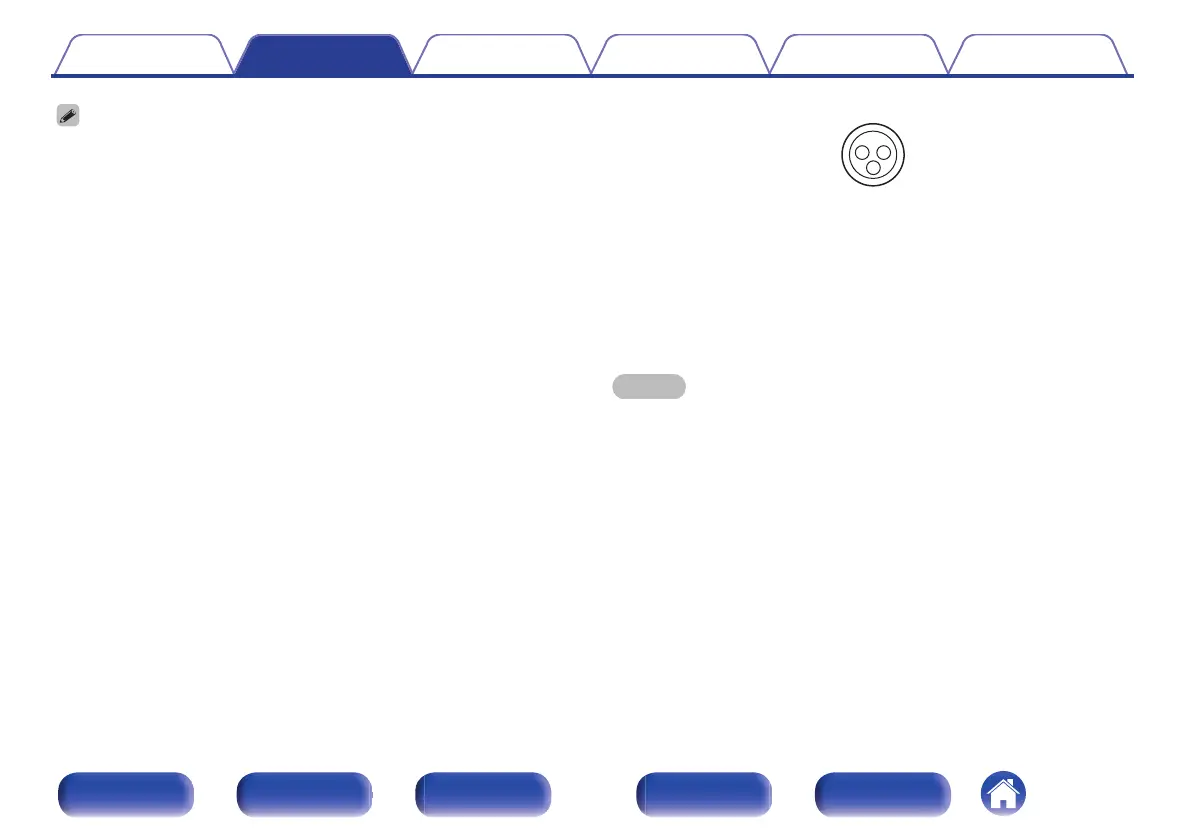
GAVC-A1H BALANCED XLR PRE OUT connector PIN arrangementH
A
GND (Ground)
B
HOT (+)
C
COLD (–)
The PIN arrangement in this unit uses the European method.
In the USA method, B is COLD, and C is HOT.
When connecting a device that utilizes the USA type of PIN arrangement,
replace the B and C plugs on one side of the balanced cable.
NOTE
0
Do not short the HOT and GND or COLD and GND for use.
0
Disconnect this unit’s power plug from the power outlet before connecting the
speakers.
Also, turn off the power amp and subwoofer.
Contents Connections Playback Settings Tips Appendix
44
Front panel Display Rear panel Remote Index
 Loading...