18
n Proxy settings
Configure these settings to connect to the internet via a proxy
server.
1
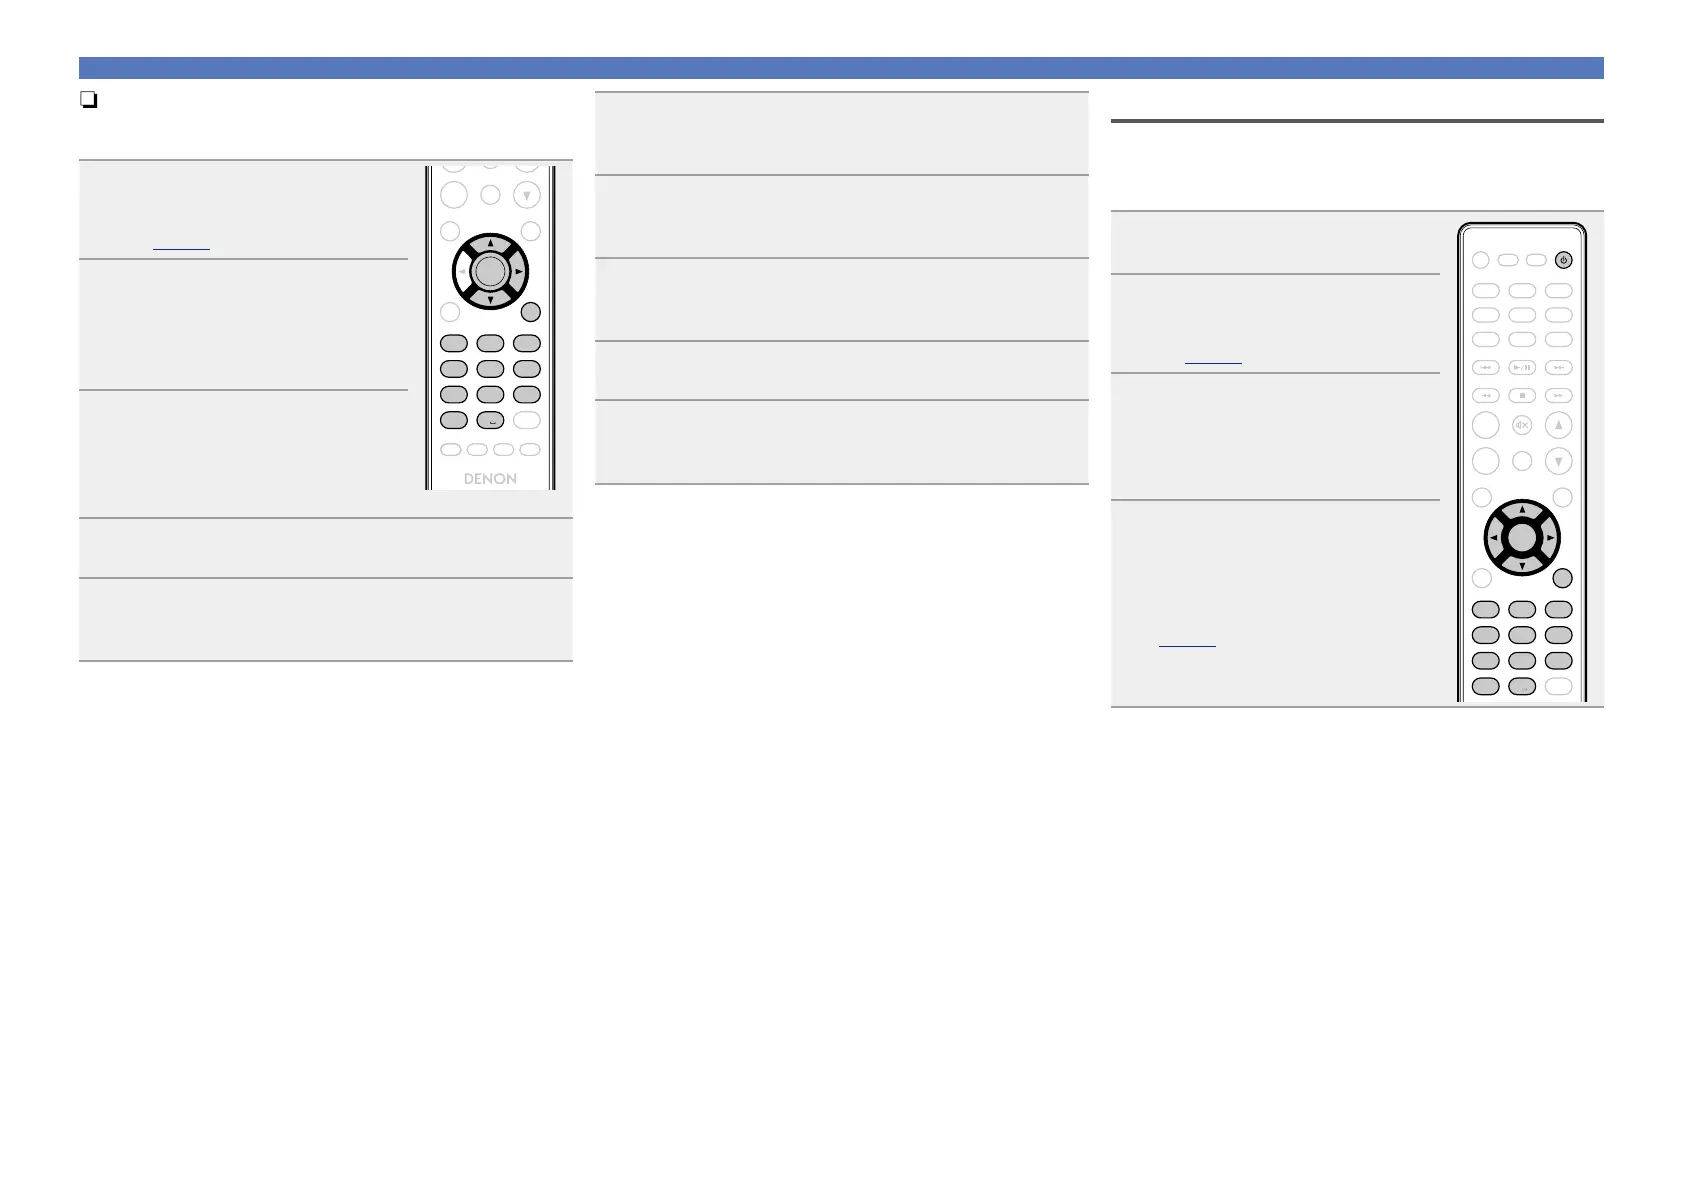
Press SETUP.
Turns on the Menu settings mode
and the Menu appears on the display
(vpage11 “Menu map”).
CALL
FAVORITE
SEARCH
RC-1174
CH
-
+
CH
TUNE +TUNE
-
ANALOG IN
TUNER
DIGITAL IN
POWER
CLOCK DIMMERSLEEP
MUSIC
SERVER
INTERNET
RADIO
ONLINE
MUSIC
VOLUME
SDB
TONE
TOP MENU INFO
MODE
CLEAR
RANDOM
REPEAT PROGRAM
ENTER
SETUP
. / ABC
a
/
A
DEF
GHI JKL
MNO
PQRS TUV WXYZ
*
1 2 3
4 5 6
7 8 9
+10 0
2
Use ui and ENTER to select
“Network” – “Settings” –
“Proxy”, then press ENTER or
p.
“Setup Proxy” menu appears.
3
If “Proxy(On)” appears, go to
step 5.
If “Proxy(Off)” appears, press
ENTER or p.
“Select Proxy” menu appears.
4
Use ui to select “On”, then press ENTER or p.
“Setup Proxy” menu appears.
5
Use ui to select “Proxy (Address)” or “Proxy
(Name)”, then press ENTER or p.
“Select Type” menu appears.
Setting the network [Network]
6
Use ui to select “Address” or “Name”, then press
ENTER or p.
“Setup Proxy” menu appears.
7
Use ui to select “Address” or “Name”, then press
ENTER or p.
“Enter Proxy Address” or “Enter Proxy Name” menu appears.
8
Use uip or 0 – 9, +10 to input the address or name,
then press ENTER.
“Setup Proxy” menu appears.
9
Use ui to select “Port”, then press ENTER or p.
“Enter Proxy Port” menu appears.
10
Use uip or 0 – 9 to input the port, then press
ENTER.
The Proxy settings are completed.
Connecting wireless LAN
Use this procedure to configure the wireless LAN settings.
n Auto-Scan (Wireless LAN)
If a LAN cable is connected, remove it.
1
Press POWER X to turn on
power to the main unit.
ADD
CALL
FAVORITE
SEARCH
. / ABC
a
/
A
DEF
GHI JKL
MNO
PQRS TUV WXYZ
*
1 2 3
4 5 6
7 8 9
+10 0
CH
-
+
CH
TUNE +TUNE
-
ANALOG IN
TUNER
DIGITAL IN
CLOCK DIMMERSLEEP
MUSIC
SERVER
INTERNET
RADIO
ONLINE
MUSIC
VOLUME
SDB
TONE
MUTE
TOP MENU INFO
CLEAR
USB
iPod CD
ENTER
SETUP
POWER
2
Press SETUP.
Turns on the menu settings mode
and the menu appears on the display
(vpage11 “Menu map”).
3
Use ui and ENTER to select
“Network” – “Settings” – “Auto-
Scan”, then press ENTER or p.
The access point you have set is
displayed.
4
Use ui to select the access
point, and then press ENTER or
p.
•If the access point is not detected
automatically, configure it manually
(vpage20 “Manual Settings”).

 Loading...