ENGLISH
7
!8
Stylus pressure adjustment dial
• Use this to adjust the stylus pressure.
!9
Counterweight
• Use this to balance the tone arm and to adjust the stylus
pressure.
@0
Tone arm lift
• This elevates the tone arm above the record surface.
@1
Extra stylus holder
• Place extra headshells here.
@2
45 rpm adaptor holder
• Place on the attached 45 rpm adaptor here.
• Push down the rear side of 45 rpm adaptor to take it.
@3
Voltage selector
• Check the voltage selector switch is set to an
appropriate voltage in your area before use.
@4
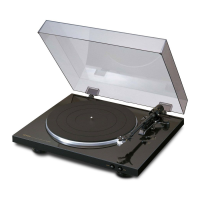
Dust cover
• Set the dust cover in place when not using the set to protect
the turntable from dust and dirt.
• The dust cover is not locked on the set. Handle it with care.
@5
Output terminal (DIGITAL OUT)
@6
Output terminal (AUDIO OUT)
• Connect the included connecting cord here. (See page 8.)
@7
Phono/Line selector (PHONO/LINE)
@8
Power terminal (AC IN)
• Connect the connector side of the included AC cord here.
(See page 8.)
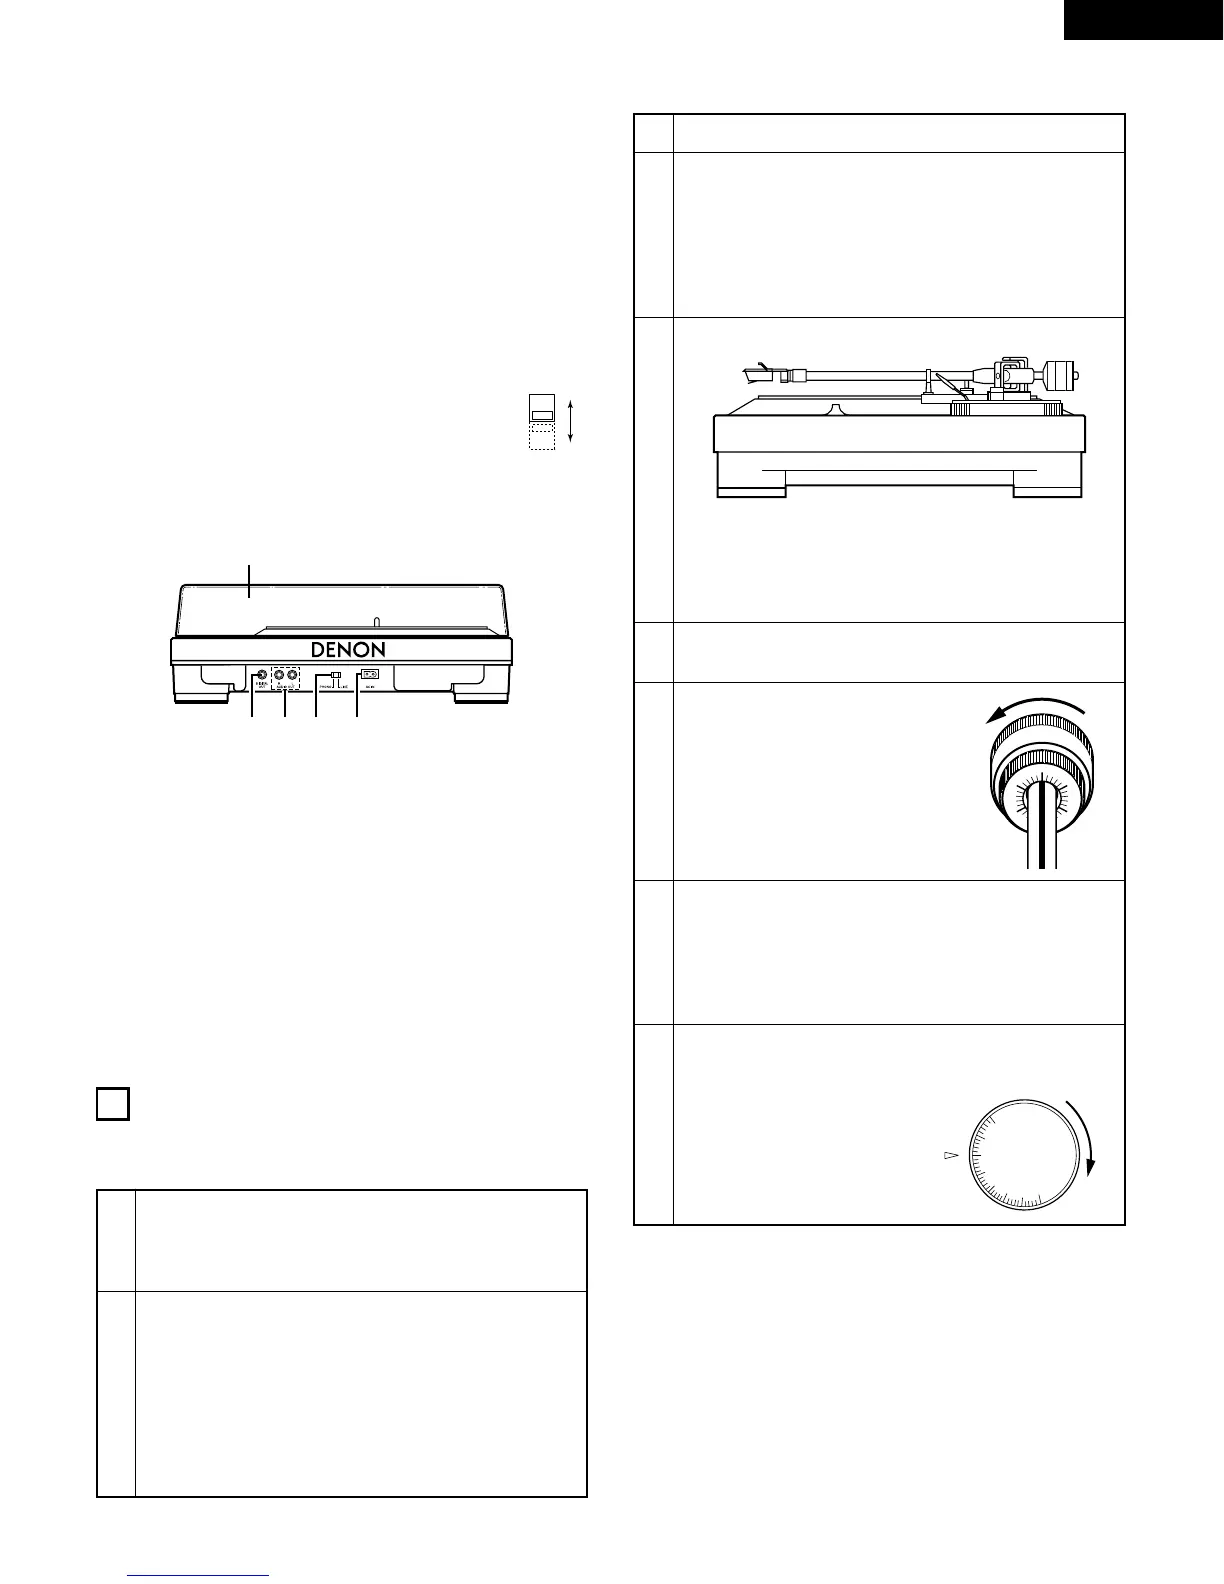
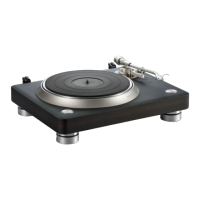
Rear panel
3
ADJUSTMENTS
• Turn the power off when performing adjustments.
(1) Adjusting the tone arm height
1
q Lower the lifter lever.
w Set the stylus on the record and check that the
tone arm is virtually parallel to the record’s
surface.
2
If not:
q Set the tone arm back on the arm rest.
w Move the lock lever in the opposite direction of the
arrow to unlock.
e Move the height adjustment dial and adjust the height
so that the arm is virtually parallel to the record’s
surface.
r Move the lock lever in the direction of the arrow to
lock the height.
1
Set both the anti-skating knob to “0”.
2
Move the tone arm.
• Lift the tone arm from the arm rest and move it over
the platter.
✽ When moving the tone arm, be careful that the stylus
does not directly touch the platter or other parts.
✽ For cartridges with detachable stylus covers, adjust
with the stylus cover removed.
3
Adjust the horizontal balance.
• Move the counterweight forward or backward so that
the tone arm is parallel to the platter’s surface when
the tone arm is released.
✽ When adjusting the horizontal balance, be careful that
the stylus does not touch the slip mat or the main unit.
(2) Stylus pressure and anti-skating adjustment
4
Set the tone arm back on the arm rest.
• Set the tone arm back on the arm rest.
5
Hold the counterweight with a
finger so that it does not move,
then turn the stylus pressure
adjustment ring so that the center
line on the back of the tone arm is
at “0”.
6
Turn the counterweight in the direction of the arrow
and set it for the proper stylus pressure for the
cartridge you are using.
✽ When the counterweight is turned, the stylus pressure
adjustment ring also turns. Read the value on the
adjustment ring to set the proper stylus pressure.
7
Turn the anti-skating knob and set it so that the
value of the cartridge’s stylus pressure is lined up
with the reference line.
• This provides the proper anti-
skating force.