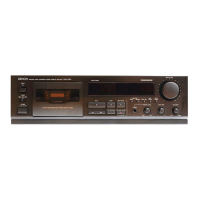
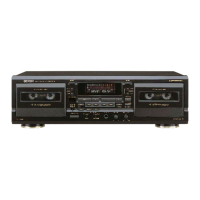
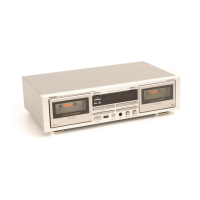
10
ENGLISH
SYNCHRONIZED RECORDING FUNCTION
• Convenient synchronized recording can be performed when used in
combination with a DENON CD player equipped for the synchronized
recording function.
•
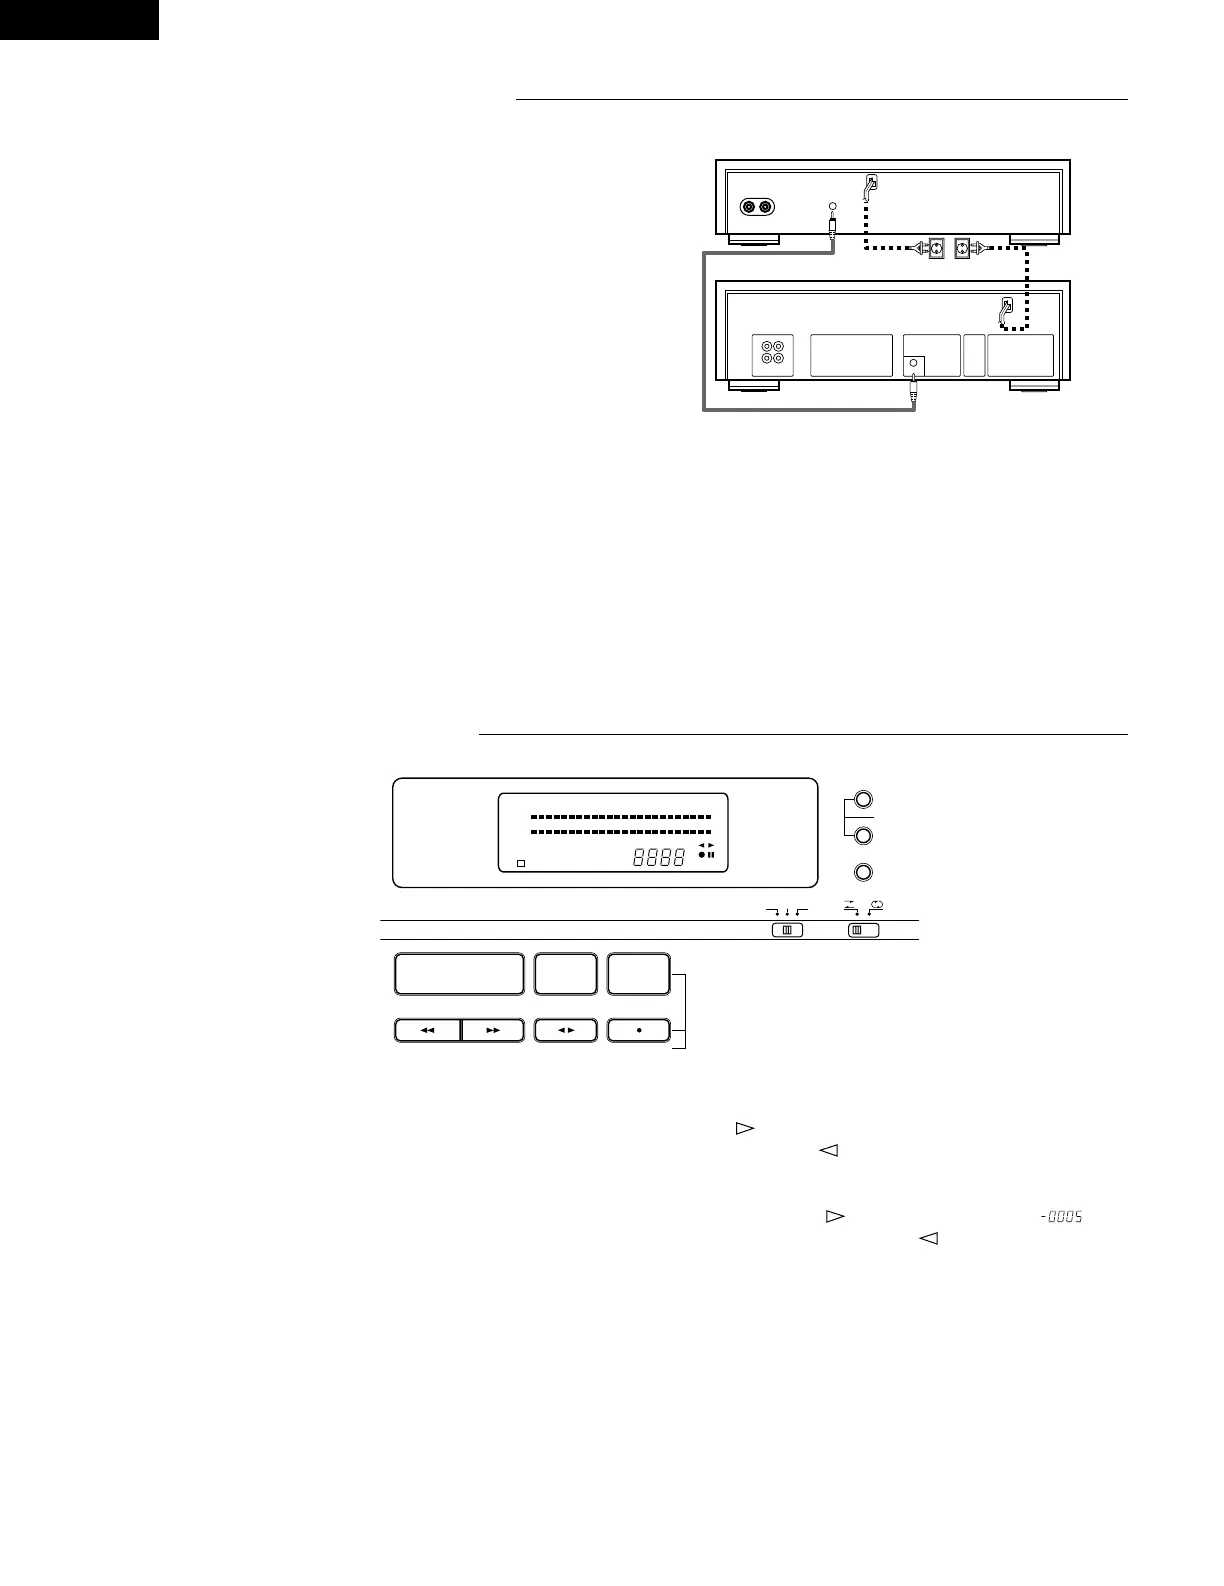
SYNCHRO Jack Connection connect the SYNCHRO Jack with a DENON CD
player which is equipped with a SYNCHRO jack, then make a synchronized
recording. Use the connection cord supplied with this cassette deck.
• Switch on your amplifier or receiver and the CD player.
• Set the tape Monitor switch on your amplifier or receiver to the source
position.
1. Load the tape, the disc you want to record into the CD player.
2. Following the recording instructions on page 9, set the Dolby NR mode,
and the input level.
3. Set the CD player to the stop or pause mode.
4. Press the Rec/Rec Mute button (REC/REC MUTE) (
4 ) and Rec Pause
button (
3 REC PAUSE) simultaneously. The cassette deck and CD player
are automatically set to the synchronized recording mode. The “SYNC”
indicator flashes on the cassette deck and the synchronized recording
mode is indicated on the CD player.
(For details, refer to the CD player’s operating instructions.)
5. To stop synchronized recording, press the Stop button (
2 STOP) on
cassette deck and Stop button on CD player.
The synchronized recording mode is cancelled for both the cassette deck
and CD player.
6.
To stop synchronized recording temporarily, press the Stop button ( 2
STOP) on the CD player. A 5-second blank space is created on the tape,
after which the recording pause mode is set. The “SYNC” indicator flashes.
To resume synchronized recording, press the Play button (PLAY) on the CD
player.
LINE
OUT
LINE
IN
L
R
SYNCHRO
L
R
SYNCHRO
LINE OUT
CD player
DRM-595
Power supply outlet
Notes:
• If synchronized recording is started when the CD player is in a mode other
than the stop or pause mode or when no disc is set, the “SYNC” indicator
on the cassette deck flashes and the recording pause mode is set until
synchronized recording is possible on the CD player.
• In the synchronized recording mode, only the Stop button (
2 STOP) will
function.
Caution:
• Do not set the cassette deck to the synchronized recording mode when
the CD player is in the play mode. Also, do not turn off the power of the
cassette deck or the CD player during synchronized recording. Doing so
can result in malfunction.
• During the editing operation, when using the editing functions on the CD
player, be sure to select a tape with a sufficiently long recording time.
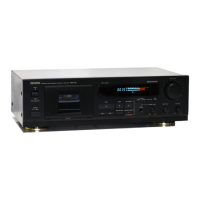
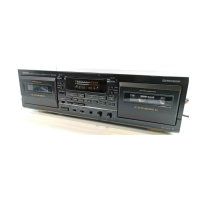
TAPE COUNTER AND MEMORY STOP
REMOTE SENSOR
L
R
-40 +10-30 +5-20 +3-10 +1-5 0-3 -1
PLAY
2 STOP 3 REC PAUSE
REC/REC MUTE
PHONES
RESET
COUNTER
MEMORY
MPX
B OFF C
DOLBY NR
REV.MODE
PHONE LEVEL
MIN MAX
-
DIRECTION
CD SYNCHRO REC
SYNCMPX
MEMO
dB
1) Operation of the Tape Counter
(1) Press the Counter Reset button (RESET) to reset the counter to
“‚‚‚‚”.
(2) By using the Play, Fast Forward or Fast Rewind functions, the reading
of the counter will change to indicate index position.
• During recording and playback operations, the counter is useful for
noting the location of existing programs or positions where recording is
to be started.
• The reading of this counter does not correspond with that of any other
deck.
2) MEMORY STOP Operation
(1) During recording or playback, the Memory Stop feature can be used to
locate a particular point on the tape. Press the Counter Reset button
(RESET) at the desired point.
(2) Then press the Counter Memory button (MEMORY), the MEMO
indicator lights.
(3) When the Fast Rewind button (
00 ) is pressed during forward tape
travel ( ), or the Fast Forward button (
11 ) is pressed during
reverse tape travel ( ), the tape is rapidly rewound (or advanced)
until the counter indication of “‚‚‚‚” is reached.
• The Memory Stop feature will rewind or forward the tape to within –5
counts in the forward ( ) direction (from “‚‚‚‚” to “ ”) and
to within +5 counts in the reverse ( ) direction (from “‚‚‚‚” to
“‚‚‚fi”). After this, several seconds are required for corrective
operations.
Caution:
If the memory stop operation is performed after repeated fast-forwarding or
rewinding, the tape may not stop at the proper position.