6
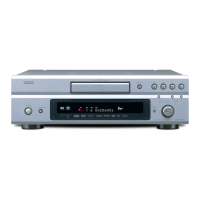
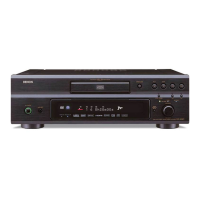
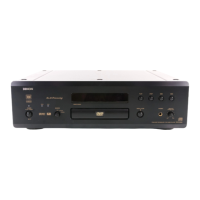
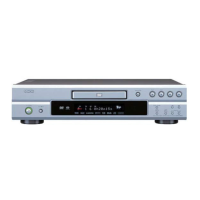
DVD-3910
3.DVD mechanism ass'y
4.Power P.W.B. ass'y etc.
c・2:DVD mechanism ass'y
s・3
s・5
c・4:Ac inlet
c・3:Power P.W.B. ass'y
s・3
c・5:Ferrite core & 3P VH wire
(1)Remove 4 screws(s・3) on the top side.
(2)Disconect [CY251] [CY301] [CY171] [CX331] [CY101]
from the MAIN P.W.B.(GU-3618).
(3)Take the DVD mechanism ass'y(c・2) off.
(1)天面側から s・3 のねじ 4 本をはずします。
(2)メイン基板(GU-3618)よりワイヤー[CY251] [CY301] [CY171]
[CX331][CY101]をはずします。
(3)c・2:DVDmechanismass'y をはずします。
4-1.電源基板 ass'y
(1)側面からs・4 のねじ 2 本と天面からs・3 のねじ 5 本
をはずします。日本向けモデルのみ 1P-3P EH ワイヤーが
[CX131]横に共締。
(2)c・5:電源基板 ass'y からワイヤー[CX131][CX051][CX024]
をはずします。
(3)c・5:電源基板 ass'y をはずします。
4-2.ACINLET
(1)背面からs・5 のねじ 2 本をはずします。
(2)c・4:ACINLET から STO コネクターをはずします。
(3)c・4:ACINLET をはずします。
4-3.フェライトコア&3PVH ワイヤー
(1)シャーシ左側面のクランプバンド・3 箇所をカットします。
(2)c・5:フェライトコアと 3PVH ワイヤーをはずします。
4-1.Power P.W.B. ass'y
(1)Remove 2 side screws(s・4) and 5 top screws
(s・3). Screw 1P-3P EH CON.CORD together at nea
the [CX131] ( only JAPAN ).
(2)Disconnect the wire [CX131] [CX051] [CX024]
connecting c・5:Power P.W.B. ass'y.
(3)Detach the c・5 : Power P.W.B. ass'y.
4-2.AC INLET
(1)Remove 2 rear screws(s・5).
(2)Disconnect the STO terminals from c・4:Ac inlet.
(3)Detach the c・4 : Ac inlet.
4-3.Ferrite core & 3P VH wire
(1)Cut 3 clamper on the left side of the chassis.
(2)Detach the c・5 : Ferrite core & 3P VH wire.
s・4
clamper
s・3:
ル
:0.5Nm
(Tighten-torque)
s・3〜5:
ル
:0.5Nm
(Tighten-torque)
c:1P-3P EH CON.CORD (only Japan)
w
w
w
.
x
i
a
o
y
u
1
6
3
.
c
o
m
Q
Q
3
7
6
3
1
5
1
5
0
9
9
2
8
9
4
2
9
8
T
E
L
1
3
9
4
2
2
9
6
5
1
3
9
9
2
8
9
4
2
9
8
0
5
1
5
1
3
6
7
3
Q
Q
TEL 13942296513 QQ 376315150 892498299
TEL 13942296513 QQ 376315150 892498299
http://www.xiaoyu163.com
http://www.xiaoyu163.com
 Loading...