7
About the photos used for descriptions in the “DISASSEMBLY” section.
• The direction from which the photographs used herein were photographed is indicated at "Direction of photograph: ***" at
the left of the respective photographs.
• Refer to the table below for a description of the direction in which the photos were taken.
• Photographs for which no direction is indicated were taken from above the product.
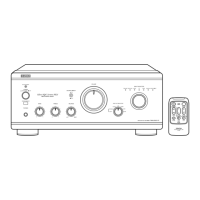
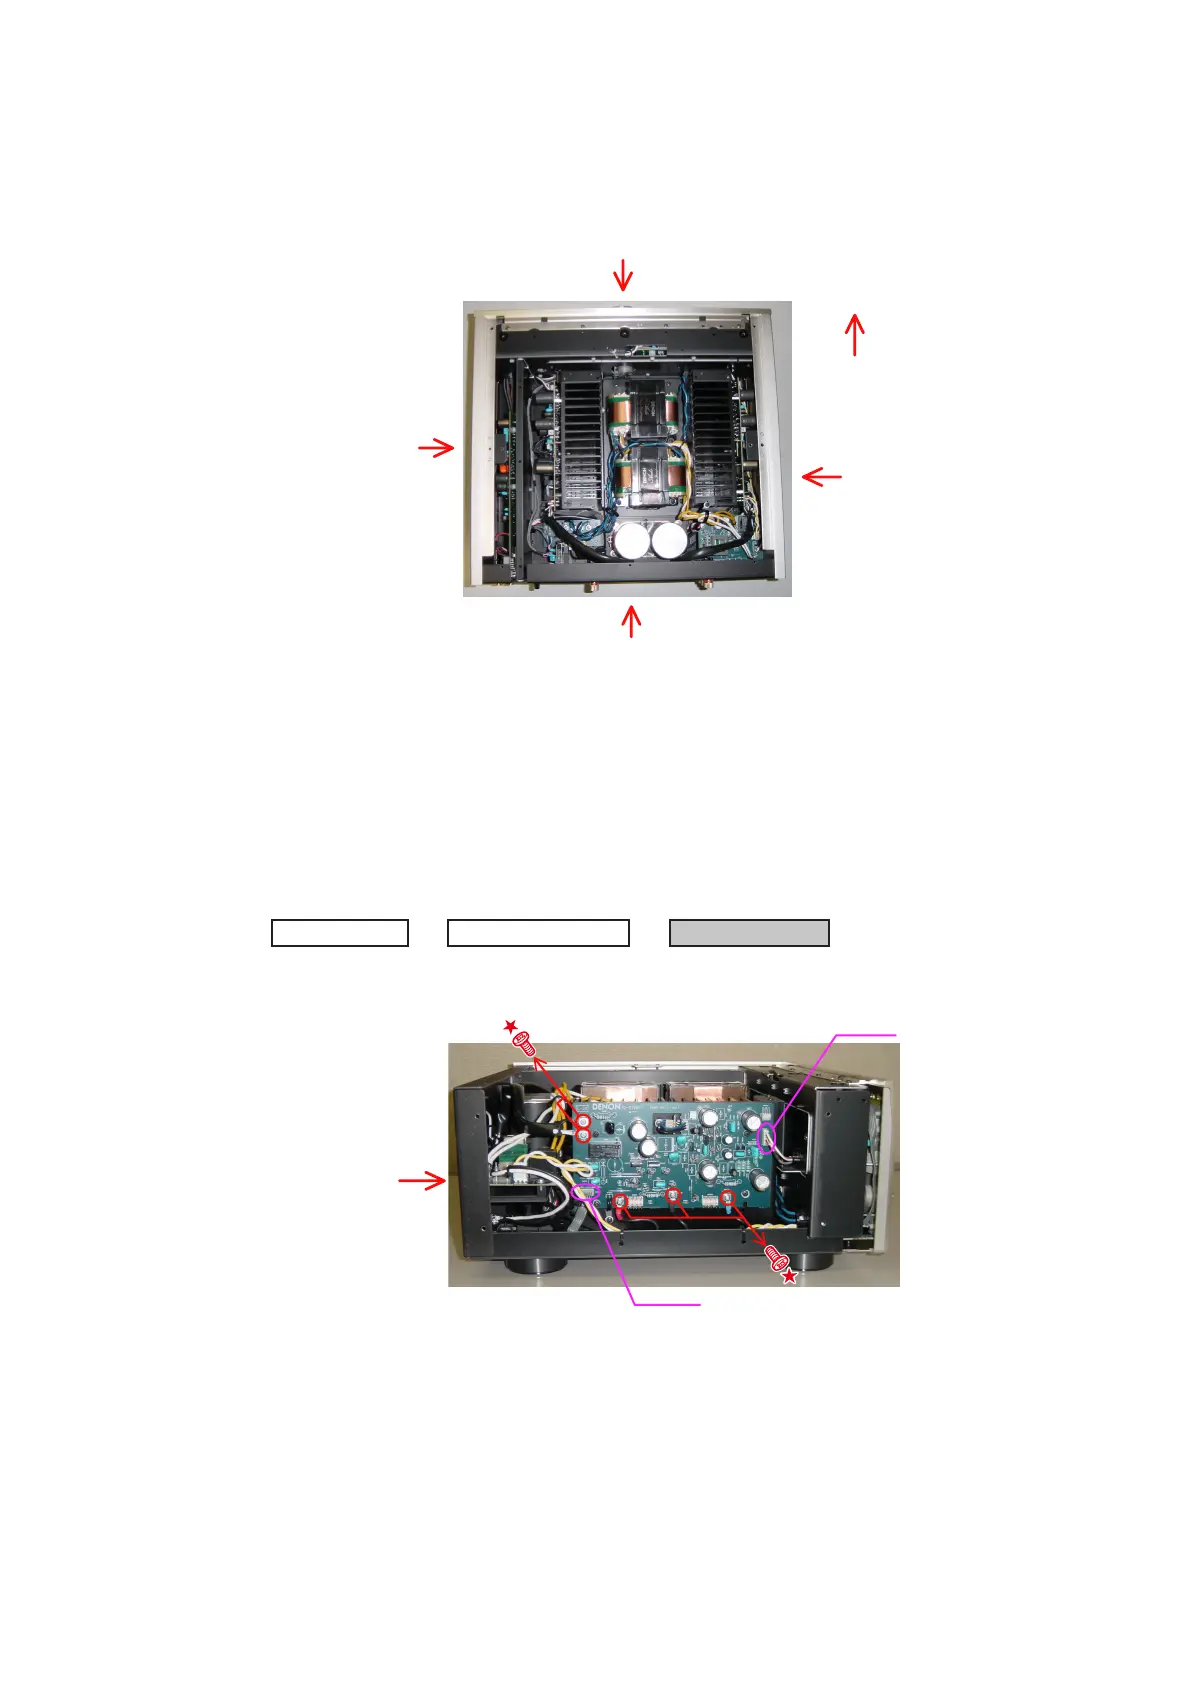
• The photograph is PMA-2010AE.
1. P.AMP(L) UNIT
(1) Disconnect the connector wires, then remove the screws.
The viewpoint of each photograph
(Photografy direction)
[View from above]
Front side
Direction of photograph: B
Direction of photograph: D
Direction of photograph: C
Direction of photograph: A
Proceeding : TOP COVER
SODE COVER (L)
→
P.AMP(L) UNIT
→
CX055
CX053
Direction of photograph: D

 Loading...