3
► The charging will stop automatically after fully charged, and the display shows the “ ” icon.
► When the battery is low, the display shows the “ ” icon.
► The device is powered by the built-in battery after the power cable is unplugged.
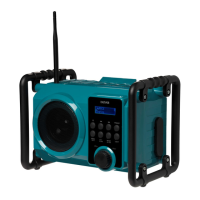
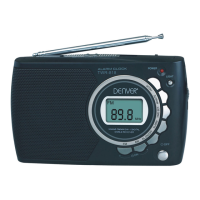
2.2. Aerial
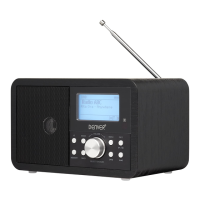
A flexible aerial is included with the device for DAB/FM reception.
► Screw the aerial into the thread provided on the top of the device.
3. Switch to DAB mode using the MODE/AL-ON button.
► Press and hold the SCAN button to search radio stations automatically. The display shows the
number of found radio stations.
► Press the / button to select a radio station, then press the ENTER button to confirm.
► Press the MENU/INFO button to display radio-related information.
► Press and hold the MENU/INFO button to access the menu. Press the / button to select a
menu option, then press the ENTER button to confirm.
► Press the PERSET button to show “PRESET RECALL”, and press the / button to select a
radio station, then press the ENTER button to confirm.
► Press and hold the PRESET button to show “PRESET STORE”, and press the / button to
select a radio station, then press the ENTER button to confirm.
► Press the MENU/INFO button to enter the DAB menu, and press the / button to select a
menu option shown below, then press the ENTER to confirm.
Full scan: Store all available DAB radio stations.
Manual tune: Manually tune to a DAB station.
DRC: Dynamic range control. Some DAB broadcasts offer dynamic range compression (DRC). You
can select the following options: DRC high, DRC low or DRC off.
Prune: Eliminate invalid DAB radio stations from the DAB station list.
Notice: Up to 20 radio stations can be stored.
4. Using the device
4.1. Switch the device on/off
► Press the button to switch the radio on.