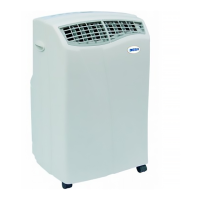
INSTALLATION
Installing the outdoor unit
• The outdoor unit has two drainage holes on the base. Choose the most
convenient and connect the drainage elbow
• Ensure the unused drainage hole is filled with a grommet before the
outdoor unit is mounted in position
• Take care to mount the outdoor unit on a level surface at least 100mm
from the wall
• Securely fasten the outdoor unit to the base/floor
• If a mounting bracket is used (not included), ensure the outdoor unit is
securely fastened to the mounting bracket
• Ensure the outdoor unit is fitted below the indoor unit, so the water can
drain from the indoor unit
Connecting the air conditioner
WARNING – do not adjust any bolts except those that connect directly to
the outside unit. Adjusting these will cause the refrigerant to escape and
may cause serious injury
1. Ensure the machine is not connected to the mains electricity supplied
before carrying out the installation
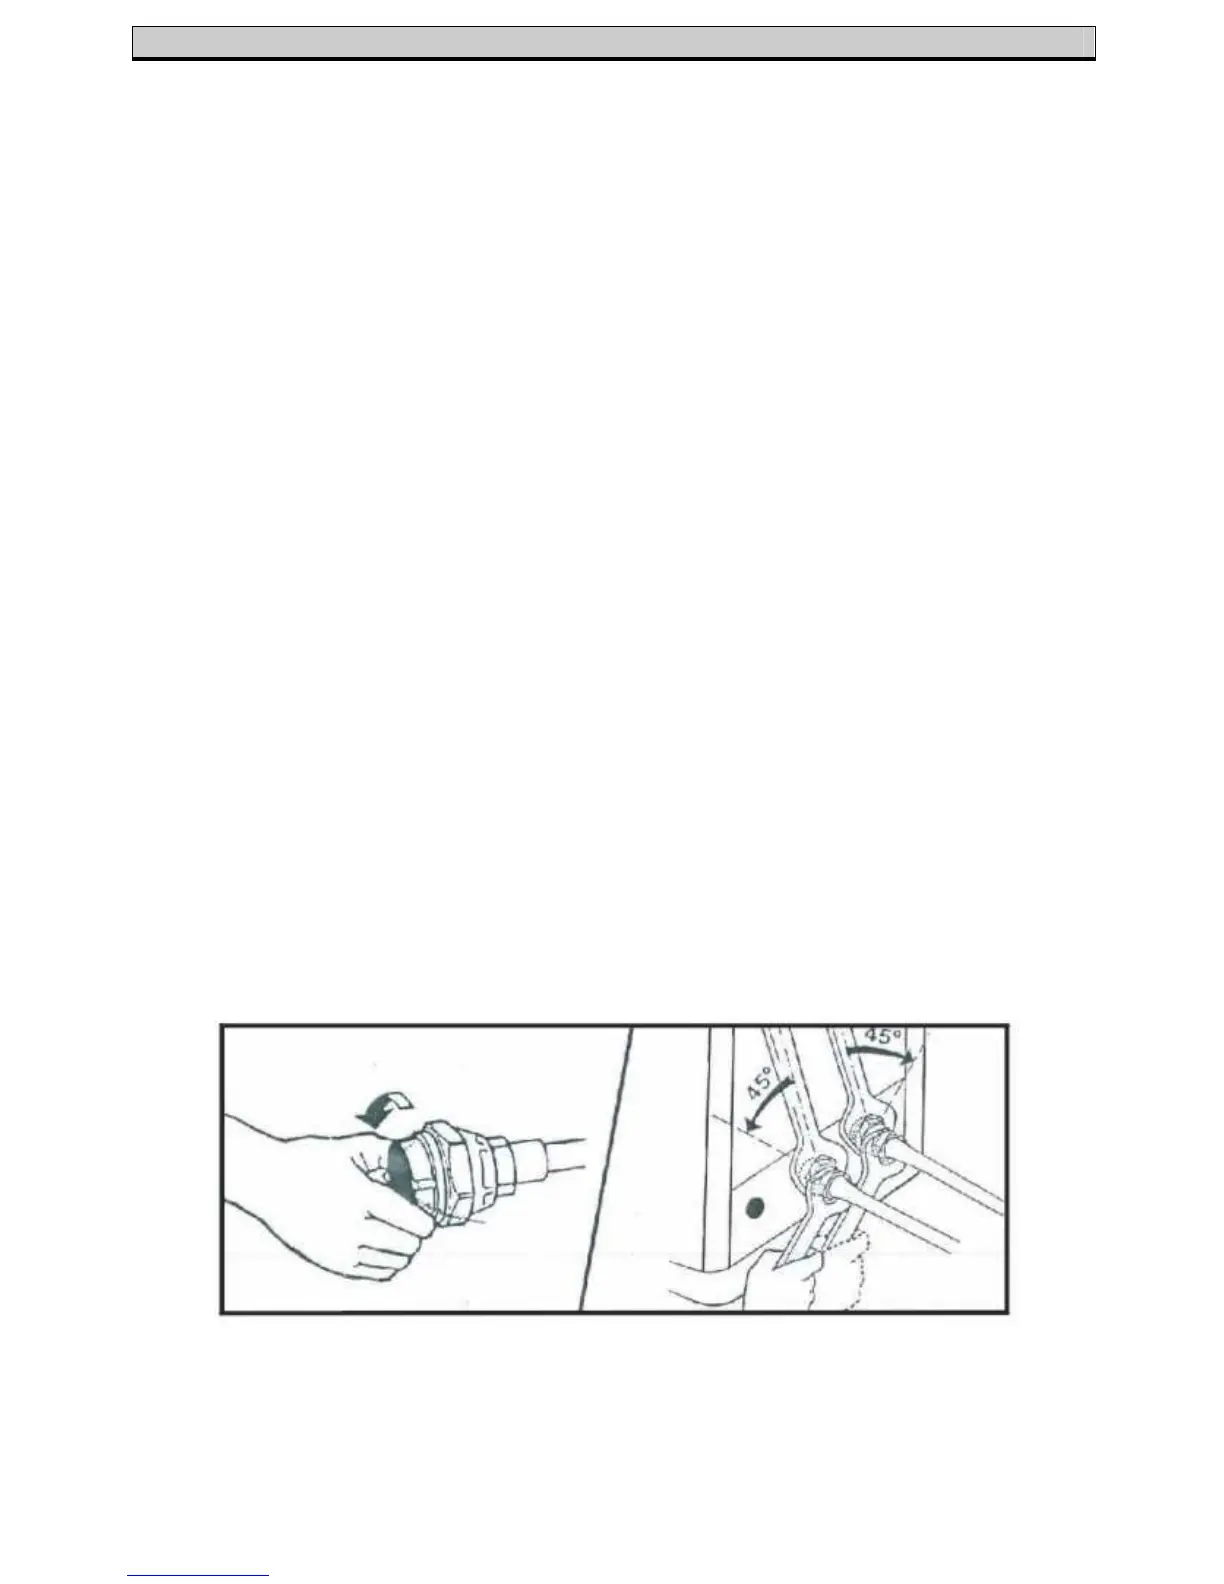
2. Remove the protective covers from the two connecting pipes
3. Connect the two pipes from the indoor unit to the valves of the outdoor
unit using two spanners
4. Connect the wiring, ensuring the terminal numbers and wiring colours on
the outdoor unit match with the terminal numbers and wiring colours on
the indoor unit. If you are not confident in performing this, ask a qualified
electrician