8
INSTALLATION
HOSING
:
Use separate filtered regulated air supplies for atomizing and cylinder
air.
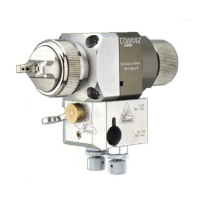
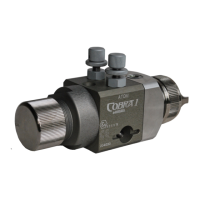
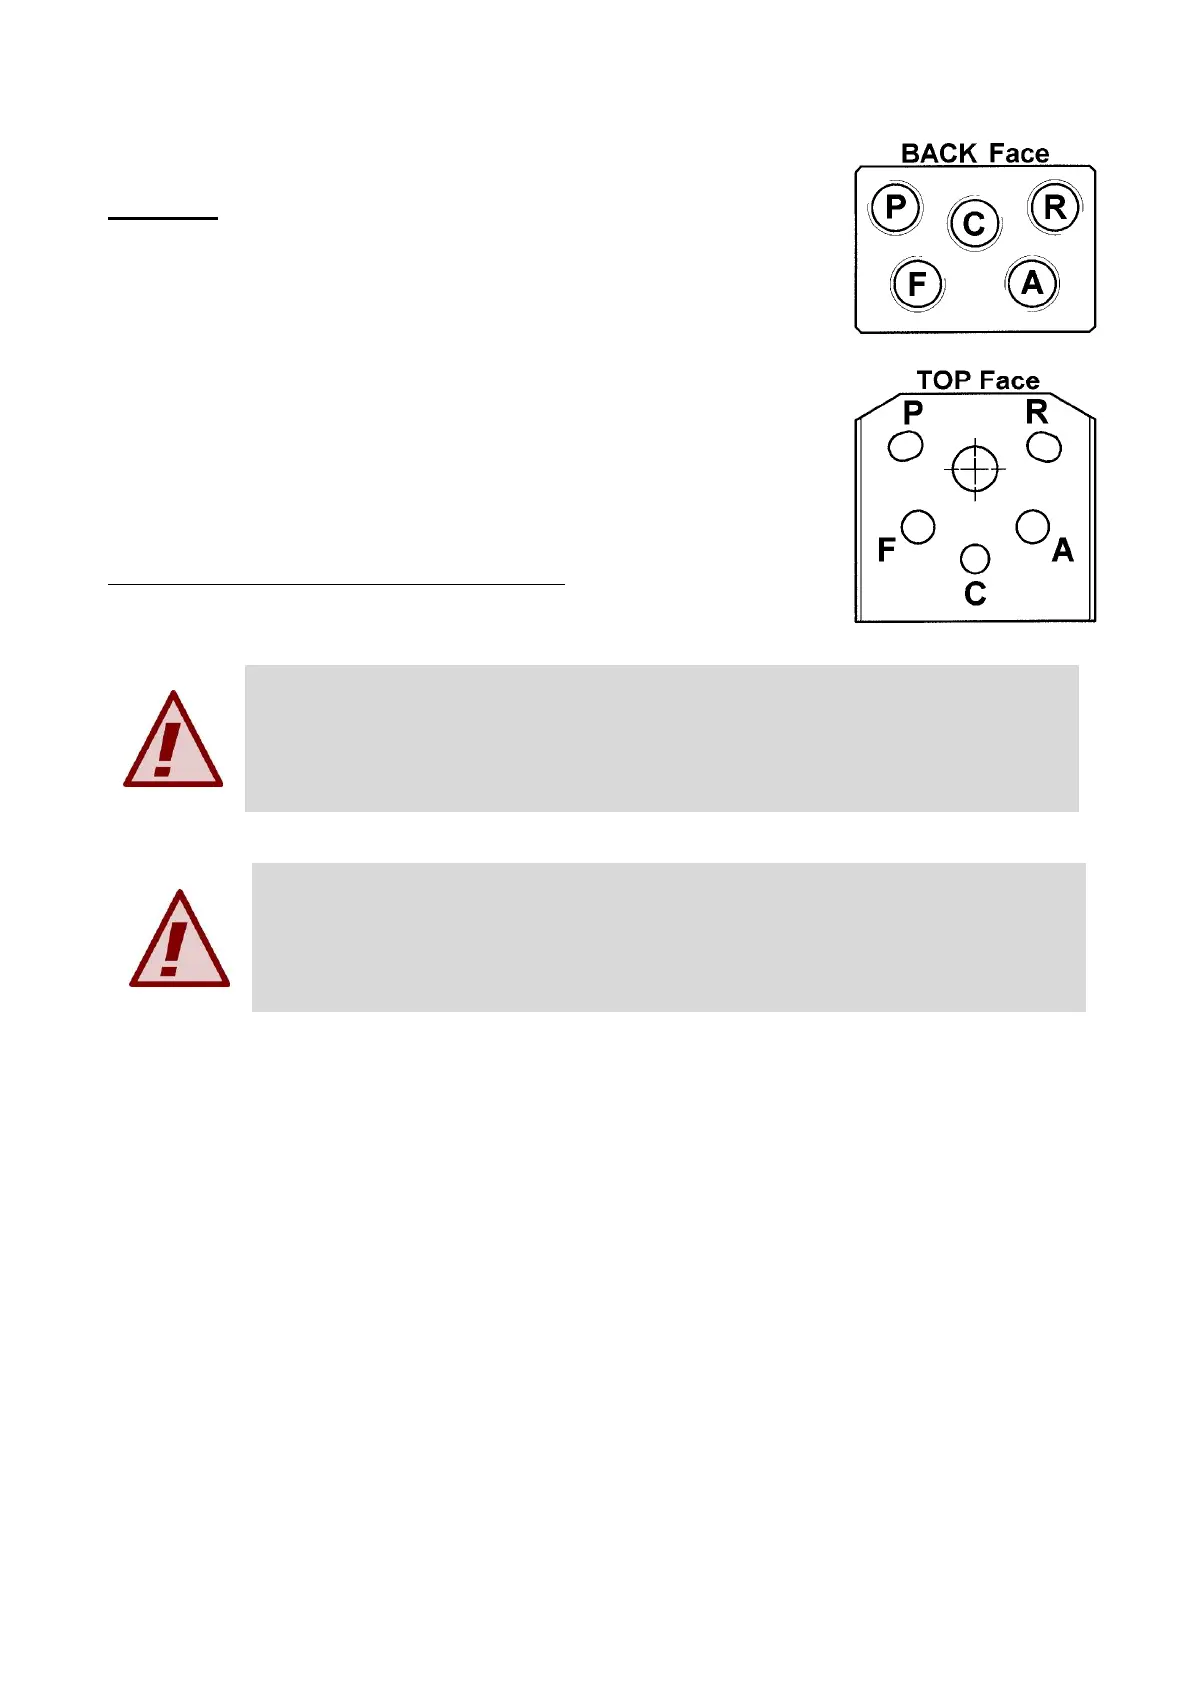
Connect all the air and fluid hoses at the back of the plate (1/8” BSP):
(See figure)
- Cylinder air ‘C = Cyl’ via a control valve. For fast cylinder operation
the control valve should be fitted as close to the gun as possible or an
additional quick exhaust valve installed in the line.
- Separated atomizing and fan “F” & “A” air supply.
- Material hose ‘P’.
- Material hose ‘R’ for re-circulation model (CBA2U).
Recommended hose size up to 10m (34ft) long
:
Atomization Air=8mm, Cylinder Air=6mm, Material=9,5mm
Important : To ensure that this equipment reaches you in first class
condition, protective coatings have been used. Flush the equipment
through with appropriate solvent before use.
Fix the spray gun base plate using mounting stem ref.30 and secure it with
nut ref.29..
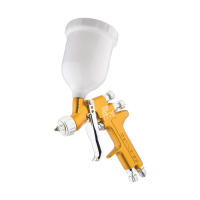
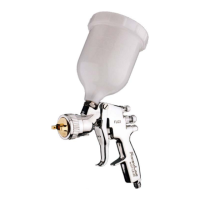
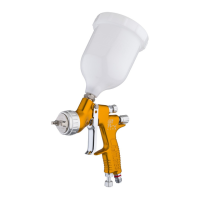
SETTING
Check that the gun has all of the O-rings fitted on the sealing surface and check that the
locking device (28) is in the correct position to lock the spray gun on to the connecting plate.
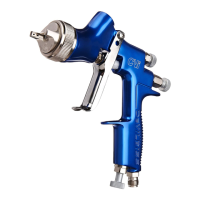
1. The ATOM air valve controls the atomizing air pressure.
2. The FAN valve reduces the spray pattern size.
3. Fluid flow is adjusted with the rear ratchet knob (25)
.
For the arrangement of the parts, refer the exploded view at the end of the manual.
START UP
1. Turn the needle adjusting knob (25) clockwise until the needle is fully closed.
2. Turn the FAN and ATOM air valves (13) counter-clockwise to be full open.
3. Use the air cap chart above to set the air pressure at the air regulator to achieve
recommended pressures.
4. Turn the adjusting knob (25) counter clockwise to obtain the desired fluid flow.
5. Test spray. If the finish is too dry or fine, reduce the airflow by reducing the air inlet pressure
or by screwing the valve ATOM (13) in clockwise, or increase the fluid flow using ratchet knob,
rotating counter clockwise.
Important : The Spray gun must be earthed to dissipate any electrostatic
charges which may be created by fluid or air flows. This can be achieved
through the Spray gun mounting, or conductive air/fluid hoses. Electrical
bond from the spray gun to earth should be checked with an ohmmeter. A
resistance of less than 10
6
Ohms is recommended.