ASSEMBLY AND ADJUSTMENTS
WARNING: To reduce the risk of serious personal injury, turn the unit off and remove the battery pack before
making any adjustments or removing/installing attachments or accessories. An accidental start-up can cause injury.
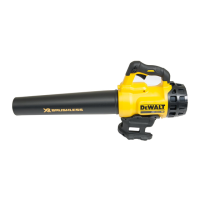
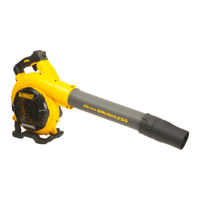
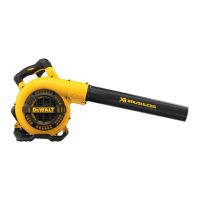
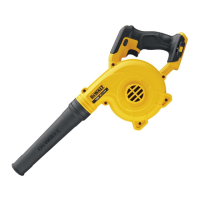
Blow Tube Assembly (Fig. D)
WARNING: Do not operate the blower without the tube securely in place. Never reach down into housing
through tube hole.
WARNING: Always remove the battery when you leave the blower unattended or when storing, checking,
adjusting, cleaning, or working on the blower.
1. To attach the blower tube 4 to the powerhead, align the peg 8 of the powerhead with the notch 9 of the blower
tube opening as shown in Fig. D.
2. Push the blower tube onto the powerhead until the tube locks engage the blower tube and an audible click is
heard.
3. Pull-on the tube to ensure it is securely in place.
4. To remove the tube, insert a screwdriver into the unlocking hole 10 on the side of the blower tube.
Depress the tab inside and pull the tube off.
DeWALT DCBL722 - Fig. D
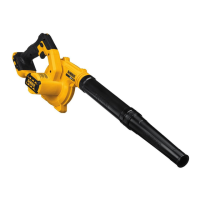
Concentrator Assembly (Fig. E)
Use the concentrator 7 attachment to target airflow to a tighter area.
1. Align the concentrator 7 with the tube assembly as shown in Fig. E.
2. Slide the concentrator 7 onto tube 4.
3. Push down until tabs 11 on both sides of the tube engage the locking holes 12 in both sides of the concentrator
7.
4. Pull-on concentrator 7 to ensure it is securely in place.
5. To remove concentrator 7, depress tabs 11 and pull concentrator 7 away from the tube.