3
ENGLISH
Fig. D
Fig.C
OPERATION
WARNING: To reduce the risk of serious personal
injury, turn unit off and disconnect it from
power source before making any adjustments or
removing/installing attachments or accessories.
An accidental start-up can causeinjury.
Fig. B
9
8
Installing and Removing the Magazine
from the Screwgun (Fig.B)
With the the nose cone removed and provided driver bit
9
installed, push the magazine over the bit onto the screw
driver until the magazine clicks into place and ensure that it
does notdisengage.
NOTE: Make sure the screwgun control lever is set to
forward rotation beforeuse.
To remove the magazine, press and hold the release
buttons
8
on both sides of the accessory and pull accessory
off thescrewgun.
Fitting the Collated Screwdriver Bit
(Fig.A,B)
NOTICE: For proper operation only use
collated screwdriver bit (catalog #:DCF6202PH2).
1. Remove the nose cone from thescrewgun.
2. To remove the bit and bit holder:
a. Grab the bitholder.
b. Push it into the gear case depressing thesleeve.
c. Rotate the bit holder until the clutchengages.
d. While holding the sleeve depressed, pull the bit
holderout.
NOTE: Refer to and follow all instructions on
changing bits and holders in your screwgunmanual.
3. Push and rotate the provided collated screwdriving
bit
9
into the spindle until ball lock snaps in groove of
the bitshank.
ASSEMBLY AND ADJUSTMENTS
WARNING: To reduce the risk of serious personal
injury, turn unit off and disconnect it from
power source before making any adjustments or
removing/installing attachments or accessories.
An accidental start-up can causeinjury.
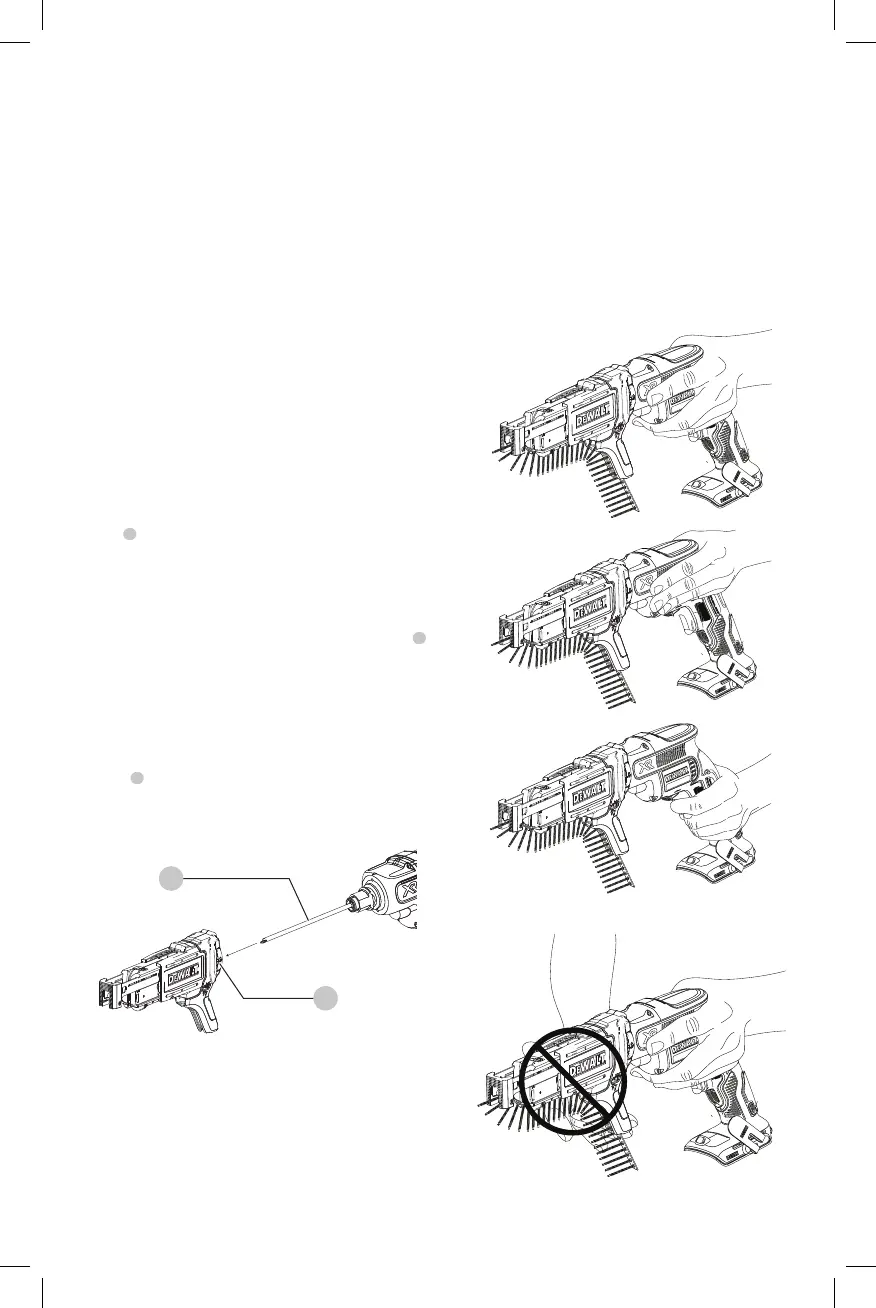
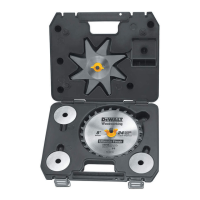
Proper Hand Position (Fig. C, D)
WARNING: To reduce the risk of serious personal
injury, ALWAYS use proper hand position as shown.
WARNING: To reduce the risk of serious personal
injury, ALWAYS hold securely in anticipation of a
suddenreaction.
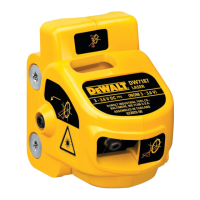
CAUTION: NEVER grip the collated attachment,
use it as a handle or touch the screw strips while in
operation as shown in FigureD.
Proper hand position requires one hand on the rear grip.
Take care to not block the air vents on thescrewgun.