33
ENGLISH
Inserting and Removing the Battery Pack
from the Tool (Fig.C)
NOTE: Make sure your battery pack
10
is fullycharged.
To Install the Battery Pack into the Tool Handle
1. Align the battery pack with the rails inside the tool’s
handle(Fig. C).
2. Slide it into the handle until the battery pack is firmly seated
in the tool and ensure that you hear the lock snap intoplace.
To Remove the Battery Pack from the Tool
1. Press the battery release button
6
and firmly pull the
battery pack out of the toolhandle.
2. Insert battery pack into the charger as described in the
charger section of thismanual.
Fuel Gauge Battery Packs (Fig.B)
Some DeWALT battery packs include a fuel gauge which consists
of three green LED lights that indicate the level of charge
remaining in the batterypack.
To actuate the fuel gauge, press and hold the fuel gauge
button
18
. A combination of the three green LED lights will
ASSEMBLY AND ADJUSTMENTS
WARNING: To reduce the risk of serious personal
injury, turn tool off and disconnect battery pack
before making any adjustments or removing/
installing attachments or accessories. An accidental
start-up can causeinjury.
WARNING: Use only DeWALT battery packs andchargers.
NOTE: This appliance is suited for the commercial use, e.g.
in hotels, schools, hospitals, factories, shops, offices, rental
companies, and on constructionsites.
DO NOT use under wet conditions or in the presence of
flammable liquids orgases.
DO NOT let children come into contact with the tool.
Supervision is required when inexperienced operators use
thistool.
• Young children and the infirm. This appliance is not
intended for use by young children or infirm persons
withoutsupervision.
• This machine is not intended for use
by persons (including children) with
reduced physical, sensory or mental
capabilities, or lack of experience and
knowledge. Children should never be
left alone with thisproduct.
• Children should be supervised to
ensure that they do not play with the
appliance.
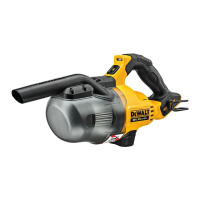
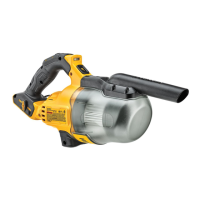
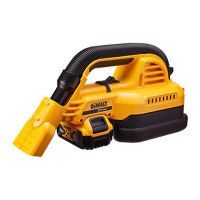
Description (Fig.A)
WARNING: Never modify the power tool or any part of it.
Damage or personal injury couldresult.
1
On/off switch
2
Dust bowl
3
Dust bowl release button
4
Filter assembly
5
Battery pack
6
Battery release button
7
Main handle
8
Belt hook
9
Belt hook screw
10
Nozzle
11
Extension
12
Flexible hose
13
Crevice nozzle
14
Round brush
15
Gulper brush
16
Floor nozzle
17
Date code
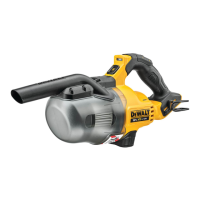
Intended Use
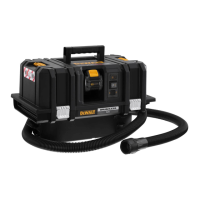
Your DCV501L cordless vacuum cleaner has been designed to
vacuum dry, non-combustable dusts up to dust Class L with
limit values for occupational exposure greater than 1 mg/m³.
This vacuum cleaner is a professional powertools.
DO NOT use to vacuumliquids.
DO NOT use the vacuum cleaner for combustible dust.
DO NOT use the vacuum cleaner in explosive atmospheres.
Date Code Position (Fig.A)
The date code
17
, which also includes the year of manufacture,
is printed into thehousing.
Example:
2021XX XX
Year and Week of Manufacture
WARNING: This appliance contains harmful dust. The emptying
and maintenance, including the removal of the dust bag, may
only be executed by trained personnel wearing suitable protection
equipment. Do not switch on until the complete filter system has
been installed.
Class L dust extractors are suitable to extract dry, non-combustible dusts
with workpace limit values of > 1 mg/m3.
Batteries may be used with the vacuum cleaner, see section
"Battery Type