English
10
Operating Instructions
Charging the Battery Using the Supplied
Battery Clamps
NOTE: If wrong voltage setting selected, the unit will not charge the
battery and does not display any LED indication.
WARNING – To reduce the risk of injury or property damage:
• Always disconnect the AC plug from the AC outlet first before
disconnecting the charger from the battery to be charged.
• Ensure that all installation, operating instructions and safety
precautions are understood and observed; then follow the steps
outlined in the appropriate section (“Charging a battery installed
in a vehicle” or “Charging a battery that has been removed from a
vehicle”).
1. Insert the double barrel tip of the battery clamp cable into the
double barrel tip of the battery charger cable (male-to-female and
female-to-male).
2. Slide the 6V/12V switch to either 6V or 12V depending upon the
battery you are charging and plug the AC cord into an AC outlet.
3. Connect the battery charger to the battery using the battery clamps,
following the appropriate directions in the “Preparing to Charge”
section at the front of this manual.
4. When the unit is properly connected and charging, the battery
charging LED will light yellow to indicate the battery is charging.
NOTES:
A. If the Charging LED did not come on, check the connection to
the battery. If the clamps are properly connected, the battery
may be in fault condition. Manufacturer suggests to have the
battery tested by a qualified battery service technician.
B. If the clamps are incorrectly connected with regard to polarity,
the Fault LED will light. Unplug the charger; then remove the
clamps. Reconnect the clamps properly.
5. When the Full LED lights green, the battery is fully charged.
When the battery is completely charged, the unit automatically goes into
Float Charge Mode. In this mode, the unit monitors the battery voltage
and charges as necessary to assure the selected battery maintains a full
charge. The unit remains in Float Charge Mode as long as the charger
is connected to the battery and plugged into a functioning AC outlet.
When disconnecting charger, disconnect AC cord, remove clamp from
vehicle chassis, and then remove clamp from battery terminal.
Connecting and Charging the Battery
with the Terminal Rings
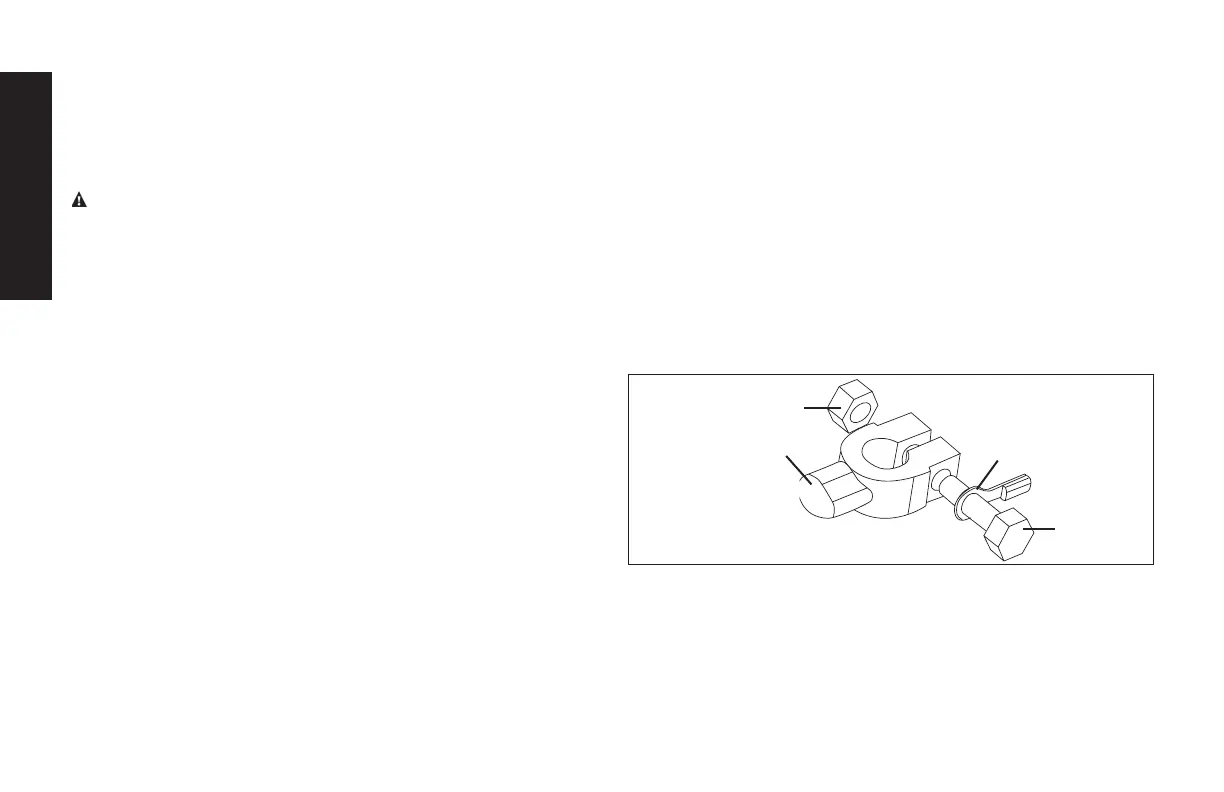
CONNECTING THE CHARGER WITH TERMINAL RINGS
The charger’s output leads have crimped, color-coded terminal rings
(RED-POSITIVE and BLACK-NEGATIVE). These rings connect directly
to the corresponding connectors on the battery posts.
NUT
CONNECTOR
TERMINAL RING
BOLT
1. Remove the nuts from the bolts of the battery post’s connectors.
2. Position the RED terminal on the bolt of the POSITIVE battery
post connector.
3. Position the BLACK terminal on the NEGATIVE post connector;
then replace the nuts.
IMPORTANT: If there is any problem connecting the output leads,
check with a reputable autosupply store or contact the Customer