5
English
NEVER LEAVE THE HEATER UNATTENDED WHILE BURNING!NEVER LEAVE THE HEATER UNATTENDED WHILE BURNING!NEVER LEAVE THE HEATER UNATTENDED WHILE BURNING!
10. Do not use with duct work. Do not restrict inlet or exit.
11. Use only with electrical power specied. The electrical connection and grounding
must comply with National Electrical Code – ANSI/NFPA 70 (USA) and CSA
C22.1 Canadian Electrical Code, Part 1 (Canada).
12. Do not move, handle, or service while hot or in operation.
13. Only move heater by picking it up by the handle.
14. Use only in accordance with local, state (provincial) or national requirements,
ordinances and codes.
Operating Instructions
UNPACKING
1. Remove heater from carton.
2. Remove all protective material which may have been applied to the heater for shipment.
3. Check the heater for possible shipping damage. If any damage is found immediately
contact the manufacturer at 855-805-5745.
ASSEMBLY
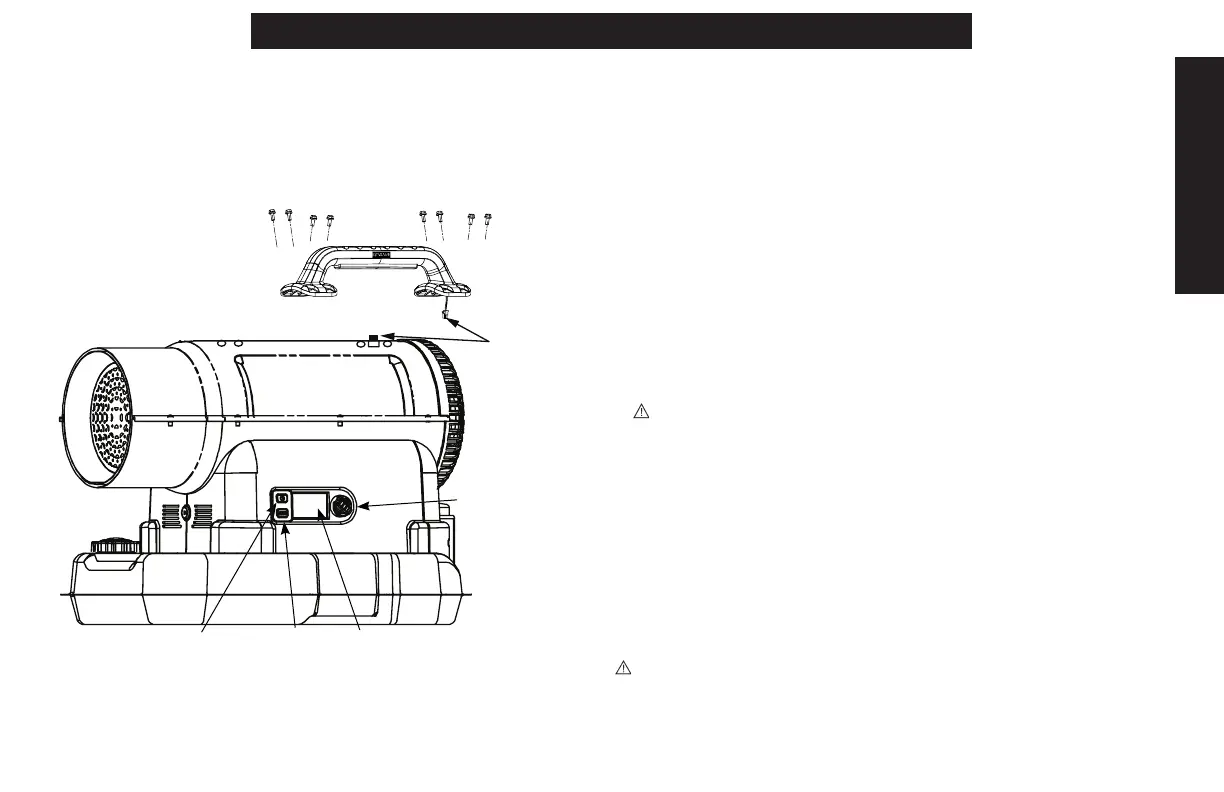
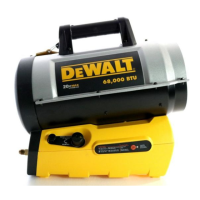
1. In the hardware package you will nd the handle and eight fasteners for attaching it
to the top of the heater.
a. Plug the electrical connector attached to the handle into the mating connector
mounted in the top of the heater.
b. Carefully guide the excess wire up into the handle as you center it on the 8
mounting points to attach the handle. See Fig. 1. Make sure to not pinch the
wiring between the handle and heater when fastening down.
PREPARATION FOR OPERATION
1. Ensure that heater does not appear to be damaged. If any is found, immediately
contact the manufacturer at 855-805-5745.
2. Charge (Refer to Battery Charging Procedure Section) and insert battery in the
rear of the heater or connect heater to 115V AC on the back of heater using an
extension cord. Refer to Figure 3 for battery/cord insertion.
3. Follow all WARNINGS and Precautions found in this manual.
4. At extreme temperatures the use of de-icer is recommended.
IMPORTANT: Before lling fuel tank the rst time or after extended storage
periods, drain the fuel tank of any moisture or condensation.
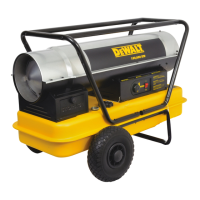
5. WARNING: Locate heater at a safe distance from combustible materials. Not
suitable for use on wood oors or other combustible materials. When used, the
heater should rest on suitable insulating material at least 1 inch thick and extending
3 ft. or more beyond the heater in all directions.
HEATER START UP
1. Ensure the heater is plugged in or at least one battery is inserted. While not
required, the unit will operate properly if plugged in while battery or batteries are
inserted.
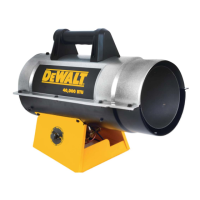
2. Press the power button until the LCD screen illuminates. Refer to Fig. 1.
3. Choose the desired MODE by pressing the MODE button. (Unit will default to
ECO if no mode is selected - See MODES below for more information)
4. Rotate the knob to desired temperature.
5. The heater will continue to run until the set temperature is reached. The
thermostat is compensated to avoid constant cycling.
WARNING: DO NOT MOVE, HANDLE, OR RELOCATE WHILE HEATER IS ON OR
WHEN THERMOSTAT IS IN STANDBY MODE.
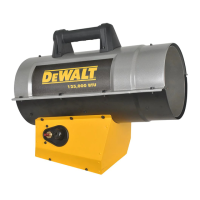
Fig. 1
Power Button
Mode Button
LCD Display
Thermostat
Knob
Connectors