47
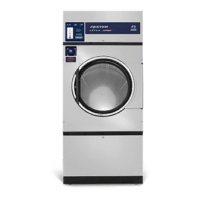
Clothes Door Reversal (OPL only) 80Lb Cont.
Step 11: set door with hinge plate back onto the lower hinge strap pin rst, next using 1/4”
allen wrench and lower door hinge fastener and fastening with the 3/16” allen screw,
next replace the inner door hinge plate cover with the two Phillips head screws.
Step 12: Reconnect Door switch harness and replace front panel in reverse operation.
Clothes Door Latch Adjustment
Step 1: Loosen the lock nut on the latching stud. It is located directly behind the door
handle.
Step 2: Open the loading door.
Step 3: Screw the door catch stud in or out as necessary and then retighten the lock
nut.
Installation of Clothes Door Window & Gasket
Step 1: Remove the loading door.
Step 2: Place the clothes door, with its face down, on a solid surface.
Note: Pre-warming the gasket under a heat lamp makes the installation much easier.
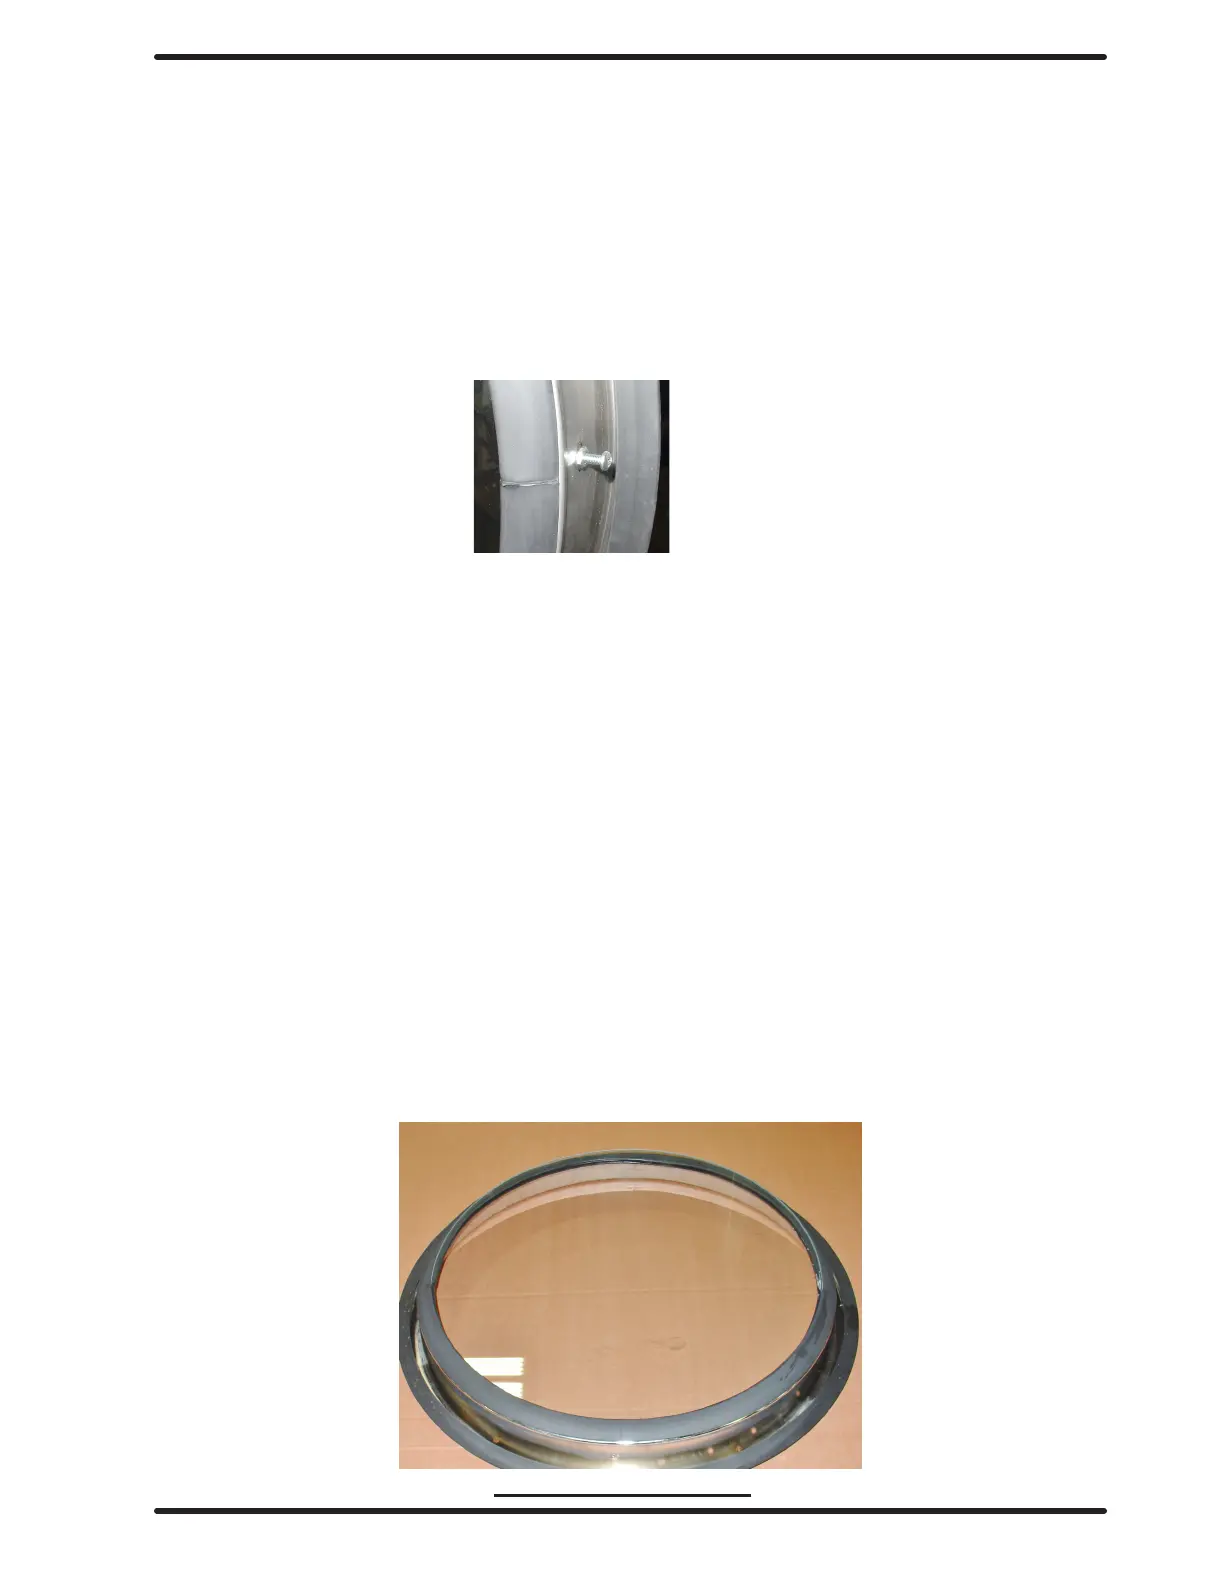
Step 3: Put the door glass gasket on the loading door with the ridges in the wide side up.
Locate the seam at the door latching stud.
Note: The gasket has one narrow opening on one side and a wide opening on the other.
The narrow side mounts to the door. The wide side holds the glass. The wide side has
ridges on one interior lip. This ridged side should go up with the door lying face down.
Step 4: Coat the inside and outside of the gasket with rubber lubricant or liquid soap.
Step 5: Slide the glass into the middle of the gasket with half of the glass above the door
and half below the door.
Step 6: While pressing on the glass, use a modied screwdriver (grind the end o so that
it is round and put a slight bend in it) and run it around half of the glass.
Step 7: With half of the glass installed, turn the door over and repeat step 6.
Step 8: Insert the modied screwdriver at the 6 o’clock position and pry the glass up
enough to install the door glass support spacer (small diameter rubber tube).
Glass inserted half way
Part # 8533-112-001 7/21
 Loading...