• 7 •
11. OPERATING INSTRUCTIONS
WARNING: A spark near the battery may
cause an explosion.
IMPORTANT: Do not start the vehicle with
the charger connected to the AC outlet, or
it could result in damage to the charger.
CHARGING A BATTERY
IN THE VEHICLE
1. Turn off all the vehicle’s accessories.
2. Keep the hood open.
3. Clean the battery terminals.
4. Place the charger on a dry, non-
ammable surface.
5. Lay the AC/DC cables away from any
fan blades, belts, pulleys and other
moving parts.
6. Connect the battery, following the
precautions listed in sections 6 and 7.
7. Connect the charger to a live
grounded 120V AC outlet.
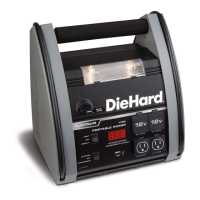
8. Charging will begin within ten minutes
and nish automatically. (Press
the START/STOP button to begin
charging immediately.)
9. When charging is complete,
disconnect the charger from the AC
power, remove the clamps from the
vehicle’s chassis, and then remove
the clamp from the battery terminal.
CHARGING A BATTERY
OUTSIDE OF THE VEHICLE
1. Place battery in a well-ventilated area.
2. Clean the battery terminals.
3. Connect the battery, following the
precautions listed in sections 6 and 7.
4. Connect the charger to a live
grounded 120V AC outlet.
5. Charging will begin within ten minutes
and nish automatically. (Press
the START/STOP button to begin
charging immediately.)
6. When charging is complete,
disconnect the charger from the AC
power, disconnect the negative clamp,
and nally the positive clamp.
7. A marine (boat) battery must be
removed and charged on shore.
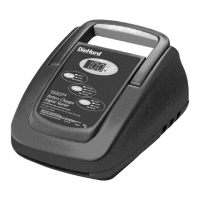
NOTE: This charger is equipped with
an auto-start feature. Current will not be
supplied to the battery clamps until a
battery is properly connected. The clamps
will not spark if touched together.
AUTOMATIC CHARGING
When an Automatic Charge is performed,
the charger switches to the maintain mode
automatically after the battery is charged.
ABORTED CHARGE
If charging cannot be completed normally,
charging will abort. When charging aborts,
the charger’s output is shut off and the
red BAD BATTERY
LED will light. Do not
continue attempting to charge this battery.
Have it checked or replaced.
DESULFATION MODE
While desulfation is in progress, the
CHARGING and BAD BATTERY LEDs will
be lit. Desulfation could take 8 to 10 hours.
If desulfation fails, charging will abort and
the BAD BATTERY (red) LED will remain lit.
COMPLETION OF CHARGE
Charge completion is indicated by the
CHARGED/MAINTAINING (green) LED.
When lit, the charger has switched to the
maintain mode of operation.
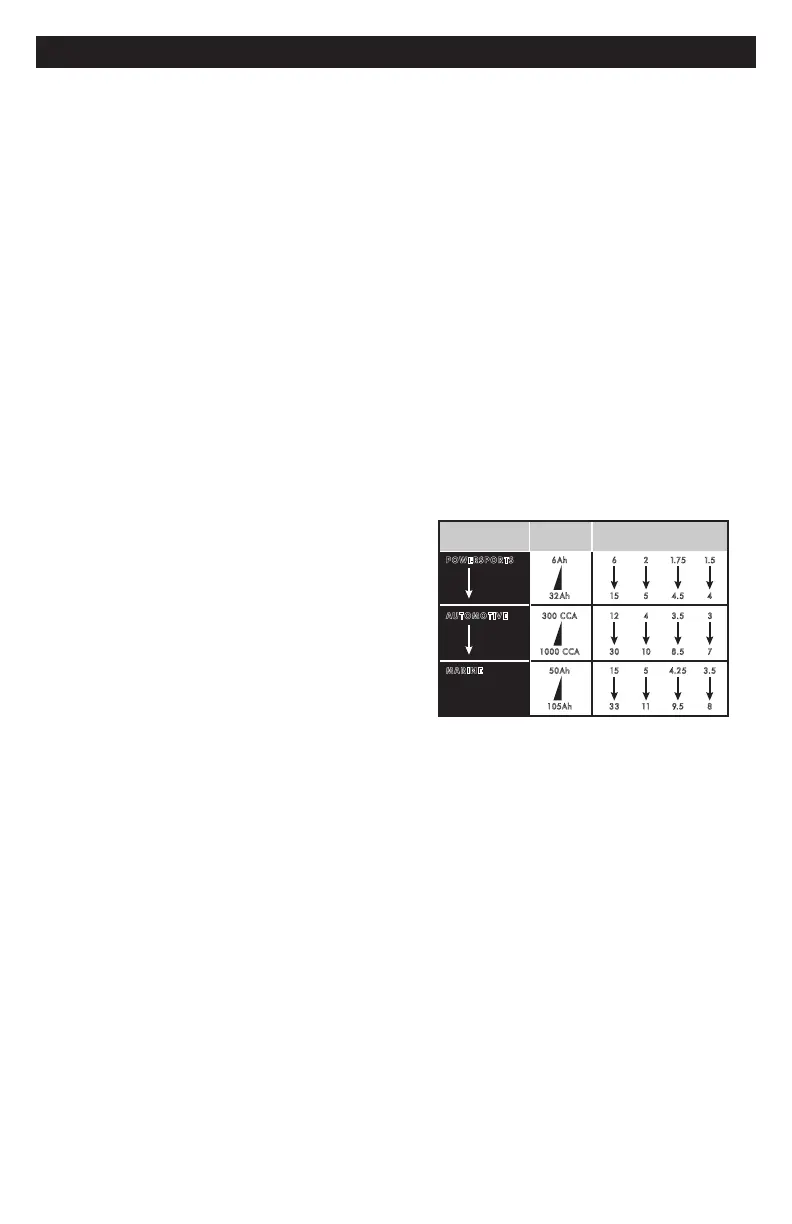
BATTERY CHARGING TIMES
APPLICATION
BATTERY
SIZE
CHARGING TIME (Hours)
2A 6A 8A 10A
POWERSPORTS
6Ah 6
32 Ah 15
AUTOMOTIVE
300 CCA 12
1000 CCA 30
MARINE
50 Ah 15
105Ah 33
2
5
4
10
5
11
1.75
4.5
3.5
8.5
4.25
9.5
1.5
4
3
7
3.5
8
Times are based on a 50% discharged
battery and may change, depending on age
and condition of battery.
MAINTAIN MODE
(FLOAT MODE MONITORING)
When the CHARGED/MAINTAINING
(green) LED is lit, the charger has
started maintain mode. In this mode, the
charger keeps the battery fully charged
by delivering a small current when
necessary. If the charger has to provide
its maximum maintain current for a
continuous 12 hour period, it will go into
abort mode (see Aborted Charge section).
This is usually caused by a drain on the
battery or the battery could be bad. Make
sure there are no loads on the battery. If
there are, remove them. If there are none,
have the battery checked or replaced.