7
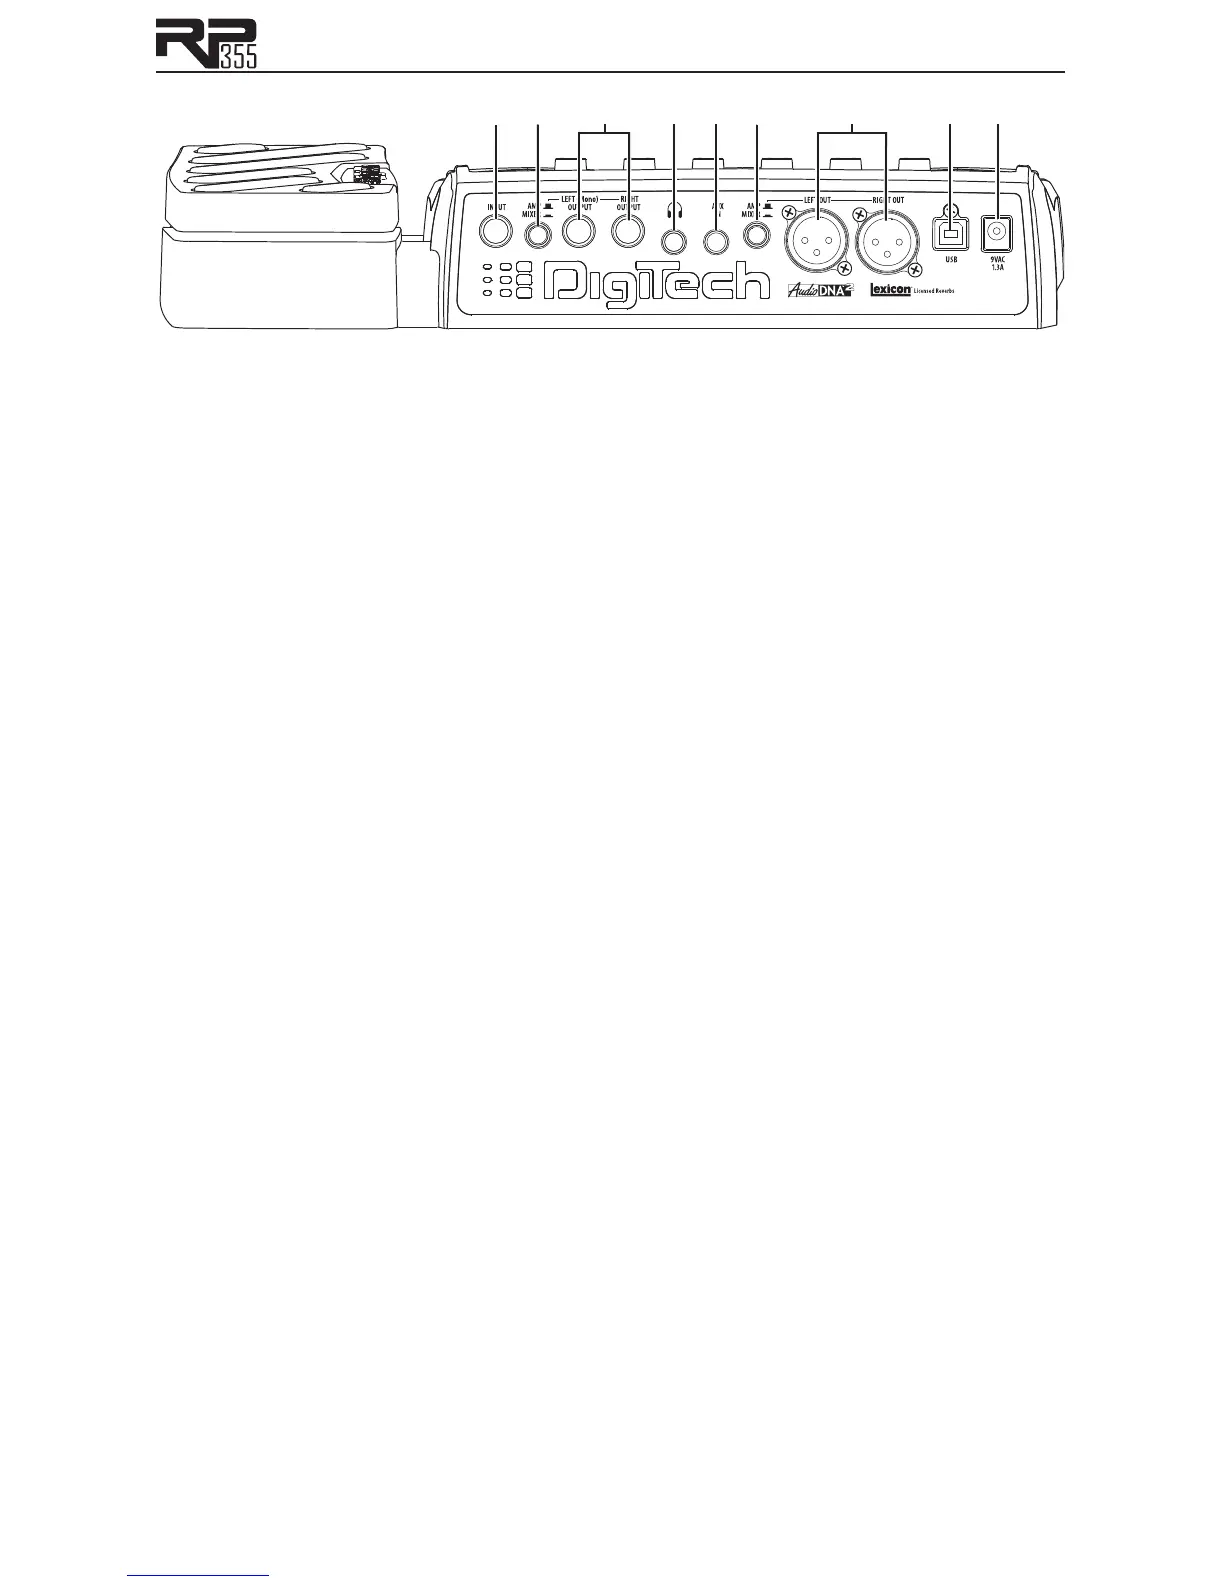
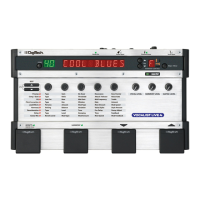
Rear Panel
1. Input
Connect your instrument to this high-impedance TS input.
2. Amp / Mixer (for the 1/4" Outputs)
This button optimizes the RP355’s 1/4" outputs for use when plugged into a guitar amp or a
mixer/recording device. When set to Mixer (“In” position; display reads ), speaker com-
pensation is turned on and the outputs are optimized for connecting to a mixer or recording
device. When set to Amp (“Out” position; display reads ), the outputs are optimized for
running directly in to the input of a guitar amp.
3. 1/4" Left (Mono) and Right Outputs
Connect the Left (Mono) output to the input of a single amplifier (or mixer input) for mono
operation. Connect the Left and Right outputs to the inputs of 2 amplifiers (or 2 mixer chan-
nels) for stereo operation.
4. Headphones
Connect stereo headphones to this 1/8" jack. For proper frequency response, the XLRAmp/
Mixer switch should be set to Mixer (“In” position) when using headphones. Headphones with
16-100 Ohm impedance are recommended.
5. Aux In
Connect the headphone output of an MP3 or CD player using a stereo 1/8" cable to this 1/8"
stereo TRS jack for rehearsing with your favorite pre-recorded material, and using the Learn-A-
Lick
TM
feature (see page 27 for more info). Adjust the output level of your playback device and
the RP355’s Master Level knob for the proper volume balance.
6. Amp / Mixer (for the XLR Outputs)
This button optimizes the RP355’s XLR outputs for use when plugged into a power amp/speaker
system or a mixer/recording device. When set to Mixer (“In” position; display reads ),
speaker compensation is turned on and the outputs are optimized for connecting to a mixer,
recording device or headphones. When set to Amp (“Out” position; display reads ), the
outputs are optimized for running directly in to the input of a guitar amp or power amp.
7. XLR Balanced Line Outputs
Connect these outputs to your power amplifier/speaker system or to a mixing console that
accepts balanced XLR connections. Speaker compensation can be enabled on these outputs
when connected to a full-range speaker system. The XLR outputs are always configured for ste-
reo operation.
8. USB Port
The USB port is for connecting the RP355 to a computer and serves two purposes: (1) for
use with the downloadable X-Edit™ Editor/Librarian software, and (2) for streaming audio to
and from the computer. The RP355 will stream 2 channels up and 2 channels down from the
computer at 44.1kHz, 16 and 24 bit. A utility panel in the Editor/Librarian controls the direct/
playback mix and USB record level with the included Cubase
®
LE 4 sofware, or any recording
software the RP355 is connected to. Knobs 4 and 5 also control the direct/playback mix and
USB record level when USB is connected and the Pickup Row is selected.
Note: X-Edit Editor/Librarian software and USB drivers can be downloaded at
www.digitech.com.
9. Power Input
Connect only the DigiTech
®
PS0913B power supply to this jack.