12
FIRMWARE UPDATE
The console can be updated through your WI-FI network. If new firmware is available, a
notification or pop up message will be shown on your mobile when you open the App. Follow
the instructions in the App to do the update.
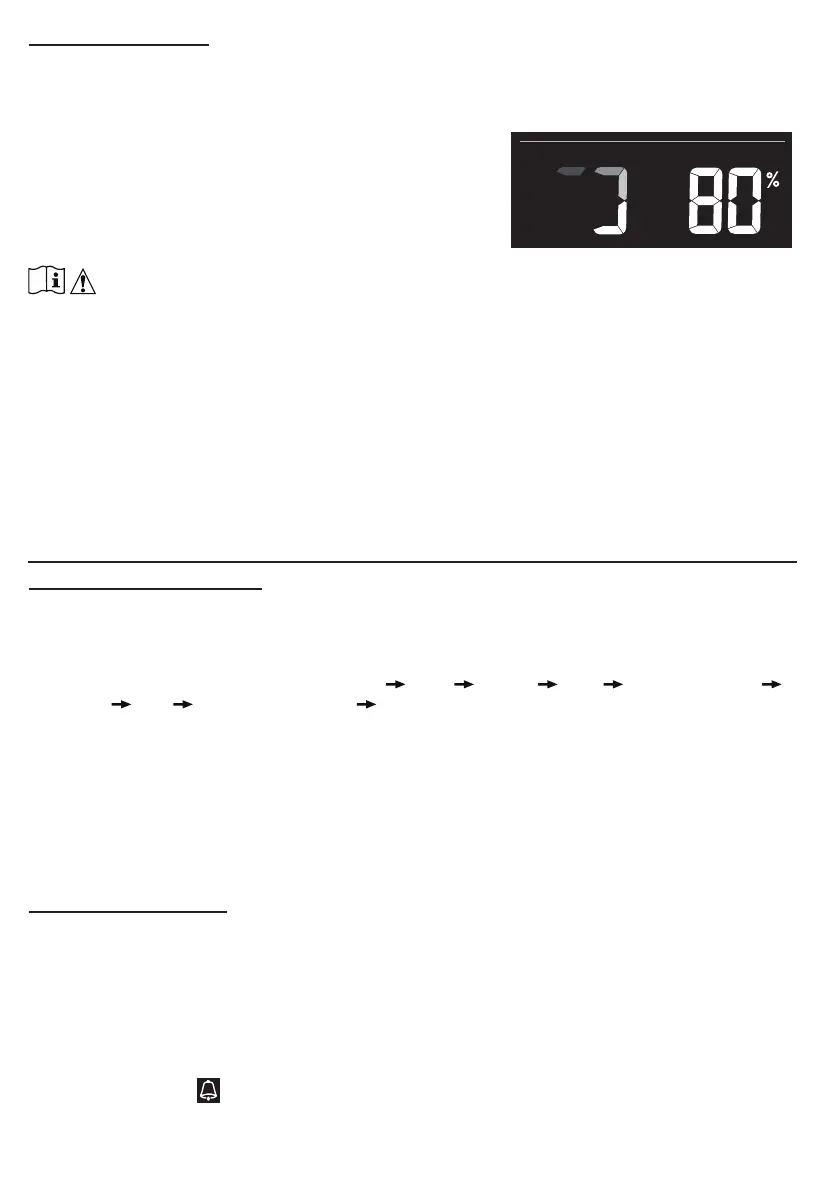
During the update process, the console will show the
progress status percentage at the bottom of the screen.
Once the update complete, the console screen will reset
and back to normal mode. Please ignore App update
fail message, if the console can restart and show the
normal screen after the update process completed.
IMPORTANT NOTE:
- Please keep connecting the power during the firmware update process.
-
Please make sure your console's WI-FI connection is stable.
- When the update process starts, do not operate the console until the update is finished.
- Settings and data may be lost during update.
- During a firmware update, the console will stop uploading data to the cloud server. It will reconnect
to your WI-FI router and upload the data again once the firmware update succeeds. If the console
cannot
connect to your router, please enter the SETUP page to setup again.
- The Firmware update process has potential risk, which cannot guarantee 100% success. If the
update fails, please redo the above step to update again.
- If the firmware update fails, press and hold the [C/F] and [REFRESH] keys at the same time for 10
seconds to go back to the original version, then redo the update procedure again.
OTHER SETTING & FUNCTIONS OF THE CONSOLE
MANUAL CLOCK SETTING
This console is designed to obtain the local time by synchronizing with your local time. If you
want to use it o line, you can set the time and date manually. During the rst time startup, press
and hold the [ SENS
OR / WI-FI ] key for 6 seconds and let the console back to normal mode. 1.
In normal mode, press and hold the [ TIME SET ] key for 2 seconds to enter setting.
2. The setting sequence: 12/24 hour format
Hour Minute Year M-D/D-M format
Month Day Time sync ON/OFF weekday Language.
3. Press [ + ] or [ - ] key to change the value. Press and hold the key for quick-adjust.
4. Press the [ TIME SET ] key to save and exit the setting mode, or it will automatically exit the
setting mode 60 seconds later without pressing any key.
NOTE:
- In normal mode, press the [ TIME SET ] key to switch between year and date display.
- During the setting, you can return to the normal model by pressing and holding the [ TIME SET ] key
for 2 seconds.
SETTING ALARM TIME
1. In normal time mode, press and hold the [ MODE / ALARM ] key for 2 seconds until the
alarm hour digit flashes to enter alarm time setting mode.
2. Press [ + ] or [ - ] key to change the value. Press and hold the key for quick-adjust.
3. Press the [ MODE / ALARM ] key again to step the setting value to Minute with the Minute
digit flashing.
4. Press [ + ] or [ - ] key to adjust the value of the flashing digit.
5. Press the [ MODE / ALARM ] key to save and exit the setting.
NOTE:
- In alarm mode, the “ ” icon will display on the LCD.
- The alarm function will turn on automatically once you set the alarm time.