30
8.2.1 RE-PAIRING THE SENSOR(S) MANUALLY
:KHQHYHU\RXFKDQJHGWKHEDWWHULHVRIWKHLQZHDWKHUVHQVRUDUUD\RURWKHUDGGLWLRQDO
sensors, re-synchronization must be done manually.
1. Change all the batteries to new ones in the low battery sensor(s).
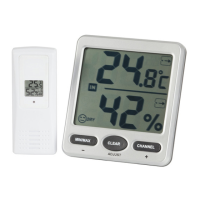
2. Press [ SENSOR / WI-FI ] key on the console to enter sensor synchronization mode (as
LQGLFDWHGE\WKHÀDVKLQJDQWHQQD
).
8.3 RESET AND FACTORY RESET
To reset the console and start again, press the [ RESET ] keyRQFHRUUHPRYHWKHEDFNXSEDWWHU\
and then unplug the adapter.
7RUHVXPHIDFWRU\VHWWLQJVDQGUHPRYHDOOGDWDSUHVVDQGKROGWKH[ RESET ] key for 6 seconds.
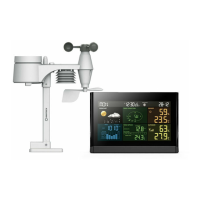
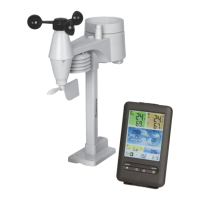
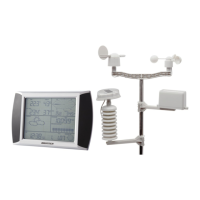
8.4 WIRELESS 7-IN-1 SENSOR ARRAY MAINTENANCE
REPLACE THE WIND VANE
8QVFUHZDQGUHPRYHWKHZLQG
YDQHIRUUHSODFHPHQW
REPLACE THE WIND CUP
1.
8QVFUHZDQGUHPRYHWKH
top cap
5HPRYHWKHZLQGFXSIRU
replacement
CLEANING THE RAIN COLLECTOR
1.Rotate the rain collector by turning
it 30°anti-clockwise.
*HQWO\UHPRYHWKHUDLQFROOHFWRU
&OHDQDQGUHPRYHDQ\GHEULVRU
insects.
4.Install the collector when it is clean
and fully dried.
CLEANING THE UV SENSOR AND
CALIBRATION
• For precision UV measurement,
JHQWOHFOHDQWKH89VHQVRUFRYHU
• 2YHUWLPHWKH89VHQVRUZLOO
naturally degrade. The UV sensor
can be calibrated with a utility
grade UV meter, please refer to
&DOLEUDWLRQVHFWLRQLQSUHYLRXV
page for about the UV sensor
cablibration.
CLEANING HYGRO-THERMO
SENSOR
5HPRYHWKHVFUHZVDWWKH
bottom of the radiation shield.
2.Gently pull out the shield.
&DUHIXOO\UHPRYHDQ\GLUWRU
insects on the sensor (do not
let the sensors inside get wet).
4.Clean the shield with water to
UHPRYHDQ\GLUWRULQVHFWV
5.Install all the parts back when
they are clean and fully dried.