REMOTE CONTROL
The remote control has a range of approximately 50 ft. (15.25m), it does not have to be pointed at the
fi replace and can pass through most obstacles (including walls). It is supplied with 243 independent
frequencies to prevent interference with other units.
BATTERY INSTALLATION
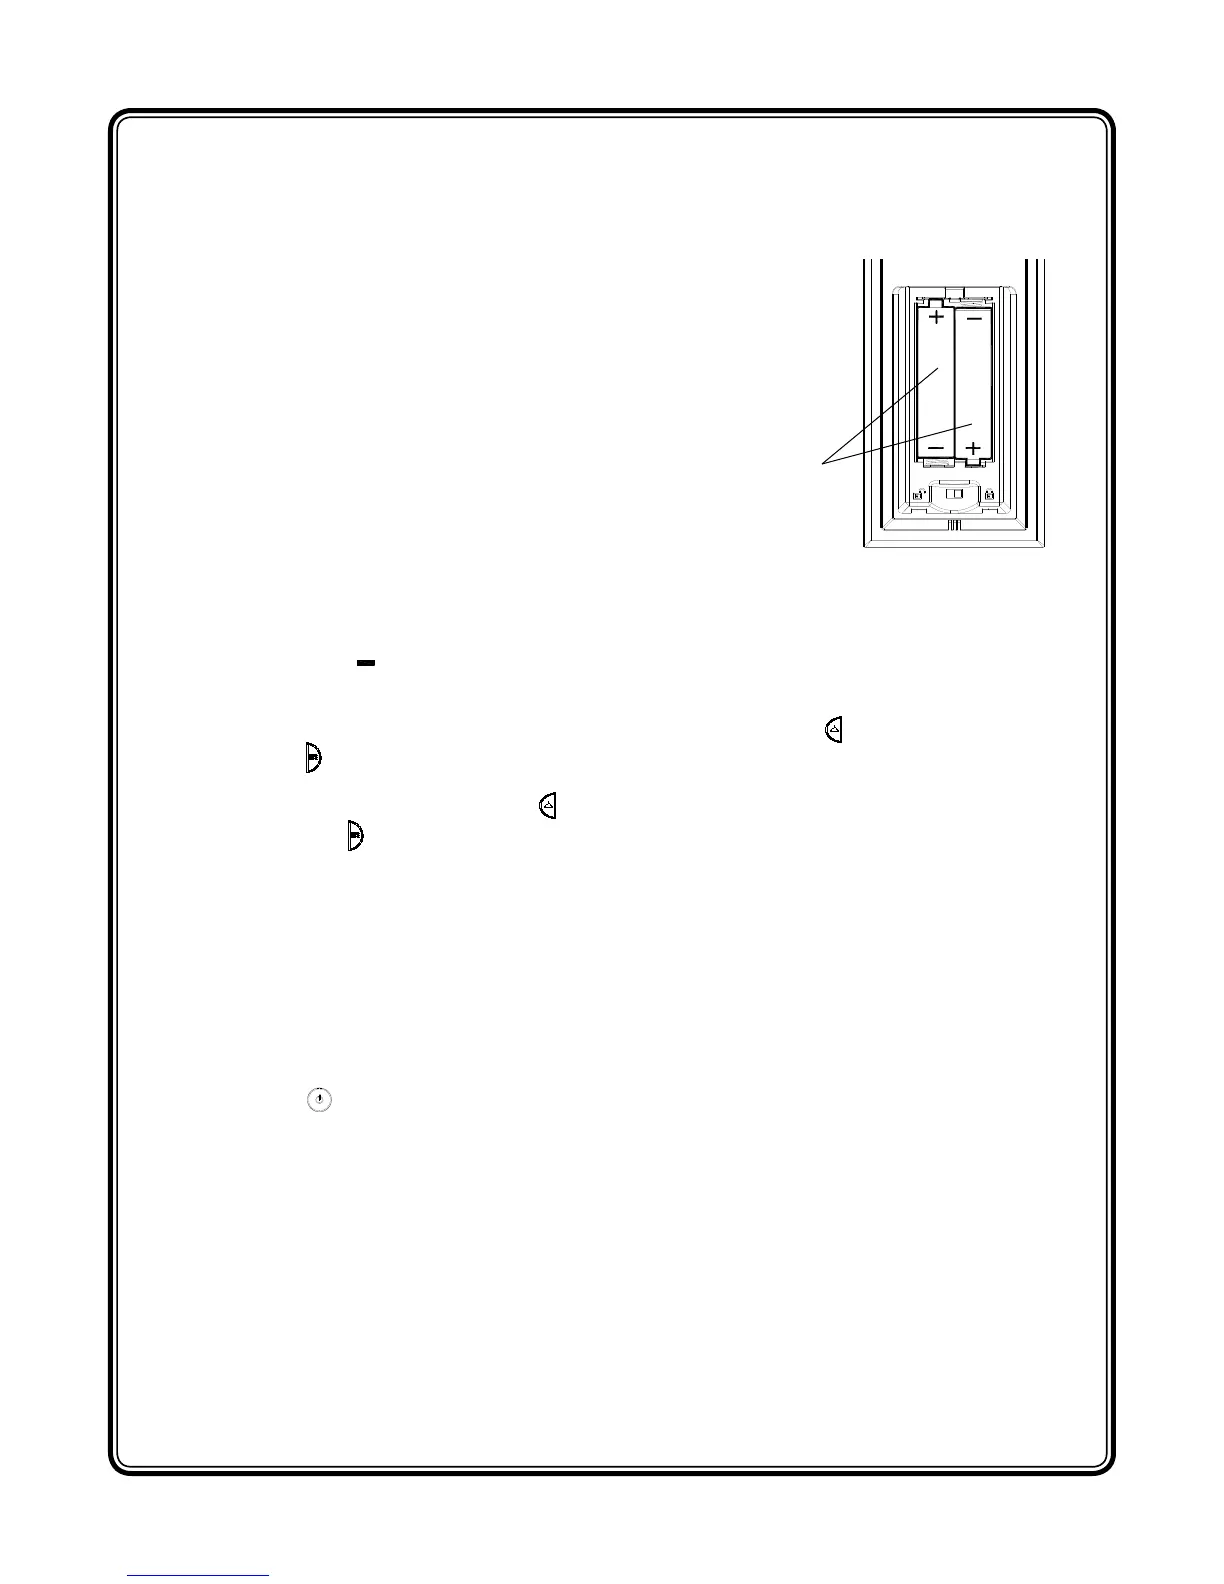
1. Depress tab on the battery cover on the back of the remote
transmitter and remove battery cover.
2. Install 2 AAA batteries into the remote control. (included)
3. Ensure child lock is in the “unlocked” position.
4. Replace the battery cover.
NOTE
When the “BAT” symbol is present on the remote control it is
recommended to replace the batteries promptly, to maintain
full functionality of the remote/fi replace. The remote transmitter
has a battery backup time of only several hours.
INITIALIZING THE REMOTE CONTROL
1. Plug cord into 120 volt wall outlet.
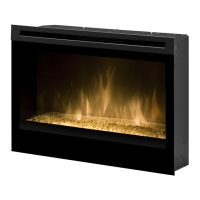
2. Ensure the Main On/Off switch located in the switch box on the fi replace in the lower right hand
corner is in the ON position.
3. Set the 3 position manual control to the Remote position (right position).
4. Press and hold the initialization button on the unit.
5. While holding the initialization button, press the fl ame/heat ON/OFF button or the Purifi re™
ON/OFF button on the remote control transmitter.
6. Release the initialization button on the unit.
7. Press the Flame/Heat On/Off button to turn the Flame/Heat function ON or press the Purifi re™
On/Off button to turn the Purifi re™ function ON.
FREQUENCY INTERFERENCE
If the fi replace does not respond properly to the remote control, the remote operating frequency may
have to be reset. The remote control can send another frequency code to the circuit board to eliminate
interference.
1. Simultaneously press the “TEMPERATURE DOWN” button and the “FLAME SPEED DOWN”
button on the remote control.
2. “COD” will appear in place of the sleep timer digits.
3. Release the “TEMPERATURE DOWN” button and the “FLAME SPEED DOWN” button.
4. Press the initialization button on the unit.
5. Press the button on the remote.
Your remote will now have a different frequency communicating with the fi replace.
FIGURE 6
Batteries
6