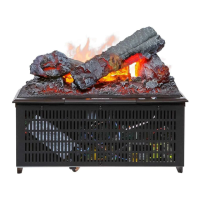
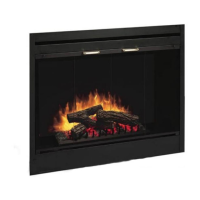
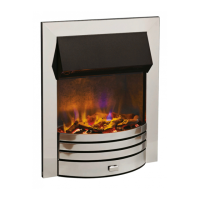
6 www.dimplex.com
Opti-V Installation
WARNING: ANY
INSTALLATION AND SERVICE
WORK CAN ONLY BE
PERFORMED BY QUALIFIED AND
AUTHORIZED PERSONNEL. ALL
INSTALLATIONS MUST COMPLY
WITH ALL LOCAL CODES AND
BYLAWS, AND INSPECTED AND
APPROVED FOR OPERATION BY
LOCAL GOVERNING AUTHORITY
PRIOR TO USE.
WARNING: Construction and
electrical outlet wiring must comply
with local building codes and other
applicable regulations to reduce the
risk of re, electric shock and injury
to persons.
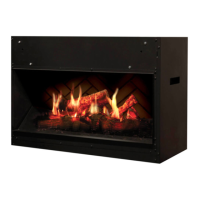
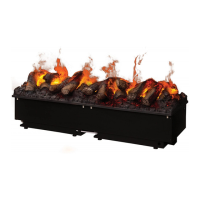
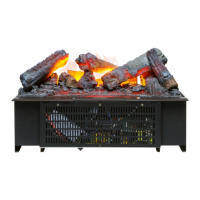
Locating the Opti-V
The Opti-V uses an illusory reection
technique and is designed to work
best when ambient light levels
are low. If the Opti-V is installed
in brightly lit areas, the strong
reections may diminish the ame.
Depending on your specic
application, installation of the unit
at a height appropriate for the
viewers enjoyment is important. It
is recommended that the following
guidelines be used for locating the
unit.
!
NOTE: Measurements are to
the bottom of the viewing area
of the ame.
For standing applications:
Maximum - 51" (129.5 cm)
Minimum - 26" (66.0 cm)
For sitting applications:
Maximum - 36" (91.4 cm)
Minimum - 26" (66.0 cm)
Hardwire Installation
The Opti-V is supplied in an
assembled state and is designed
to be permanently installed. The
unit comes ready for hardwire
installation.
WARNING: Do not attempt
to wire your own new outlets or
circuits. To reduce the risk of re,
electric shock or injury to persons,
always use a licensed electrician.
WARNING: Ensure that the
On/O switch is set to the O
position (refer to Operation section)
and that the circuit on which the
Opti-V is to be installed has the
power cut o at the service panel
until installation is complete.
!
NOTE: Please read all
instructions before installing.
1. For rough in framing, the
opening should follow the
recommended dimensions
located in Figure 1.
!
NOTE: Dimensions provided
are minimum clearances and will
vary depending on type of support
framing and nishing options.