6
www.dimplex.com
Replacement Part Procedures
WARNING: If the the replace was operating prior to servicing, allow at least 10 minutes for the
heating elements to cool off to avoid accidental burning of skin.
WARNING: Disconnect power before attempting any maintenance to reduce the risk of electric
shock or injury to persons.
Tools Required: Phillips Head Screwdriver
1. Unplug the unit.
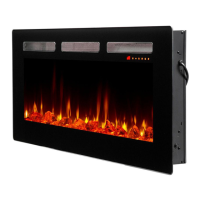
2. Undo the latch at the top and unhook the front glass to remove it (Figure 1).
3. Remove the logs, rocks, or glass chunks and put them in a safe place.
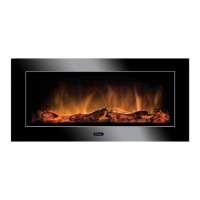
4. If the unit is mounted to the wall, remove the two screws that secure the wall mounting bracket.
(Figure 2)
5. Place replace on a work surface.
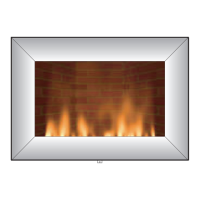
6. Remove the screws that secure the back panel. The number of screws will vary depending on the
size of the replace. Put the back panel aside (Figure 3).
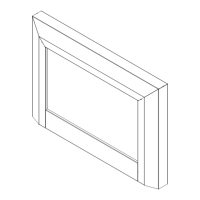
7. Remove the 2 screws on each side of the top panel. Unplug the connector from the main control
board, and put the top panel aside (Figure 4).
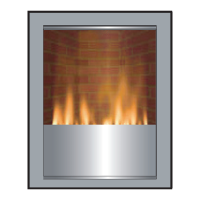
Preparing the Firebox for Service
Figure 1
Figure 2
Figure 3
Figure 4