Before fi rst use
Checking the grinder and scope of delivery
NOTE!
Risk of damage!
Opening the packaging carelessly with a sharp knife or other pointed
objects can damage the grinder.
– Proceed very carefully when opening.
1. Remove the grinder from its packaging.
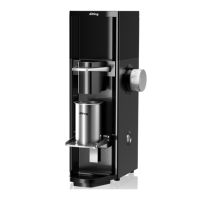
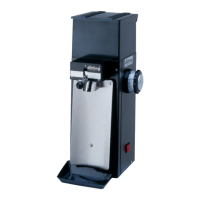
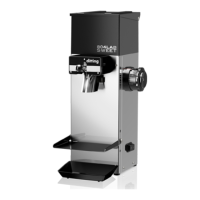
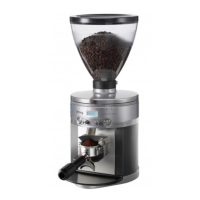
2. Check that the delivery is complete (see Fig. A, C, D, F, G, H, and I).
3. Check for damage to the grinder or any of the individual parts.
If there is any damage, do not use the grinder. Contact your supplier (see
“Maintenance and service” sec on).
Please note that the grinder has undergone a comprehensive
func onal test prior to delivery and may contain ground coff ee
residue.
Se ng up and connec ng the grinder
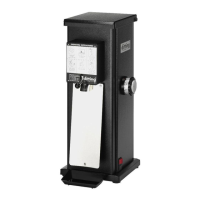
1. Place the grinder on a level and stable surface that does not vibrate.
2. Posi on the fl apper (16) in the opening in the integrated grinder (18). (Fig. D)
3. Posi on the bean hopper (1) on the bean hopper intake (17). When
posi oning the bean hopper intake, ensure that the posi oning pin of the
bean hopper is located in the corresponding recess in the bean hopper
intake.
4. Push the bean hopper down slightly into the bean hopper intake and push
the bean hopper forwards to lock it into place on the grinder. (Fig. E)
5. Push down the locking screw (19) for the bean hopper and ghten it clock-
wise using an appropriate tool.
6. Insert the power plug (15) into a properly installed wall socket.
COMMERCIAL COFFEE GRINDER
14