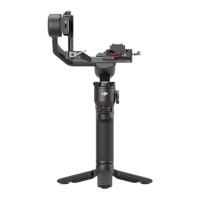
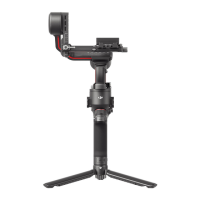
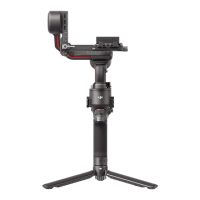
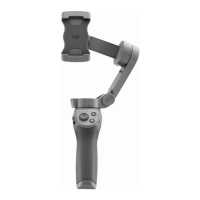
DJI RS 3 Mini
User Manual
7
©
2023 DJI All Rights Reserved.
Mounting the Camera
Supported Cameras and Lenses
DJI RS 3 Mini has been rigorously tested to support a payload of 2 kg (4.4 lbs). Make sure the
combined weight of the camera, lens, and other accessories are within 2 kg (4.4 lbs). Refer
to the official DJI website (https://www.dji.com/support/compatibility) for the most updated
Ronin Series Compatibility List.
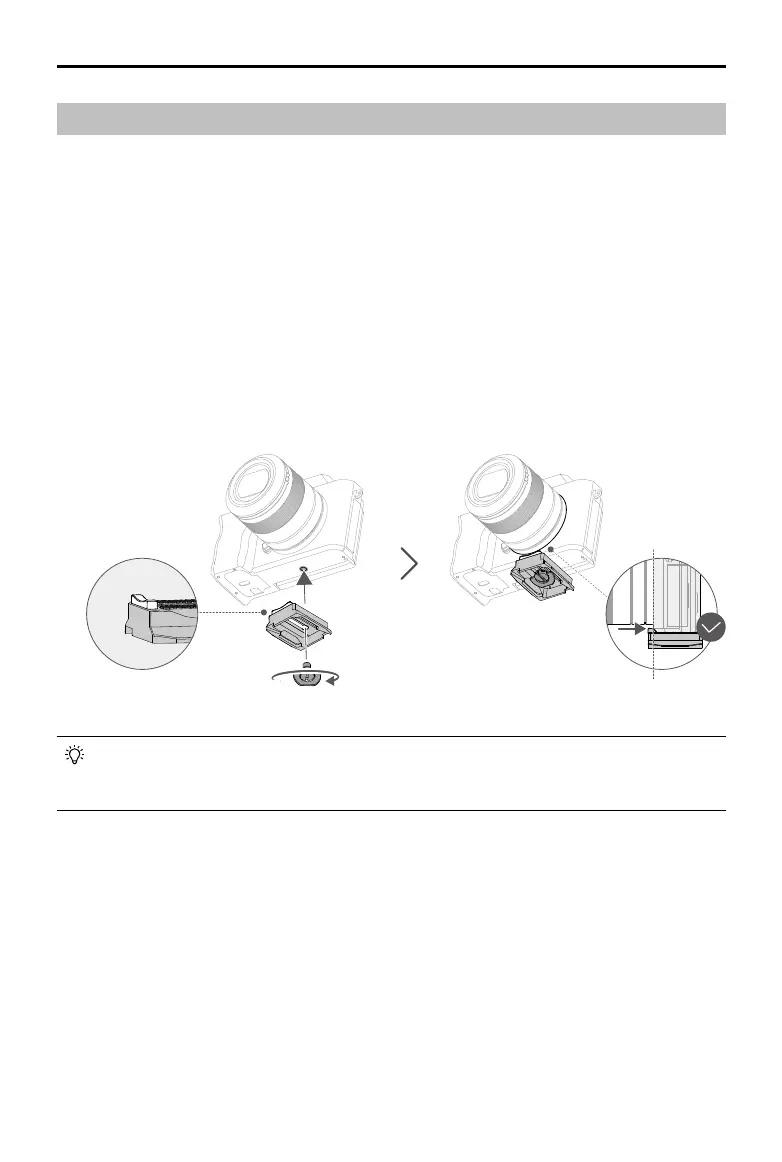
Mounting a Camera
Make sure to prepare the camera before mounting it to DJI RS 3 Mini. Remove the lens cap and
check that the battery and memory card are inserted in the camera.
1. Attach the Upper Quick-Release Plate
Attach the upper quick-release plate to the camera by tightening the screw. Note: use the
curved placement guide to secure the camera on the upper quick-release plate firmly.
•
If the curved placement guide of the upper quick-release plate cannot be used to
firmly secure the camera, change the direction of the upper quick-release plate and
then install it.
2. Attach the Camera to the Gimbal
DJI RS 3 Mini supports horizontal shooting and vertical shooting. Follow the steps to install
the camera in horizontal and vertical shooting modes.