8
EN
Mission Flight
Users can create a flight mission to record point cloud data in DJI Pilot 2 and import the
recorded data into DJI Terra for high-precision model reconstruction.
Getting Started
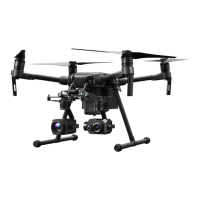
1. Make sure the L2 is correctly installed on the single downward gimbal connector of the
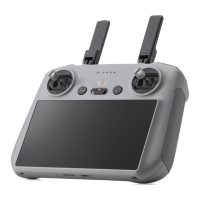
aircraft, and that the aircraft and remote controller are linked after powering on.
2. Go to camera view in DJI Pilot 2, select and then Precise Positioning Setting. Choose the RTK
service type, and make sure that the status of RTK positioning and heading both display FIX.
3. Adjust the camera parameters on the upper right corner of camera view according to the
surroundings. Make sure the photo is well exposed. Tap to switch exposure modes. It is
recommended to set Auto mode for recording point cloud data.
Recording Point Cloud Data
To record point cloud data, create a flight mission or begin a manual flight. The following uses
an Area Route as an example.
1. Enter the camera view in DJI Pilot 2 and tap , select Create a Route, and then Area Route.
Tap on the map view, and drag the boundary point to adjust the range of the mapping area.
2. Choose the aircraft, and then select Zenmuse L2, LiDAR Mapping. Set the Payload Settings,
Advanced Settings, and other parameters. It is recommended to set the Side Overlap (LiDAR) to
above 20%, the Scanning Mode to Repetitive, the altitude to 150 m, the flight speed to 15 m/s,
and to enable Calibrate IMU.
3. Tap to save the task and tap to upload and execute the flight mission.
4. Power off the aircraft after the mission is completed and remove the microSD card from the
L2. Insert the microSD card into a computer and check the point cloud data and other files in
the DCIM folder.
• Read the Zenmuse L2 User Manual for more information about setting parameters for
Photogrammetry missions, and recording point cloud data with Mission and manual flights.
13. Preview
14. FPV Camera View
15. Navigation Display
16. Map View
17. Laser PinPoint
18. Visible Light/Point Cloud Toggle
19. Single/Side-By-Side View Toggle
20. Gimbal Mode
21. Laser Ranging
22. Flight Route Library
The above image is for reference only. The actual interface varies according to the app version.
 Loading...