12
SERVICE
K
I
J
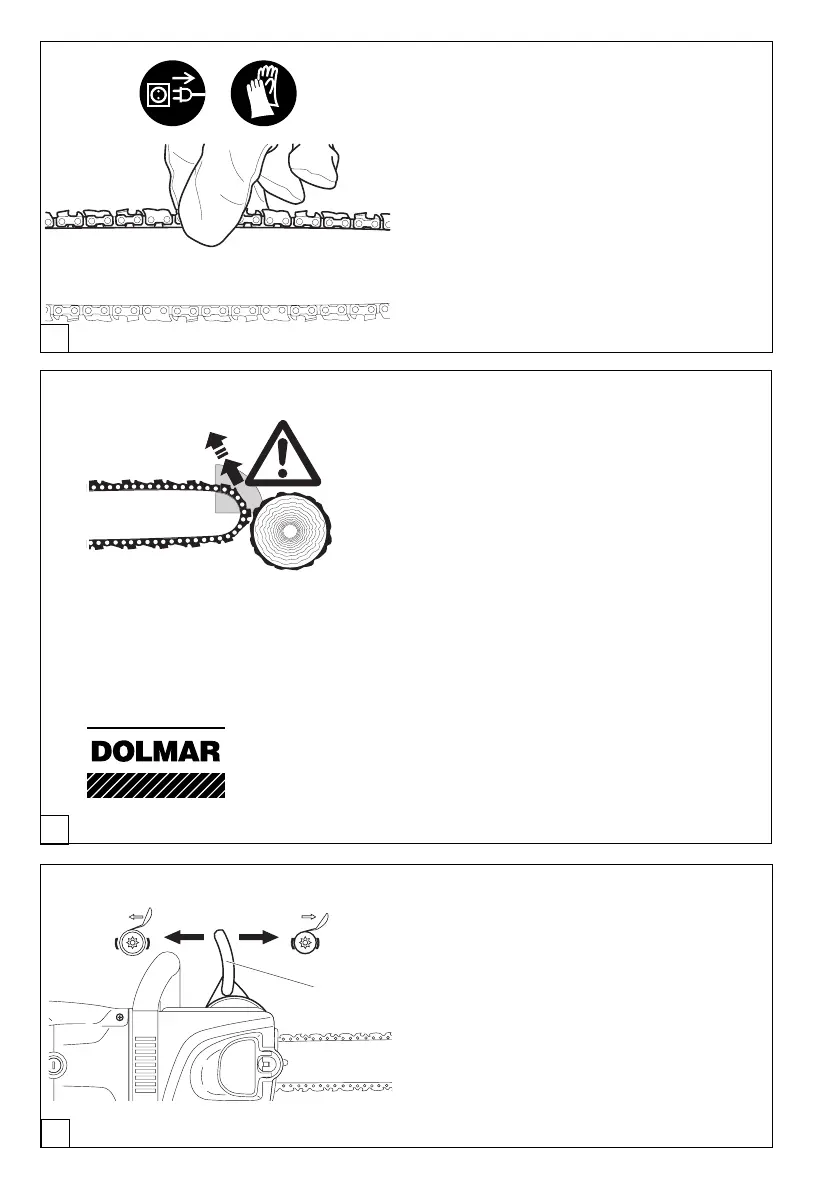
Checking the chain tension
The chain has the proper tension when it lies against the bottom
edge of the guide bar and can be easily pulled by hand about
2-4 mm (about 1/8") up from the guide bar.
Check the chain tension frequently - new chains tend to get
longer during use!
When checking the chain tension the motor must be switched
off and the power supply plug pulled out. If the chain is too
loose: Loosen the sprocket guard quick tightener by about a
quarter turn. Tighten the chain as described under “Tightene-
ing the saw chain.”
HINT:
Use 2 or 3 saw chains alternately for even wear of the chains,
sprocket and guide bar running surfaces.
In order to guarantee a uniform wear of the groove in the bar the
bar should be turned over whenever replacing the chain.
Chain brake
These models come with a chain brake as standard equip-
ment. If there is a kickback resulting from the guide bar tip
impacting the wood (see SAFETY INSTRUCTIONS, page 7),
the back of the hand hitting the handguard will engage the
chain brake.
The chain will stop within a fraction of a second.
Run-out brake
The electric chain saw come with a run-out brake as standard
equipment.
The run-out brake ensures that the chain comes to a stop
immediately when the ON/OFF switch is released, thus
preventing the chain from continuing to run and presenting a
hazard.
Testing of the run-out brake is described on page 16.
Chain and run-out brake maintenance
The brake systems are very important safety features, and
like any other part they are subject to a certain amount of
wear. Regular inspection and maintenance is important for
your personal safety, and can be properly performed only
by a DOLMAR service centre.
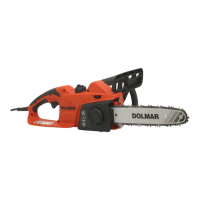
Engaging the chain brake (braking)
With your left hand, press the handguard (1) towards the tip of
the guide bar (arrow 2).
Releasing the chain brake
Pull the hand guard (1) towards you (arrow 3) until you feel it
catch. The brake is now released.
Note:
When the chain brake is actuated the power supply to the
motor will be cut off. Testing of the chain brake is described
on page 16.
23
1