Installing and connecting the DC kit DC-Kit2
16
7.2 Installing components
I
➤ Install the ECL-102 charging current distributor.
➤ Install the PP2002 inverter.
➤ B1600: Fit remote control RC2 in an easily accessible location in the vehicle.
D
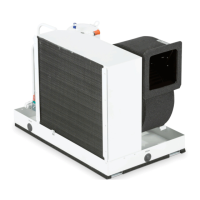
7.3 Connecting the CA2500 Dometic roof air conditioner
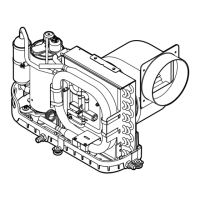
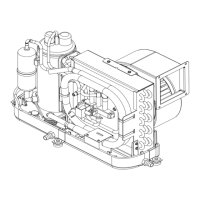
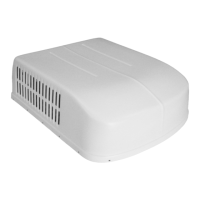
➤ Remove the air outlet of the roof air conditioner ( CA2500) (fig. 1, page 3).
➤ Cut the cable loop of the CA2500 on/off cable through the middle (fig. 2 A,
page 3).
➤ Connect the control cable to the on/off cable (fig. 2 B, page 3).
➤ Lay the control cable of the roof air conditioner to the ECL-102 charging current
distributor.
➤ Cut off round system plug (fig. 2 C, page 3).
➤ Connect both ends of the cable with connections I2 and I3 of the charging
current distributor ( ECL-102) (fig. 3 1 and 2, page 4).
➤ Attach the air outlet of the roof air conditioner ( CA2500) (fig. 1, page 3).
➤ Run the connection cable of remote control RC1 to the inverter and connect
( PP2002).
NOTE
DC Kit 2 contains two different remote controls for the inverter:
• CA2500, B2200, B1600 Plus: remote control RC1 (is included in
the scope of supply of the inverter)
• B1600: remote control RC2
DANGER! Electrocution
Only connect the battery once you have the completed all the
installation work and you are certain it has been done properly.
DC-Kit2--IO-16s.book Seite 16 Dienstag, 21. März 2017 2:15 14