DC-Kit2 Installing and connecting the DC kit
17
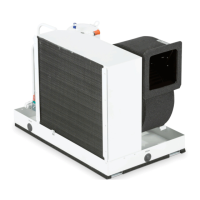
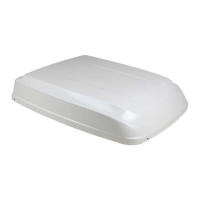
7.4 Connecting the B2200/B1600 Plus Dometic roof air
conditioner
I
➤ Remove the outlet panel of the roof air conditioner, if necessary also remove the
upper cover ( B2200/B1600 Plus) (fig. 4, page 4).
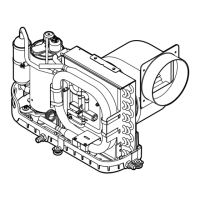
➤ Join on/off cable for B2200/B1600 Plus to the plug connector on the circuit
board (fig. 5, page 4).
I
➤ Join the universal connection cable to the on/off cable of the B2200/B1600
Plus.
➤ Connect the universal connection cable with connections I2 and I5 of the
charging current distributor ( ECL-102) (fig. 3 1 and 3, page 4).
➤ Attach the outlet panel of the roof air conditioner ( B2200/B1600 Plus)
(fig. 4, page 4).
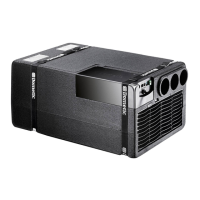
➤ Run the connection cable of remote control RC1 to the inverter and connect
( PP2002).
7.5 Connecting the FJ1100, FJ1700, FJ2200, Dometic roof
air conditioner
➤ Remove the outlet panel of the roof air conditioner, if necessary also remove the
upper cover (FJ1100, FJ1700, FJ2200) (fig. 6, page 5).
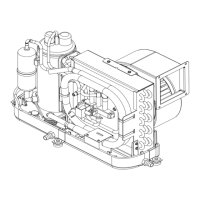
➤ Join on/off cable for FJ1100, FJ1700, FJ2200 to the plug connector on the circuit
board (fig. 7, page 5).
I
➤ Join the universal connection cable to the on/off cable of the FJ1100, FJ1700,
FJ2200.
NOTE
Connect roof air conditioners with a serial number lower than
802200001 in the way described in chapter “Connecting the B1600
Dometic roof air conditioner” on page 19.
NOTE
Guide the on/off cable carefully past the fan.
NOTE
Guide the on/off cable carefully past the fan.
DC-Kit2--IO-16s.book Seite 17 Dienstag, 21. März 2017 2:15 14