29
EN
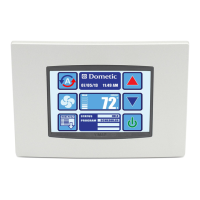
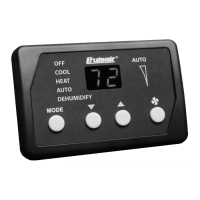
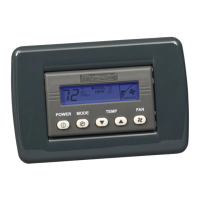
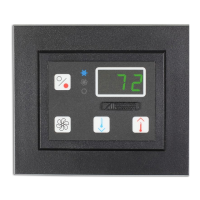
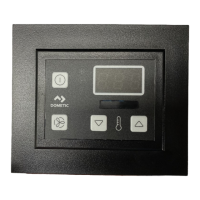
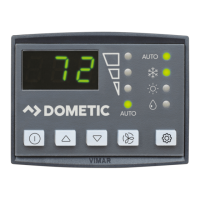
Elite Control Troubleshooting
Problem Possible Causes Recommended Solution
The air
conditioning unit
does not respond
to the changes
entered on the
display.
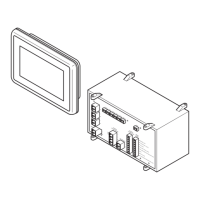
The display is experiencing a power
interruption, voltage frequency fluctuation,
electromagnetic interference from other
equipment, or similar power-related issue.
Perform a factory reset of the display:
1. Turn the power off.
2. Disconnect the cable from the display.
3. Turn the power on, wait 20 seconds, and turn the power off.
4. Reconnect the cable to the display.
5. Turn the power on.
I
This will cause all the parameters to reset to the factory default
settings.
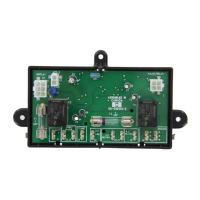
The circuit board is recognizing previously
connected displays.
The display-cable plugs are not making
contact (for example, the plugs are
unplugged, dirty, bent, or have broken pins).
The display may show ‘999’ or ‘- - -‘ if unable
to communicate with the unit.
• With the power off at the circuit breaker, remove the connector and
inspect it.
• Clean the socket and the cable with electrical contact cleaner.
• Work the cable in and out of the socket. If damaged, replace the
connector or the display cable.
The display buttons do not function.
The display is locked. Unlock the display.
The display and the circuit board are not
compatible.
• Ensure the compatibility between the circuit board and the display.
Some older boards will not work with newer displays and some newer
boards will not work with older displays.
• If the rebooted circuit board and display unit continue to act oddly,
replace the display cable.
The display does
not show the
correct room
temperature.
The display is showing a code for a faulty
air sensor, typically because there is a
failed: display built-in temperature sensor,
optional inside air temperature sensor, or
display cable.
• Replace the optional inside air temperature sensor.
• If using the display built-in temperature sensor, replace the display or
add an optional inside air temperature sensor.
• Install a different display cable.
• Ensure that the damaged jack/socket in the display head or on the
circuit board is not damaged.
The temperature displayed is too high.
• If the temperature displayed is within 50 °F above the actual
temperature, use calibration parameter 4 to adjust.
• If the temperature displayed is hotter than 50 °F above the actual
temperature, adjust the JP5 jumper on the unit’s circuit board.
• Refer to the optional inside air temperature sensor note.
The temperature displayed is too low.
• If the temperature displayed is within 50 °F below the actual
temperature, use calibration parameter 4 to adjust.
• If the temperature displayed is colder than 50 °F below the actual
temperature, adjust the JP5 jumper on the unit’s circuit board.
• Refer to the optional inside air temperature sensor note.
The temperature adjusts too quickly or still
does not read correctly.
Relocate the display or the optional inside air temperature sensor.
The supply air should not blow on or near a sensor. Locate the
optional inside air temperature sensor in the return air stream, not
physically touching any part of the unit.
I
Optional inside air temperature sensor note:
if the unit uses an optional inside air temperature sensor, it will be
either an RJ11 4-pin 3,000 K sensor or an RJ12 6-pin 10,000 K sensor.
If the 6-pin sensor is installed, the JP5 jumper must be removed
from the board. If neither sensor is installed on the circuit board, the
display reads from its own built-in sensor, if applicable.
A low pump-flow
fault is present, if
applicable.
The condenser coil is too hot.
Verify the unit receives water flow and the condenser is not fouled.
The thermistor is damaged.
• Unplug the water sensor if installed.
• Install another thermistor if one is available.
There is a damaged jack/socket on the circuit
board.
Visually check to verify the pins inside the socket are not bent or corroded.
Repair or replace the circuit board if needed.
 Loading...