- 6 -
INSTALLATION PREPARATION
TOP AND SIDES
See “APPENDIX A” for rough in dimensions. Dimensions will
vary by model. If there is more than 1/4” between either side
or the top of the refrigerator and the inside of the refrigerator
box, then ll the space with insulation, bafes, or non-am-
mable fabricated seals to avoid trapping heat and sacricing
the performance of the unit. See Insulation note below for
additional details.
INSULATION NOTE!
- Any insulation used must be securely attached to the
enclosure walls and ceiling in order to prevent it from
shifting when the refrigerator is installed in enclosure.
- If there is a void space above the refrigerator, insulation
should be secured with spray adhesive to the top of the
refrigerator to ll the space.
- Trim insulation. Cut it 2-3” shorter than the depth of the
refrigerator box, see FIG 3 below.
- Insulation must not come in contact with the cooling unit!
Loose insulation can obstruct air ow creating cooling
issues and possible damage to the refrigerator.
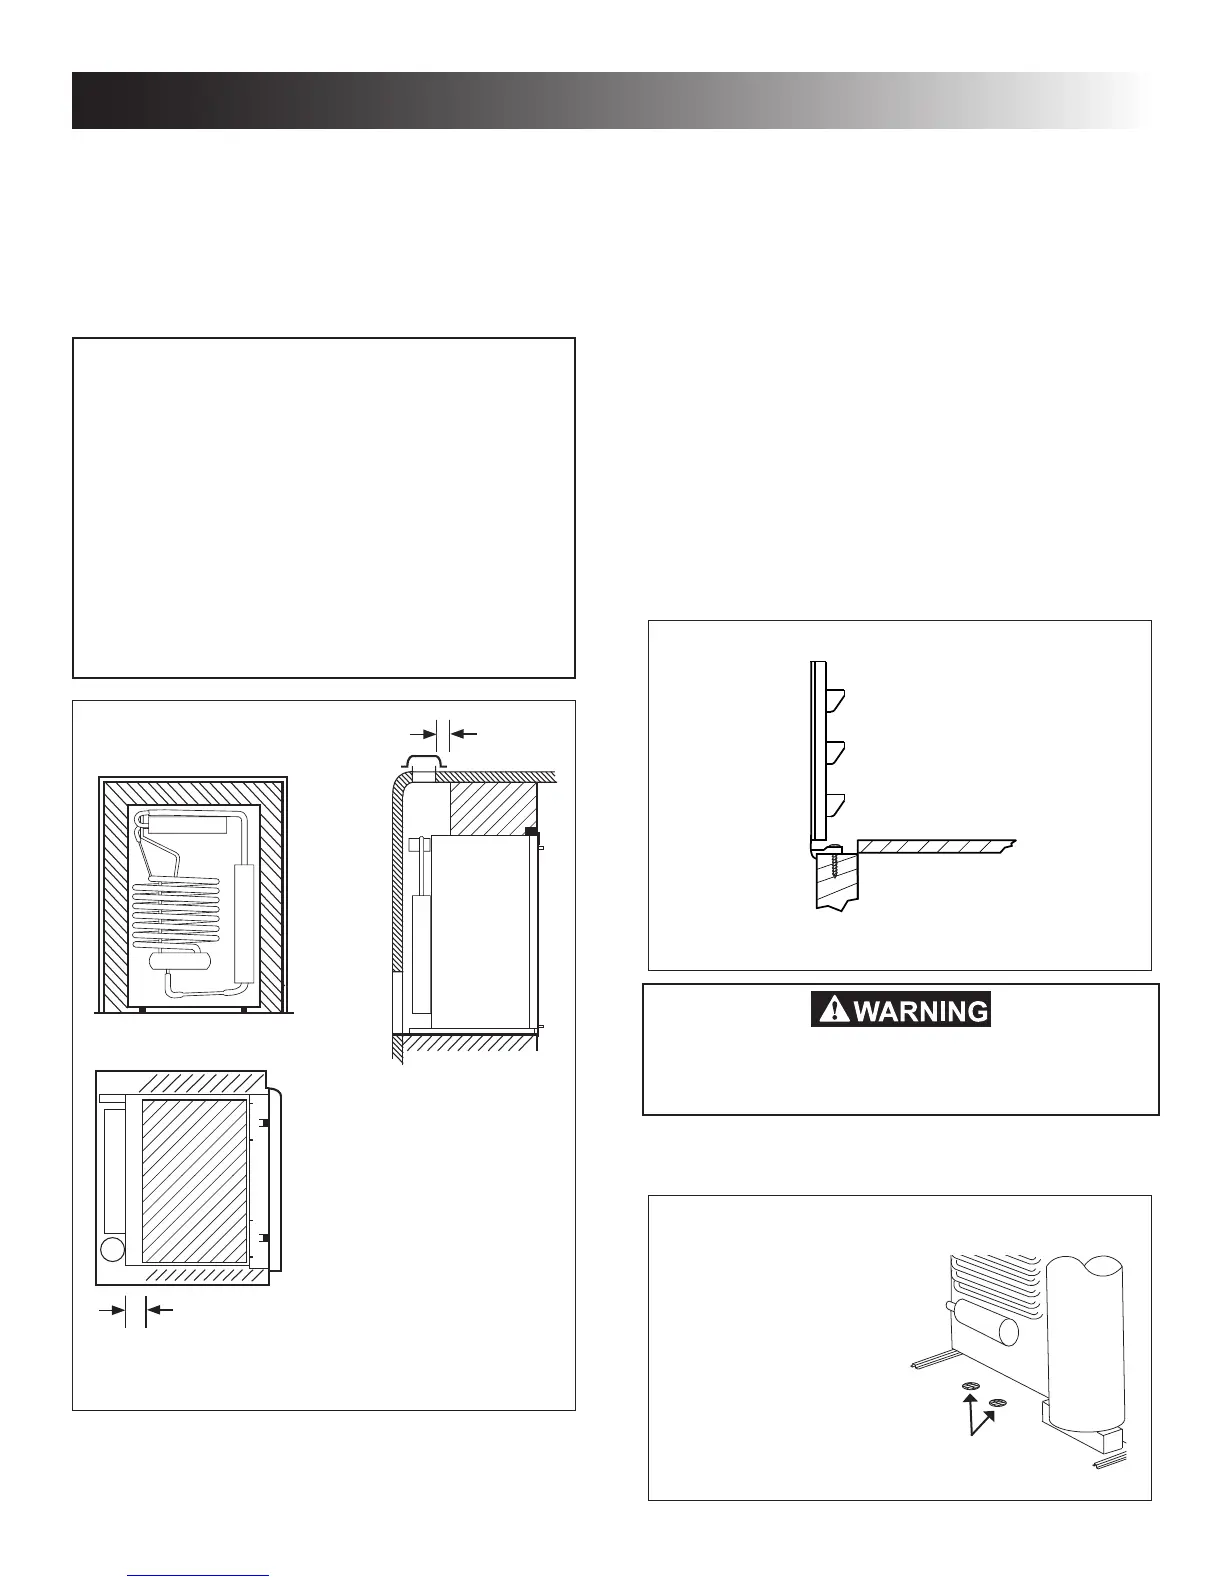
FIG 3 - INSULATION
Place insulation lling in the space between refrigerator
compartment and sides and top of refrigerator.
VENTILATION REQUIREMENTS
Ventilation is one of the requirements for proper cooling unit
operation. Clearances and the use of vents ensure a natural
draft which is necessary for good refrigeration.
Make sure to read and follow these points:
• Certied installation requires one lower fresh air intake
vent and one upper exhaust vent.
• Vents should be centered to the back of the refrigerator. If it
is not possible to center the vent, refer to the offset installa-
tion, see “OFFSET VENTS”, page 8.
• Safety certication requires specied Dometic vents, see
“APPENDIX C”.
• Any obstruction of either of the vent openings is not per-
missible, e.g. roof rafters, roong materials, etc.
• Lower vent: Make sure the opening is even with - or - be-
low the oor level to allow any raw LP gas to escape to the
outside. NOTE! Floor must not interfere with or block vent
openings.
FIG 5 - VENT ABOVE FLOOR LEVEL
When lower vent frame is positioned
higher than the refrigerator compart-
ment oor, the following is required:
• 2 holes with a diameter of 1-3/4”
1 in
2
/ hole free area.)
• Cover holes with a screen
(min. 14 x 14 per inch)
• Holes must be clear of any
obstruction.
1-3/4”
Covered by a screen
COMBUSTION HAZARD. Unburned “Raw” LP
gas is heavier-than-air and can collect at oor level
creating a combustion hazard.
FIG 4 - LOWER VENT
Side
wall
Floor
Weep
hole
• For vents installed above oor level, additional holes are
required to vent these gases to the out-of-doors. Use FIG 5
for details.
2” - 3”
2” - 3”
 Loading...