5. Select the Checkdigit method drop down setting and select the correct method for the
chosen barcode type.
6.
Define any other barcode type specific settings.
7. Select Add.
8.
Enter the required barcode data using the keyboard.
Note
The keyboard type can be changed by selecting the appropriate icon at the
bottom of the data entry screen.
9. Select the green Tick icon to add the barcode data to the label design.
10. In the label design area, select the barcode.
Note To move the barcode in the label, it is recommended to select Element > Edit
and use the "Horizontal position (mm)" and "Vertical position (mm)" settings.
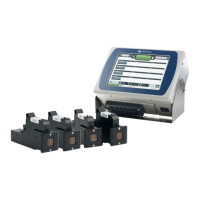
Or, select the Arrows icon and use the arrows to move the barcode. If you try
to drag the barcode, you may accidentally resize it.
11.
In the side menu, select the Element tab.
12. Select the Edit menu.
13. Define the barcode's settings.
14. Select the Save icon to save the change.
End of procedure.
Add Graphic Element
1.Notes To import and save an image file in the controller from a USB memory
device, see Import Image on page 170.
2. .jpeg, .png and .bmp image files are supported.
3. Ensure the image file's pixel height is smaller than the print group's label
height.
To insert a graphic element into the label:
1.
In the label creator's side menu, select the Element tab.
2.
Select the Add menu.
3.
Select Graphics.
4.
Select the required graphic from the folder.
5.
In the label design area, select the graphic element.
6.
In the label creator's side menu select the Element tab.
7.
Select the Edit menu.
8.
The settings described in the table below can now be defined:
OPERATION
141 EPT053091 - Issue 5 - 07 May 2021
 Loading...