Do not use an extension cord to power the XF124 or damage to the machine may occur due to the voltage drop in the
extension cord.
DO NOT MODIFY THE POWER CORD OR PLUG IN ANY WAY OR SEVERE BODILY INJURY CAN OCCUR.
ONLY OPERATE THE MACHINE ON A 3 PRONG GROUNDED PLUG OR SERIOUS BODILY INJURY MAY OCCUR.
Running the XF124 on an inadequate power supply or otherwise not complying with the requirements of this section will
cause damage to the machine and will void the warranty.
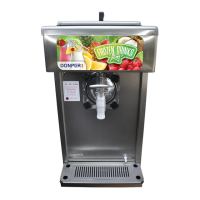
6. Pour liquid mix into the hopper.
7. Insert the feed tube in the hopper hole (if desired).
8. Turn the power switch to the ON position to begin freezing the mix.
OPERATION AND ADJUSTMENTS
How to Operate
1. Sanitize unit before use.
2. Fill the mix storage hopper and
3. Turn power switch to “ON” position.
4. Allow product to freeze in barrel. Compressor will turn off when product reaches pre-set consistency.
5. To dispense product pull down valve handle and release when done.
6. If product consistency is not as desired, adjust per the instructions herein.
7. Refill mix storage hopper when “mix out” light is ON.
8. Clean the unit regularly following local health codes.
9. Perform maintenance when necessary to increase the life of the unit. See the chart in this manual for regular
maintenance schedule.
Mix Low Function
1. The XF124 senses when mix is low in hopper. When the mix level in the hopper is low, the RED mix low light
located in the front of the machine next to the valve block will illuminate red.
NOTE: Do not run the unit under mix low conditions for long periods of time. This can affect machine performance or
damage components of the machine.
Consistency Adjustment
From time to time, it may become necessary to readjust the consistency or thickness of the XF124 to
compensate for variation between different mixes or to switch from one type of product to another. This
adjustment is made as follows:
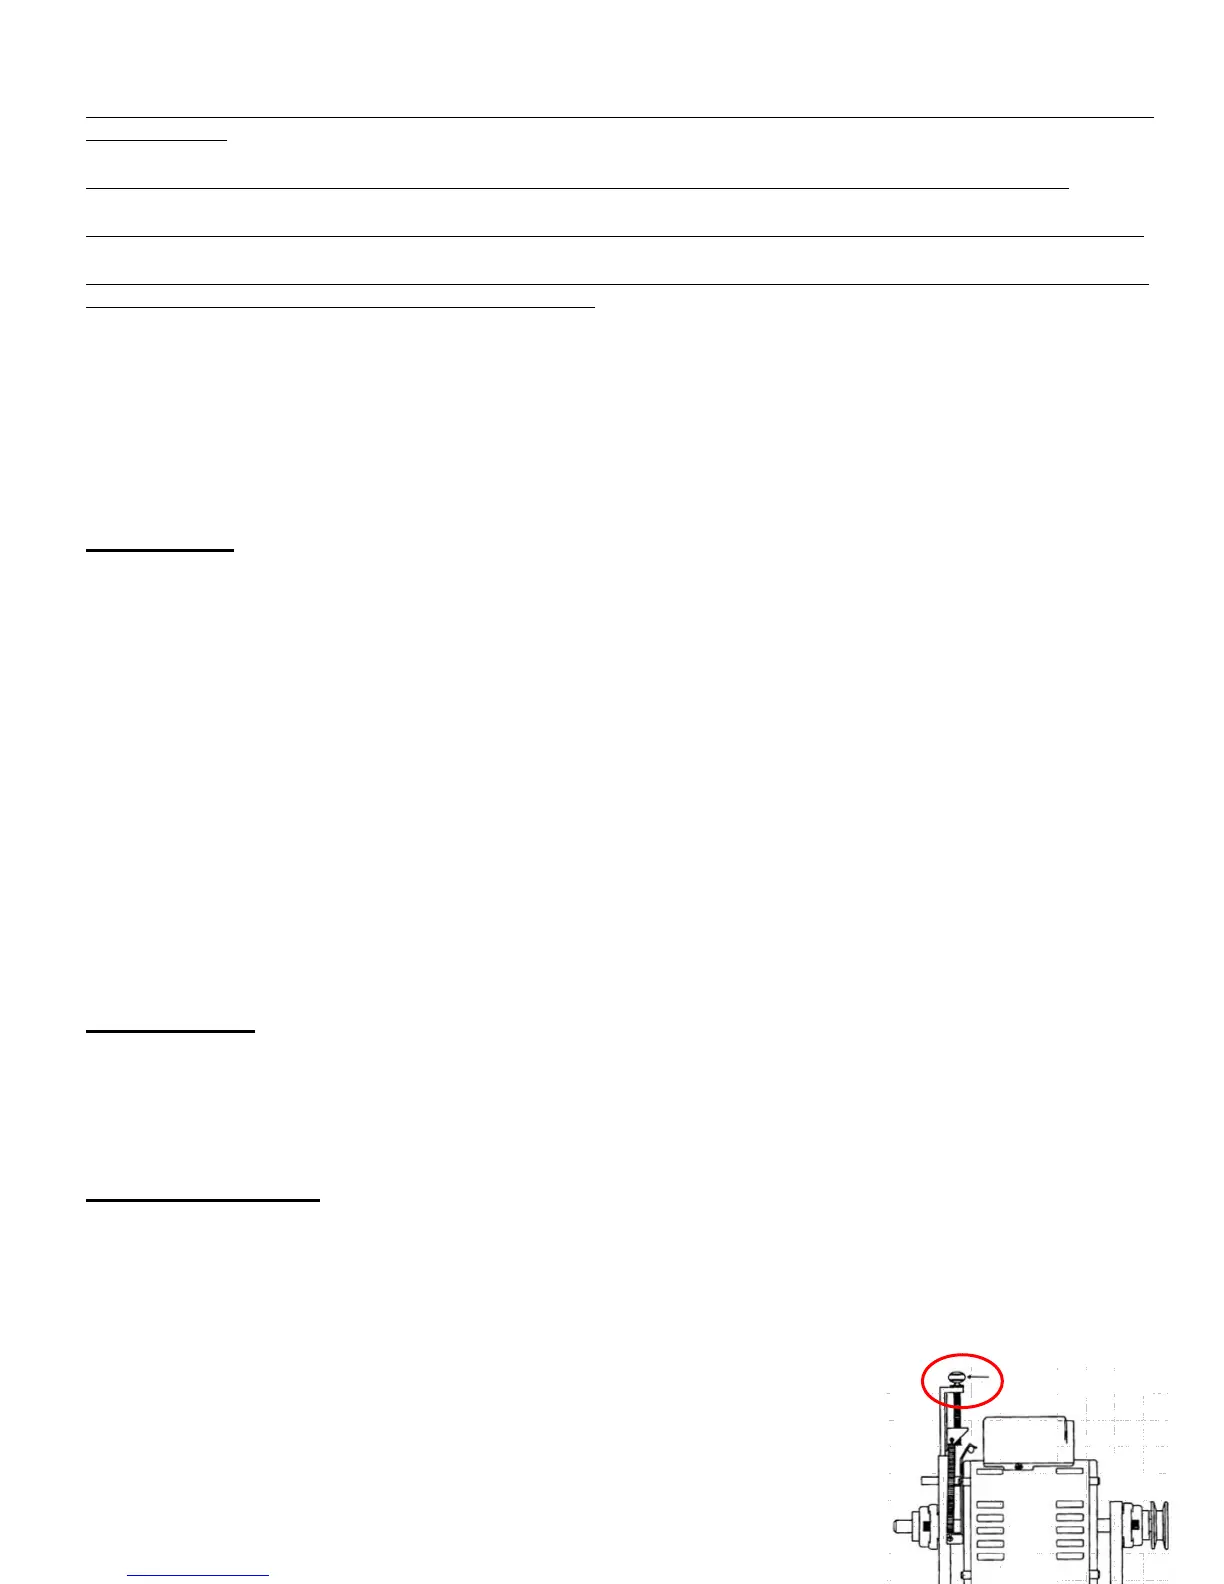
1.
Disconnect electrical power to the machine
.
WARNING: Do not attempt to adjust the machine until electrical power has been
disconnected.
2. Remove right side panel (facing the front of the machine, the right side panel)
3. Use the adjustment screw, situated on the front of the drive motor mounting bracket