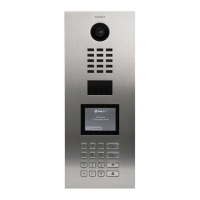
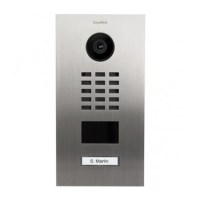
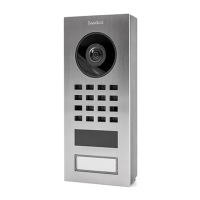
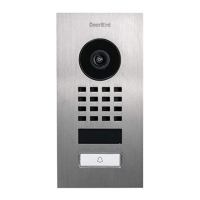
REPLACING THE DX DISPLAY MODULE AND KEYPAD WITH KEYS
INSTALLATION D21X DISPLAY MODUL UND KEYPAD MIT 16 TASTEN
Anschluss D21x Display und Keypad
Stecken Sie das rote Kabel der Haupteinheit an den Anschluss “MODULE PORT” und das grüne
Kabel der Haupteinheit an den Anschluss “COM” am Display Modul. Verbinden Sie anschließend
das Keypad Modul mit dem Anschluss “KEYPAD” am Display Modul.
Das gelbe Kabel der Haupteinheit bleibt ungenutzt.
Connecting D21x Display and Keypad
Connect the red cable of the main unit to the “MODULE PORT” connector and the green cable
of the main unit to the “COM” connector on the display module. Then connect the keypad
module to the “KEYPAD” port on the display module.
The yellow cable of the main unit remains unutilized.
Montage D21x Display
Entfernen Sie vor dem Austausch die
Verbindungs kabel vom Display.
Mounting D21x Display
Remove connecting cables from the display
before replacing it.
Montage D21x Keypad
Entfernen Sie vor dem Austausch das
Verbindungs kabel vom Keypad.
Mounting D21x Keypad
Remove the connecting cable from the
keypad before replacing it.
EN
DE
Drehen Siedie Befestigungsmuttern am Keypadfür einen
leichtgängigen Tastendruck nur handfest zu und lockern Sie
diese anschließend eine halbe Umdrehung. Wenn sich eine
vereinzelte Taste nicht korrekt drücken lässt, wurde die nahe-
lie gende Mutter zu fest gedreht.
For a smooth keystroke, tighten the fastening nuts on the
keypad only hand-tight and then loosen them by half a turn.
If a single key cannot be pressed correctly, the nearby nut
has been tightened too much.
www.doorbird.com
Errors and omissions excepted. | Last update 01/2022 - Copyright © 2022 Bird Home Automation GmbH – www.doorbird.com