II. SETUP AND INSTALLATION
1. Monitor Installation
The 360RV gives the user multiple options for mounting the monitor for viewing. You have the
option to place on the sun visor, attach to the windshield, fasten to the dash, attach using the
Figure 1-1
A. The convenient way to wire the monitor is to attach the accessory cigarette lighter
adapter on the power cord to the 12-volt power receptacle. This method is the quickest,
however it does not allow you to receive the full benefits of the Doran 360RV. Using the
accessory cigarette lighter adapter plug for your power source will delay information to
the monitor if the power is removed when the vehicle is turned off and the power is
removed from the receptacle. However, if the power remains on to capture warnings
that occur during the night hours,audible and visual alarms may activate,
d is ru pt in g yo ur s le ep .That is why we suggest that you use option B for wiring
your monitor.
B. In order to access the full benefits of the system you will need to hard wire the
monitor to the vehicles' electrical system. The cigarette power adapter will need to be
removed from the power cord and then you will see that there are three wires in the
harness (we suggest that you leave a few inches of wire on so you can use the plug at
a later date for something else). is the 12-volt positive constant connection. This
should be connected to a 12-volt power source that is always ON .The wire will
be the switched 12-volt positive connection. This wire should only be live when the
key is in the ON position. The BLACK wire is to be connected to a good ground.
This hookup will allow the monitor to receive signals when the vehicle is not running,
and update the monitor in real time. When the key is turned on you will have the
current information for your tire condition immediately before you begin your next trip.
Red
Blue
3
pedestal mount, or the ability to use the hook and loop pads to
fasten the monitor to a flat surface. If you are using the hook
and loop pads, we suggest that the surfaces that you are
applying the pads to be cleaned with alcohol to remove any
grease or oils that could be present. Choose the monitor back
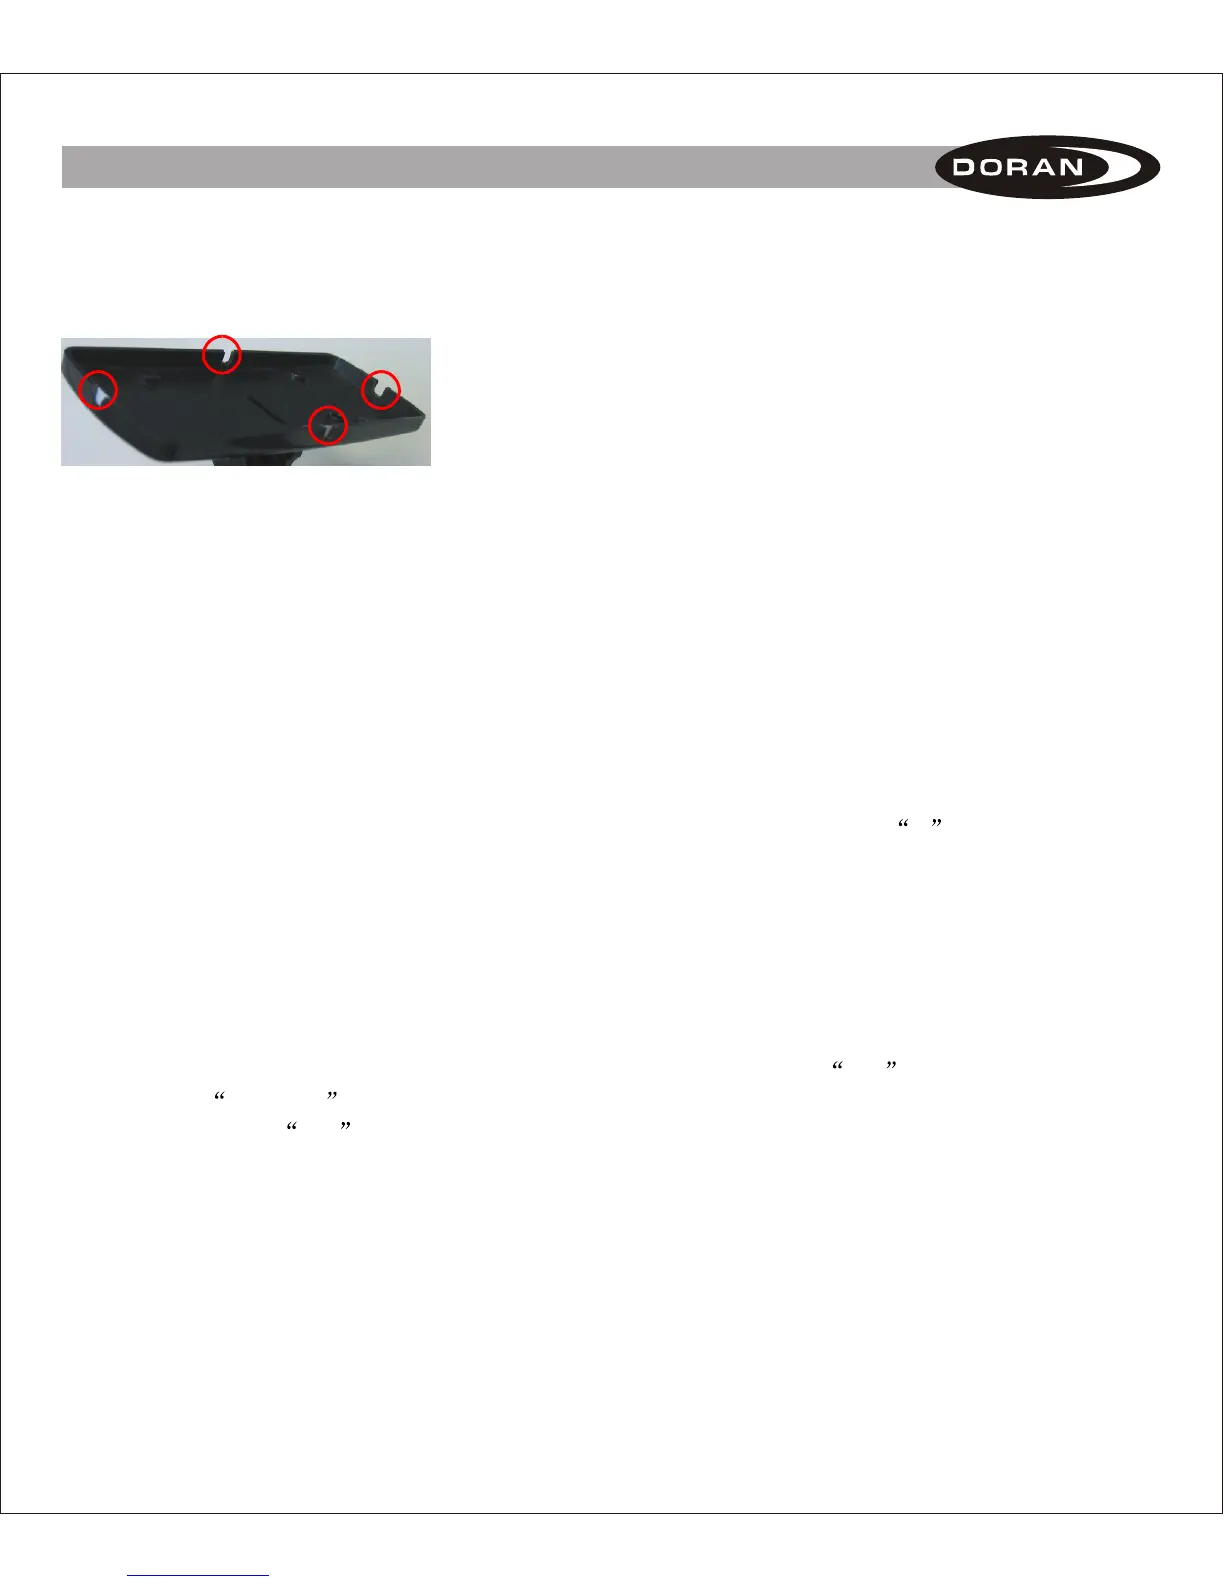
panel which will work best for your situation. Remove the
proper small breakaway tab to allow the power cord to exit
in the best direction for your setup (see Figure 1-1).