8
188 PSI,depending on your needs. Each wheel position can
be set with a different baseline air pressure if this is what is
needed. The monitor has been pre-programmed for 100 PSI at
each wheel position. If this is the baseline air pressure that
you need then you will not have to do anything in this mode
and can press the PROG button and go to the next step. If
you need to change the baseline air pressure for a wheel
position, continue with Steps 1-4 below:
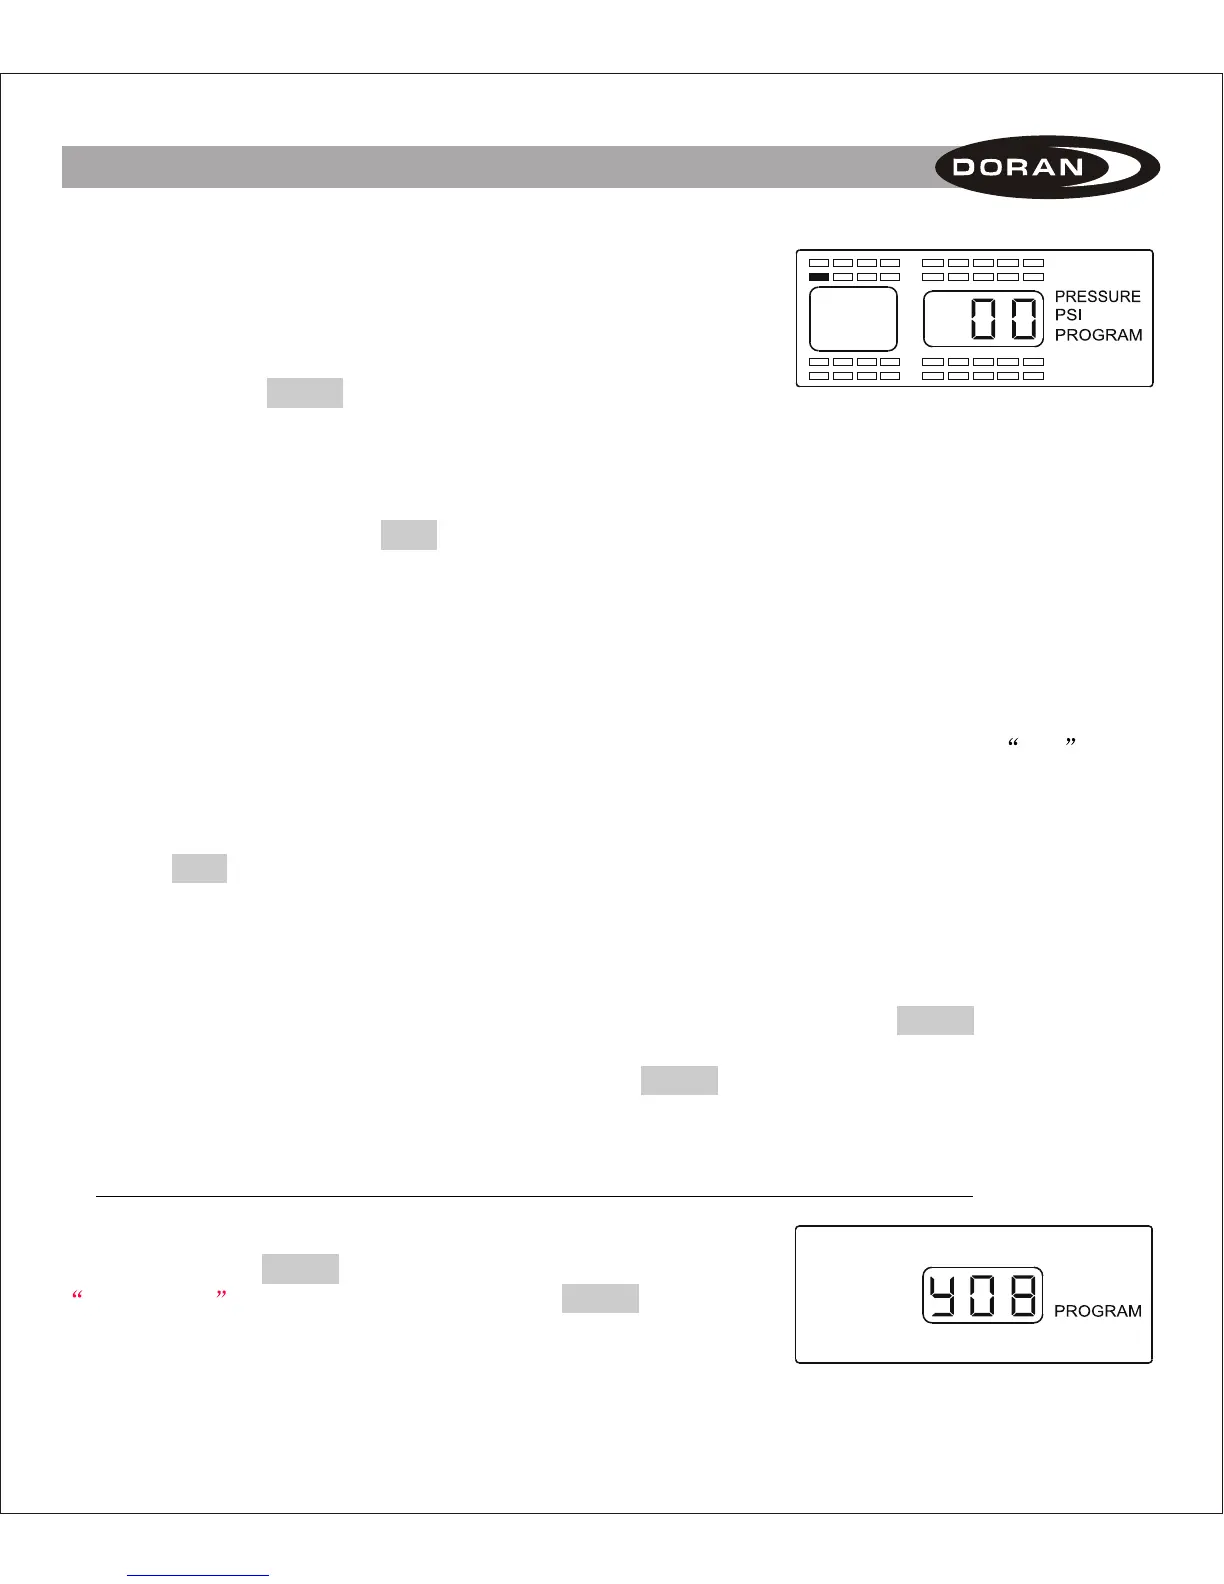
Figure 2-9
1. Using the same procedure as done previously, use the arrow buttons to select a wheel
position and press the SET button for 3 seconds. This will cause the first dash or
number to blink (see Figure 2-9) of a three-digit baseline pressure number that will need
to be entered for the tire position selected.
2. The first digit of the three dashes will automatically start to flash. To adjust the air
pressure for the first digit press the up or down arrow button to change the number. For
a number less that 100 you will need to start your number with a 0. For the air pressure
of 95 PSI your imputed number for the baseline pressure would be imputed as 095 .
3. Press the left or right arrow button to select the next digit. Use the up and down arrow
buttons to change that digit. When you have entered the number that you want, press
the SET button for 3 seconds until the number flashes twice and a double beep is heard
to signify that the number has been locked into the monitor's memory.
4. A new position will be highlighted to input a baseline air pressure. If you wish to
program another sensor repeat the steps 1 thru 3. If you have completed the sensor
baseline air pressure programming sequence then you can press the PROG button
momentarily to move to the Time and Date -stamp setting mode. If you are done with
the programming operation you can press the PROG button for 5 seconds and the
monitor will automatically return to the normal mode of operation. This can be done in
any section of the program mode when the programming is completed.
C. Programming the Date and Time for Stored Alarm History Information
NOTE: To enter directly into this program mode you will
need to press the button for 5 seconds until the
is displayed. Then press the button
again briefly 2 times to enter this mode (see Figure 2- 10 for
screen display).
PROG
ROGRAM PROGP
Figure 2-10
II. SETUP AND INSTALLATION