EasyManua.ls Logo

Dorma TS93-5 PKT 90 User Manual

Dorma TS93-5 PKT 90
3 pages
To Next Page IconTo Next Page
Page #1 background imageLoading...
Page #1 background image
POCKET WALL
SHOE
END BLOCK
TRACK
SLIDE
DOOR DOOR
DOOR DOOR
TS93-5 PKT 90, 90/D, 90/F
(REFERENCE UNIT CARTON LABEL FOR ACCESSORIES AND OPTIONS SUPPLIED)
Determine hand of door and unit type supplied.
Prepare door and wall for fasteners
1
according to template 08279992.
2
3
4
LEFT HAND DOOR
RIGHT HAND DOOR
Attach track to wall.
Insert slide shoe and end blocks into track. Attach track to
QTY
(2)
WOOD
SCREWS
METAL
SCREWS
wall.
INSPK NO. 08279990 Rev.05/08
POCKET DOOR TRACK (TRACK ON WALL)
POCKET
PIVOTS
1 of 3
INS NO.
Rev.
08279991
05/08
PAGE
www.dorma-usa.com 1-800-523-8483
PIVOT
Attach mounting plate to door.
QTY
(4)
WOOD
DOORS
METAL
DOORS
RIGHT HAND DOOR
LEFT HAND DOOR
QTY
(4)
POCKET
WALL
WALL
POCKET
SIDE
PIVOTS
POCKET
PIVOT
SIDE
POCKET
Attach closer to mounting plate.
QTY
(4)
RIGHT HAND DOOR
LEFT HAND DOOR
WALL
POCKET
WALL
Question and Answer IconNeed help?

Do you have a question about the Dorma TS93-5 PKT 90 and is the answer not in the manual?

Dorma TS93-5 PKT 90 Specifications

General IconGeneral
ModelTS93-5 PKT 90
BrandDorma
Closing SpeedAdjustable
Fire RatedYes
Barrier FreeYes
Product TypeDoor Closer
ApplicationCommercial
Closing ForceAdjustable
BackcheckAdjustable
Delayed ActionAdjustable

Summary

Installation Preparation

Determine Door Hand and Unit Type

Identify the correct door hand and unit type for installation.

Prepare Door and Wall for Fasteners

Prepare the door and wall according to template 08279992 for fastener installation.

Mounting Plate Installation

Attach Mounting Plate to Door

Attach the mounting plate to the door for both left and right hand configurations.

Closer Attachment

Attach Closer to Mounting Plate

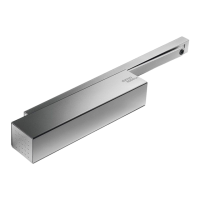
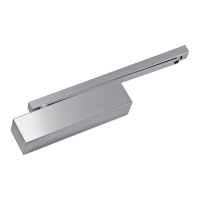
Attach the closer unit to the previously installed mounting plate.

Track Installation

Attach Track to Wall

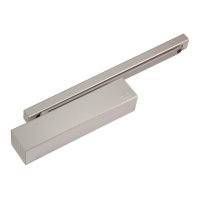
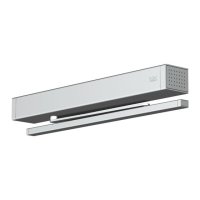
Insert slide shoe and end blocks into the track, then attach the track to the wall.

Arm Attachment

Attach Arm to Slide Shoe

Align the arm with the slide shoe in the track and secure it with a screw.

Closer Arm and Pinion Setup

Attach Main Arm to Closer Pinion

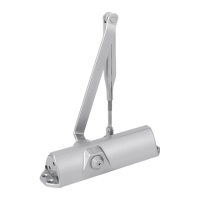
Attach the main arm to the top pinion of the closer and secure it with a screw.

Closer Adjustment

Adjust Sweep, Latch, and Backcheck Speeds

Adjust sweep, latch, and delay speeds using the indicated adjustment ranges.

Adjust Spring Tension

Adjust spring tension to ensure proper closing and latching of the door.

Cover Installation

Install End Covers

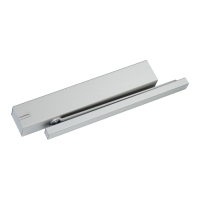
Slide the end covers over the closer body end caps.

Install Track Cover

Remove tab, slide cover onto plate, and secure with a locking screw.

Related product manuals