PK3700 2023-05-01
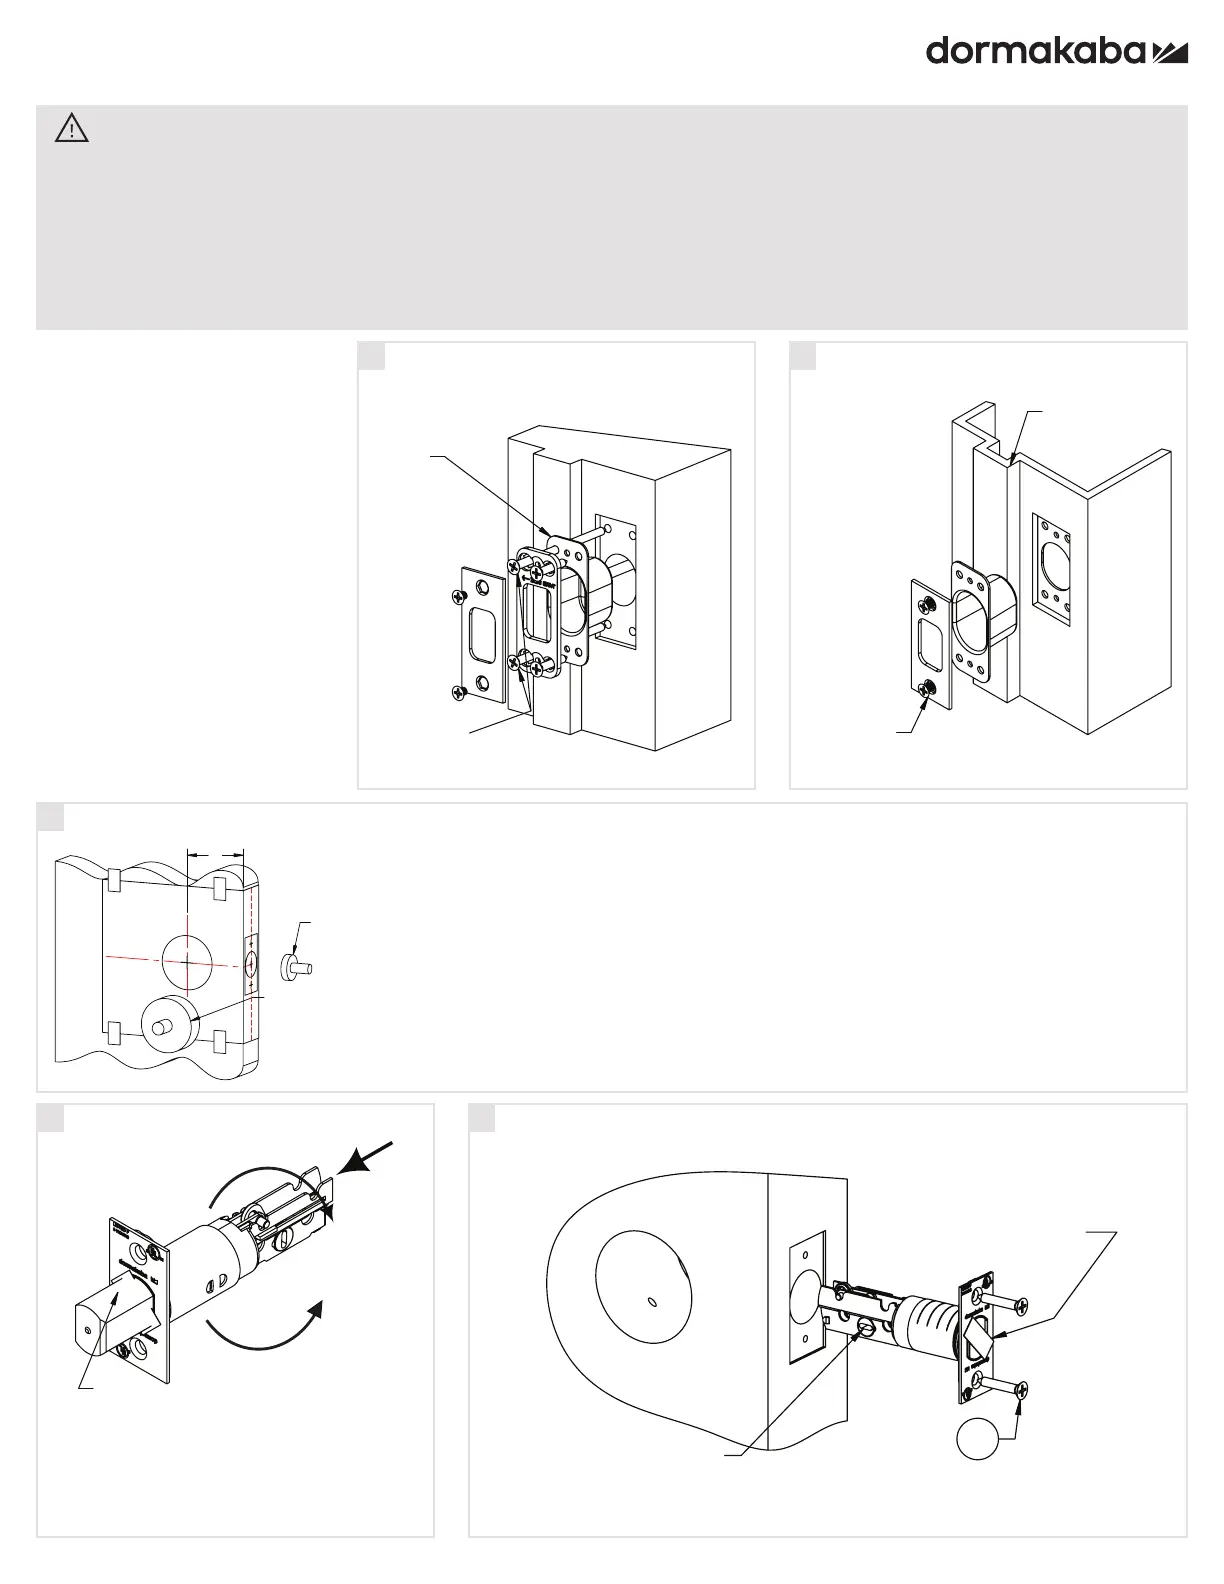
Door stop
8-32 X 0.50"
Do not remove tape
Slot at the bottom
14
2X
For maximum
security, install
reinforcing
plate.
Install long screws
in door stop side
Do not remove tape
1
2
3
A
2 1/8" (54mm ) Hole saw
1" (25mm )
Hole saw
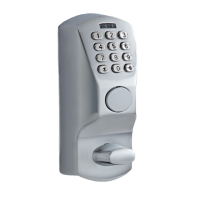
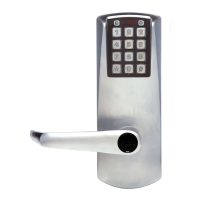
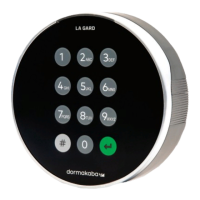
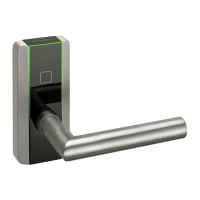
ORACODE 480 - 480i SERIES
INSTALLATION GUIDE FOR DOOR THICKNESS 1 3/8” TO 2”
WARNING
1. Please read and follow all directions carefully.
2. This lock is not designed to be used on emergency exit doors.
3. Carefully inspect glass, door frame, door etc. to ensure the recommended procedure will not cause
damage. dormakaba standard warranty does not cover damages cause by installation.
4. Wear safety glasses when making the holes.
5. All the following operations and testing of the lock to be done with door open.
Tools Required
• Safety Glasses
• 1/2” (13mm) Chisel
• 1/8” (3mm) Drill Bit
• 5/32” (4mm) Drill Bit
• 1” Drill Bit or Hole Saw
• 2 1/8” (54mm) Hole Saw
• Drill
• Awl or Center Punch
• Screwdriver, 1/8” slotted
• Phillips Screwdriver (#2)
• Adjustable Square
• Tape Measure
A = Backset = 2 3/4” (70mm) or 2 3/8” (60mm)
1. Determine which template fits your 480 lock installation, either
2 3/8” (60mm) or 2 3/4” (70mm) backset.
2. Place appropriate template (supplied) onto door and mark holes.
3. Drill holes as per dimensions on the template, the 1” (25mm) hole to
be on the center line of door thickness.
4. Mortise door edge for dead bolt face plate.
5. Drill 2 1/8” from both sides of the door to prevent unsightly damage.
The dead bolt is pre-set at 2 3/4”
(70mm) backset. Proceed as illus-
trated to change to 2 3/8” (60mm)
backset, if required.
Install strike on wood frame
Adjust backset of deadbolt
Door Preparation
Install strike on steel frame
Install dead bolt in door
1A
2
1C
1B
3