Saflok Quantum Pixel PK3693_T 02-19 9
Installing the lock trim (continued)
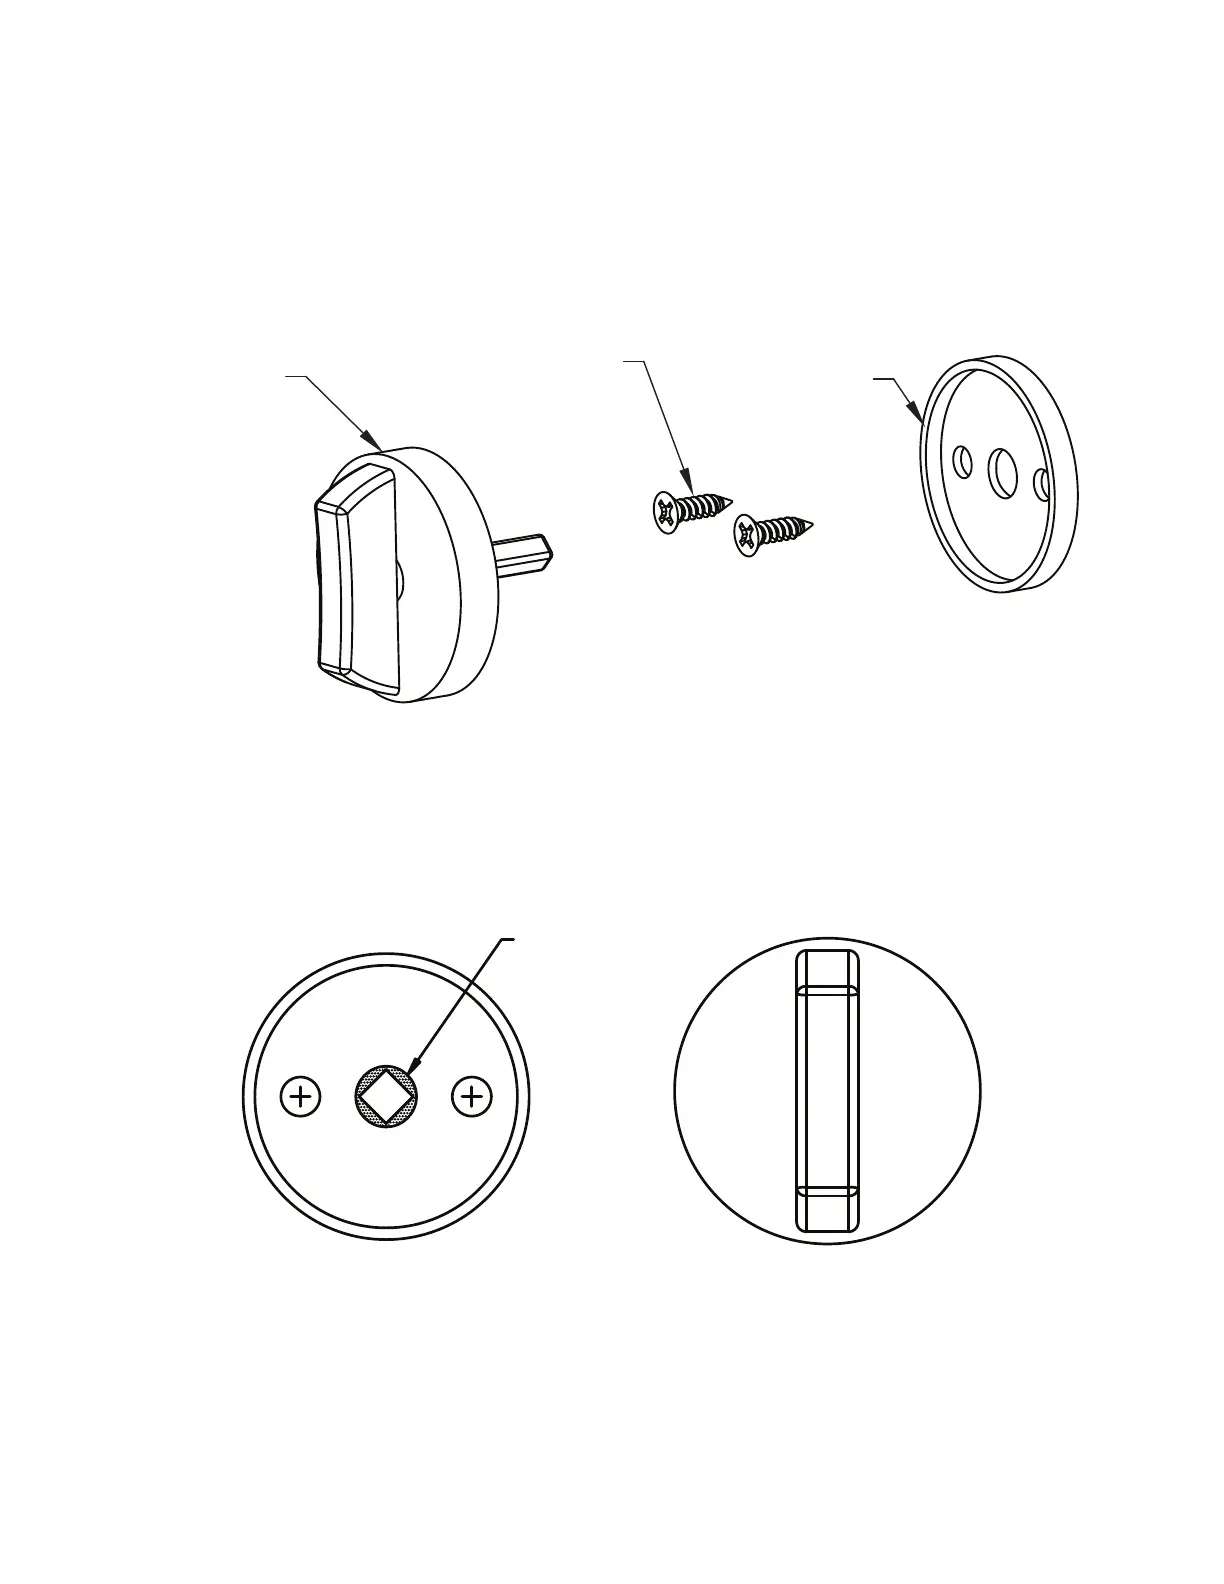
Figure 11 - Exploded Thumb Turn Assembly
Thumb Turn
Thumb Turn Base
#6 X 1/2 Flat
Head Screws
6. Thumb Turn Installation (If supplied by dormakaba)
a. Align base centered over the mortise cam (not hole in door)
b. Mark hole centers using center punch to ensure alignment is maintained
c. Drill small pilot hole with a short depth to aid in securing the screws
d. Secure the base to the door with the included screws
e. Align turn piece onto base so that it is at 12 and 6 o'clock (see figure #12)
Figure 12 - Thumb Turn Base Alignment
Mortise Cam
f. Install the turn piece onto the base by screwing the collar on clockwise until tight; torque secure
with spanner wrench
g. Check the turn for smooth operation ensuring no drag or binding occurs
*If binding occurs; verify base alignment with mortise cam
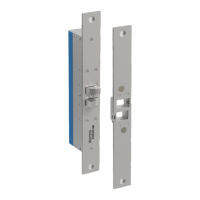
7. Faceplate Installation
a. Install lower mortise faceplate using #8 flat head screws
b. Install upper controller assembly faceplate using #8 flat head screws
*Ensure the controller harness does not become pinched when securing faceplates
 Loading...