Do you have a question about the Dormakaba Saflok RT and is the answer not in the manual?
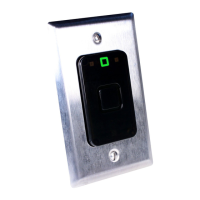
Step-by-step instructions for installing the door frame strike.
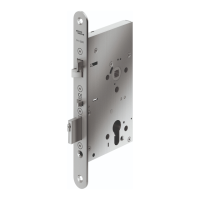
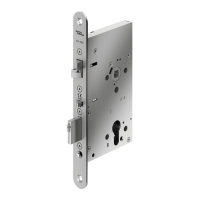
Procedure for mortising the door edge and installing the mortise unit.
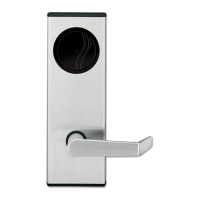
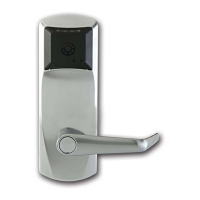
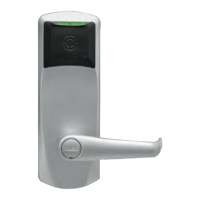
Steps for fitting the external and internal lock components.
Lists all components and tools required for the mechanical override model.
Procedure to confirm the lever handle is correctly installed and secure.
Steps to test the rotational movement of the lever handle.
Steps to test the functionality of the mechanical override.
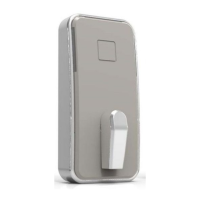
Guide to fitting the main cylindrical lock unit into the door.
Steps for attaching the outside housing and trim to cylindrical locks.
| Installation | Mortise or cylindrical |
|---|---|
| ADA Compliance | Yes |
| Communication | RFID |
| Compatibility | Saflok System 6000, Saflok Messenger LENS |
| Technology | RFID |
| Material | Metal |
| Applications | Hospitality, Commercial |
| Mortise | Yes |
| Audit Trail | Yes |
| Voltage | 6V |
| Battery Life | Approximately 2 years (depending on usage) |
| Operating Temperature | -20°C to 70°C (-4°F to 158°F) |
| Finish | Multiple finishes available |