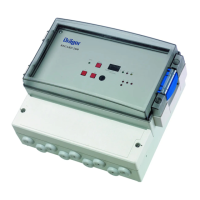
Dräger PEX 1000 25
Operation
3Operation
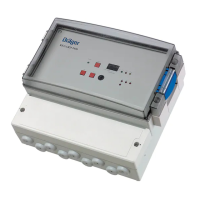
3.1 Installation
3.1.1 Mounting
The PEX 1000 is intended to be mounted to a top-hat rail.
Put the PEX 1000 on the top-hat rail and apply slight pressure to it until it engages.
3.1.2 Installing electrical connections
Connection between PEX 1000 and controller unit
The maximum cable lengths for loads of 250 Ohms and a sensor current of <270 mA can
be extracted from the following tables:
Cable length between sensor and PEX 1000:
NOTICE
Make sure that the top-hat rail engages completely and PEX 1000 is securely fixed to
the top-hat rail.
CAUTION
Electrical wiring is only to be laid and connected by an expert paying attention to the
pertinent regulations and laws concerning electrical equipment in potentially explosive
atmospheres as well as approval conditions.
Core cross-section
Sensor
current
0.5 mm
2
(36 Ohm/km)
0.75 mm
2
(24 Ohm/km)
1.0 mm
2
(18 Ohm/km)
1.5 mm
2
(12 Ohm/km)
240 mA 200 m 300 m 400 m 500 m
250 mA 185 m 280 m 370 m 500 m
260 mA 170 m 260 m 345 m 500 m
270 mA 160 m 240 m 320 m 500 m
280 mA 150 m 225 m 300 m 500 m
290 mA 140 m 210 m 280 m 450 m
300 mA 130 m 195 m 260 m 400 m