12
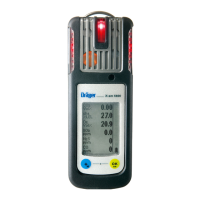
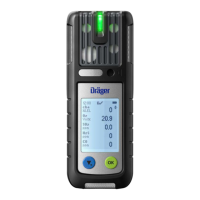
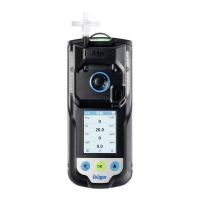
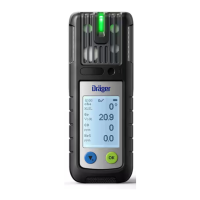
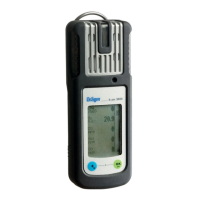
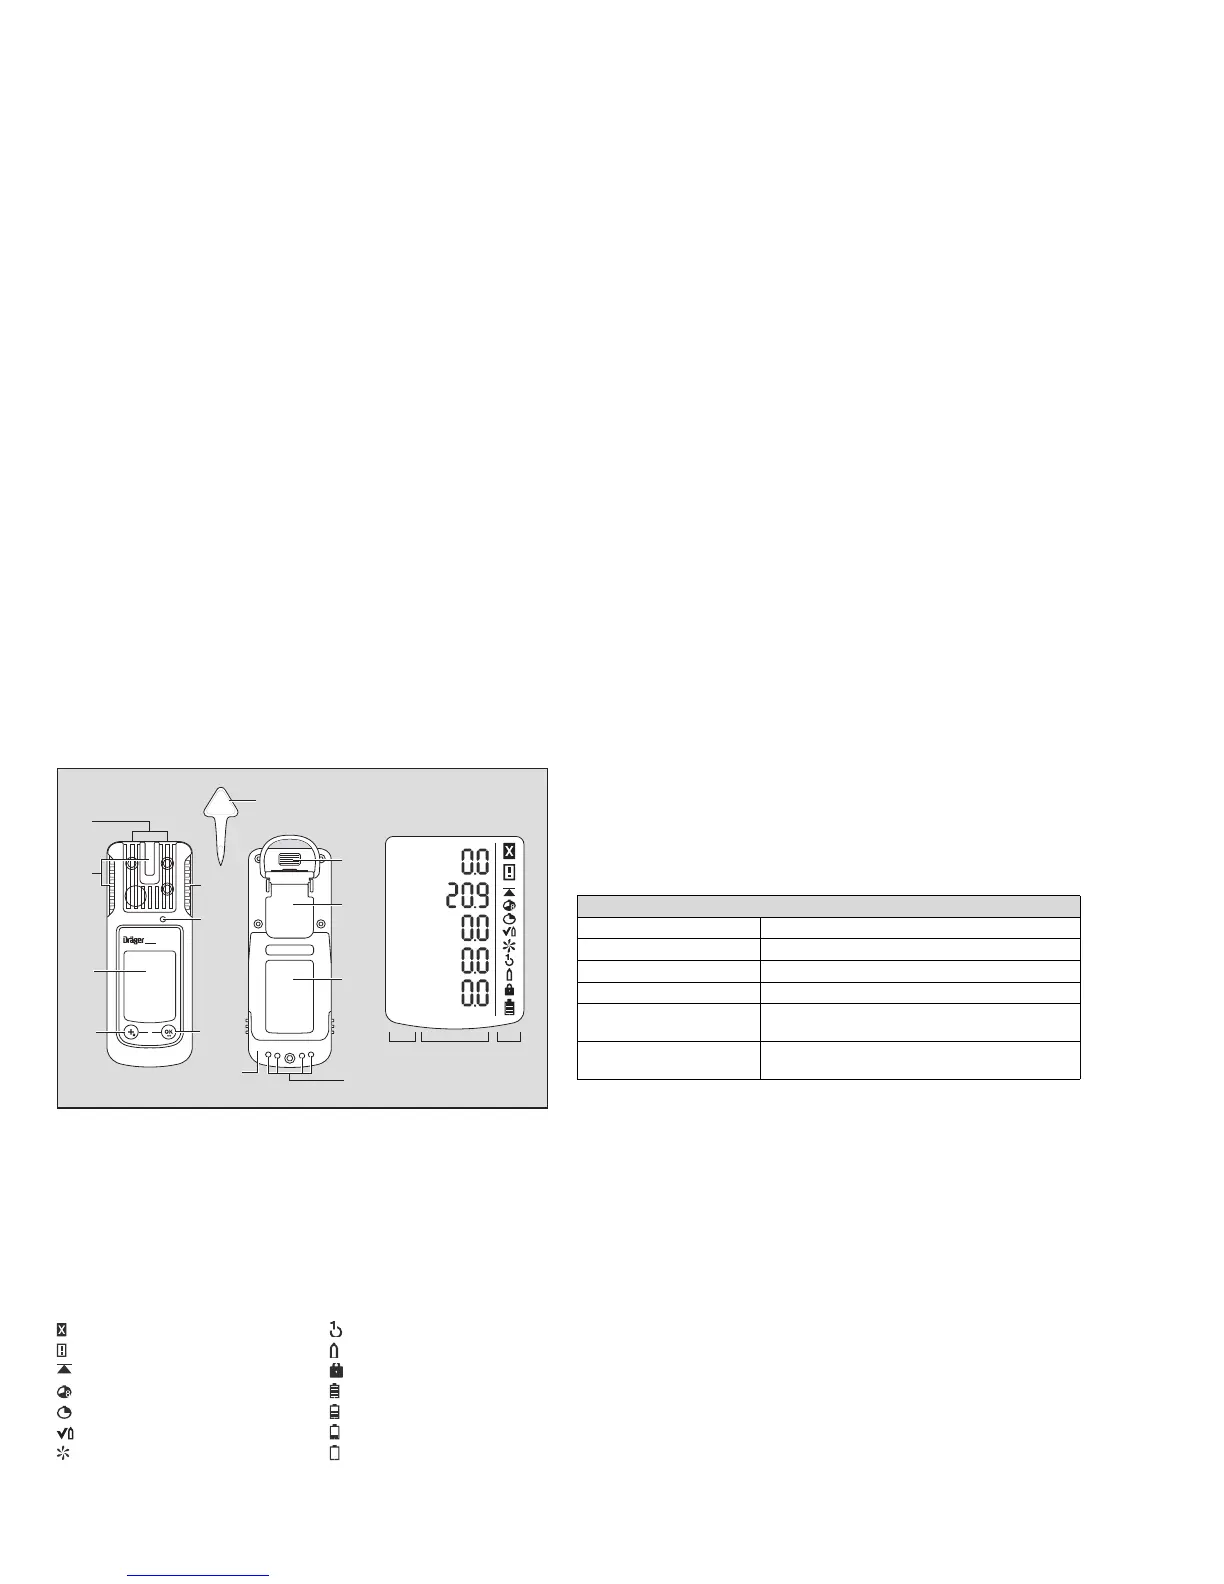
What is what
Special symbols:
1 Gas entry 8 IR interface
2 Alarm LED 9 Fastening clip
3 Buzzer 10 Type plate
4[OK] key 11 Charging contacts
5 Power pack 12 Measured gas display
6[+] key 13 Measured value display
7 Display 14 Special symbols
15 Tool for replacing the sensor
Fault message 1-button calibration
Warning Single gas calibration
Display peak value Password required
Show TWA Battery 100 % full
Show STEL Battery 2/3 full
Bump test mode Battery 1/3 full
Fresh air calibration Battery empty
Configuration
For the individual configuration of an instrument with standard configuration, the
instrument must be connected to a PC via the USB infrared cable (order no.
83 17 409) or the E-Cal system. The PC software "Dräger CC-Vision" is used to
perform the configuration.
– Changing the configuration: see Technical Manual.
Standard instrument configuration:
First commissioning
Before using the instrument for the first time, insert the batteries supplied or
a charged T4 NiMH power pack T4 (HBT 0000 type, order no. 83 18 704) /
T4 HC (HBT 0100 type, order no. 83 22 244) (refer to chapter "Replacing the
batteries" on Page 15). The Dräger X-am 5000 is ready for operation.
Operation
Switching on the instrument
Press and hold the [OK] key for approx. 3 seconds until the countdown
»3.2.1« shown on the display has elapsed.
– All the display segments, including the visual, audible and vibration alarms,
are activated for a short time.
– The software version is displayed.
– The instrument performs a self test.
– The next sensor to be calibrated is displayed, along with the remaining days
to the next calibration, e. g. »Ex%LEL CAL20«.
– The time until the bump test interval elapses is displayed in days, e.g. » bt 123 «.
Dräger X-am 5000
Bump test mode
1)
1) Different settings can be selected to meet customer requirements on delivery. The current setting
can be checked and changed with the Dräger CC Vision software.
Quick bump test
Fresh air calibr.
1)
On
Life sign
1)
On
Switch off
1
allowed
LEL factor
1)
(ch
4
)
4.4 (vol. %)
(4.4 vol. % corresponds to 100 %LEL)
Averaging time
1)
15 minutes for STEL
8 hours for TWA