Engine Capacity
<1300cc 5 - 15Ah 15 - 30Ah 35 - 45Ah – 60 - 110Ah
>1300cc – – 45 - 65Ah 45 - 65Ah 60 - 110Ah
Diesel – – 60 - 90Ah 60 - 90Ah 60 - 110Ah
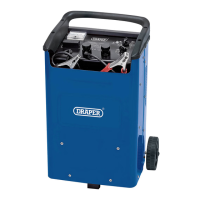
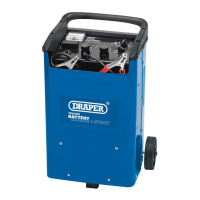
7. Connecting a Battery
Important: Before operating this product, read and
understand all the safety instructions listed in this
manual and ensure that the product is correctly prepared
for the operation. Refer to the vehicle and battery
manufacturer manuals for specic instructions relating
to the battery to be charged or started.
Important: This product is only suitable for charging
lead-based batteries.
7.1 Battery Sizes and Ratings
Important: Ensure that the battery is within the
appropriate amperage range for the charger before
connecting the battery to the product.
The chart below gives typical battery ratings for dierent
vehicle types (for guidance ONLY). ALWAYS check the
battery specic to your vehicle.
– 12 –
7.2 Connection Procedure
Important: Ensure that the product is switched o and
disconnect it from the power supply BEFORE connecting
the battery.
Important: To prevent the risk of damage to the
alternator, Draper Tools recommends that the battery is
disconnected from the vehicle before charging. Loss of
codes can be prevented by connecting an appropriate
Draper Memory Saver (Stock Nos. 22277 and 22231).
The battery should remain connected during a
jump-start.
1. Ensure that the battery and the charger are situated
on a level surface.
2. If the vehicle battery is not a maintenance-free or
sealed battery:
a. Remove the cell ller caps and check the level of
electrolyte.
b. If necessary, top up the electrolyte to the
manufacturer’s recommended level using distilled
or deionised water.
CAUTION! Top up with distilled or
deionised water ONLY. NEVER top up
lead-acid batteries with tap water.
WARNING! Battery uid is corrosive. DO
NOT touch the battery uid or overll the
cells.
c. Draper Tools recommends also checking the
electrolyte density (specic gravity) using a
hydrometer (not supplied) to ensure that the acid
to water ratio is sucient.
d. the cell ller caps loose or removed to allow
charging gases to escape.
3. Clean the battery terminals with a dry cloth to
optimise conduction with the terminal clamps.
Important: ALWAYS wear protective gloves when
handling battery terminals.
4. Ensure that the charger is disconnected from the
power supply.
5. Remove the plastic cap of the 12V (1) or 24V (2)
charger terminal as appropriate and place the ring
contact of the positive cable (B) onto the exposed
bolt, then screw the cap securely back into place.
Important: Ensure that the positive cable is
connected to the correct terminal for the battery.
6. Refer to the vehicle and battery manufacturer
instructions for guidance on connecting the terminal
clamps (5) (7) to the battery terminals and/or chassis.
Most vehicles require the positive clamp (7) to be
connected before the negative clamp (5); ALWAYS
follow the manufacturer instructions.
WARNING! If the terminals are connected
using the incorrect polarity, disconnect them
IMMEDIATELY to avoid damaging the
battery.