10 11
EN EN
Note: The illustrations in this manual are
indicative only. The actual product may
dier.
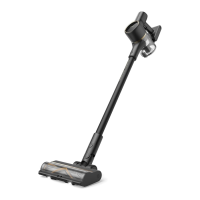
Wall Mount Installation
1.
Extension Rod
2.
Combination Tool
3.
Charger
4.
Multi-Surface Brush
5.
Wall Mount (Including screw × 2, wall
plug × 2)
Vacuum and Accessories Installation
Fig. C-1
The mount should be installed in a cool,
dry place near a power outlet. Make sure
the installation area is clear of any pipes
such as gas or water lines, and air ducts,
electric wires and cables, or drainage
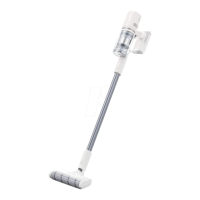
Accessories
Installation
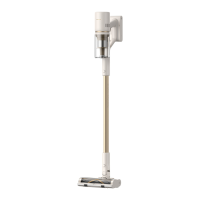
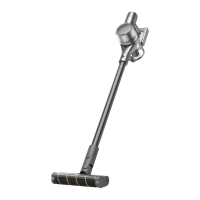
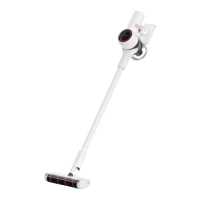
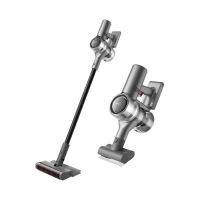
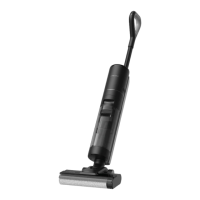
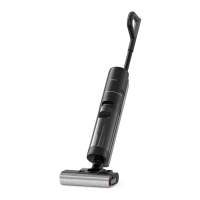
Components
Fig. A
Fig. B
1. Power Button (Press to turn on/Release
to turn o)
2. Suction Level Status Indicator
Turbo Med Eco
3. Suction Level Switch
4. Dust Cup
5. Dust Cup Release Button
6. Multi-Surface Brush
7. Antistatic Contact
8. Battery Status Indicator
9. Battery Pack Release Button
10. Charging Port
11. Extension Rod Release Button
12. Extension Rod
13. Brush Release Button
Charging
Connecting the charger to the wall
mount
Discharging
Put the vacuum cleaner on the wall
mount and plug the charger into the
charging port.
Fig. D-2
1.
Rotate the clip in the bottom of wall
mount 90 degrees counterclockwise to
remove it from the mount.
2.
Insert the power cord into the notch on
the clip.
3.
Rotate the clip 90 degrees clockwise
until it clicks into place.
Fig. D-1
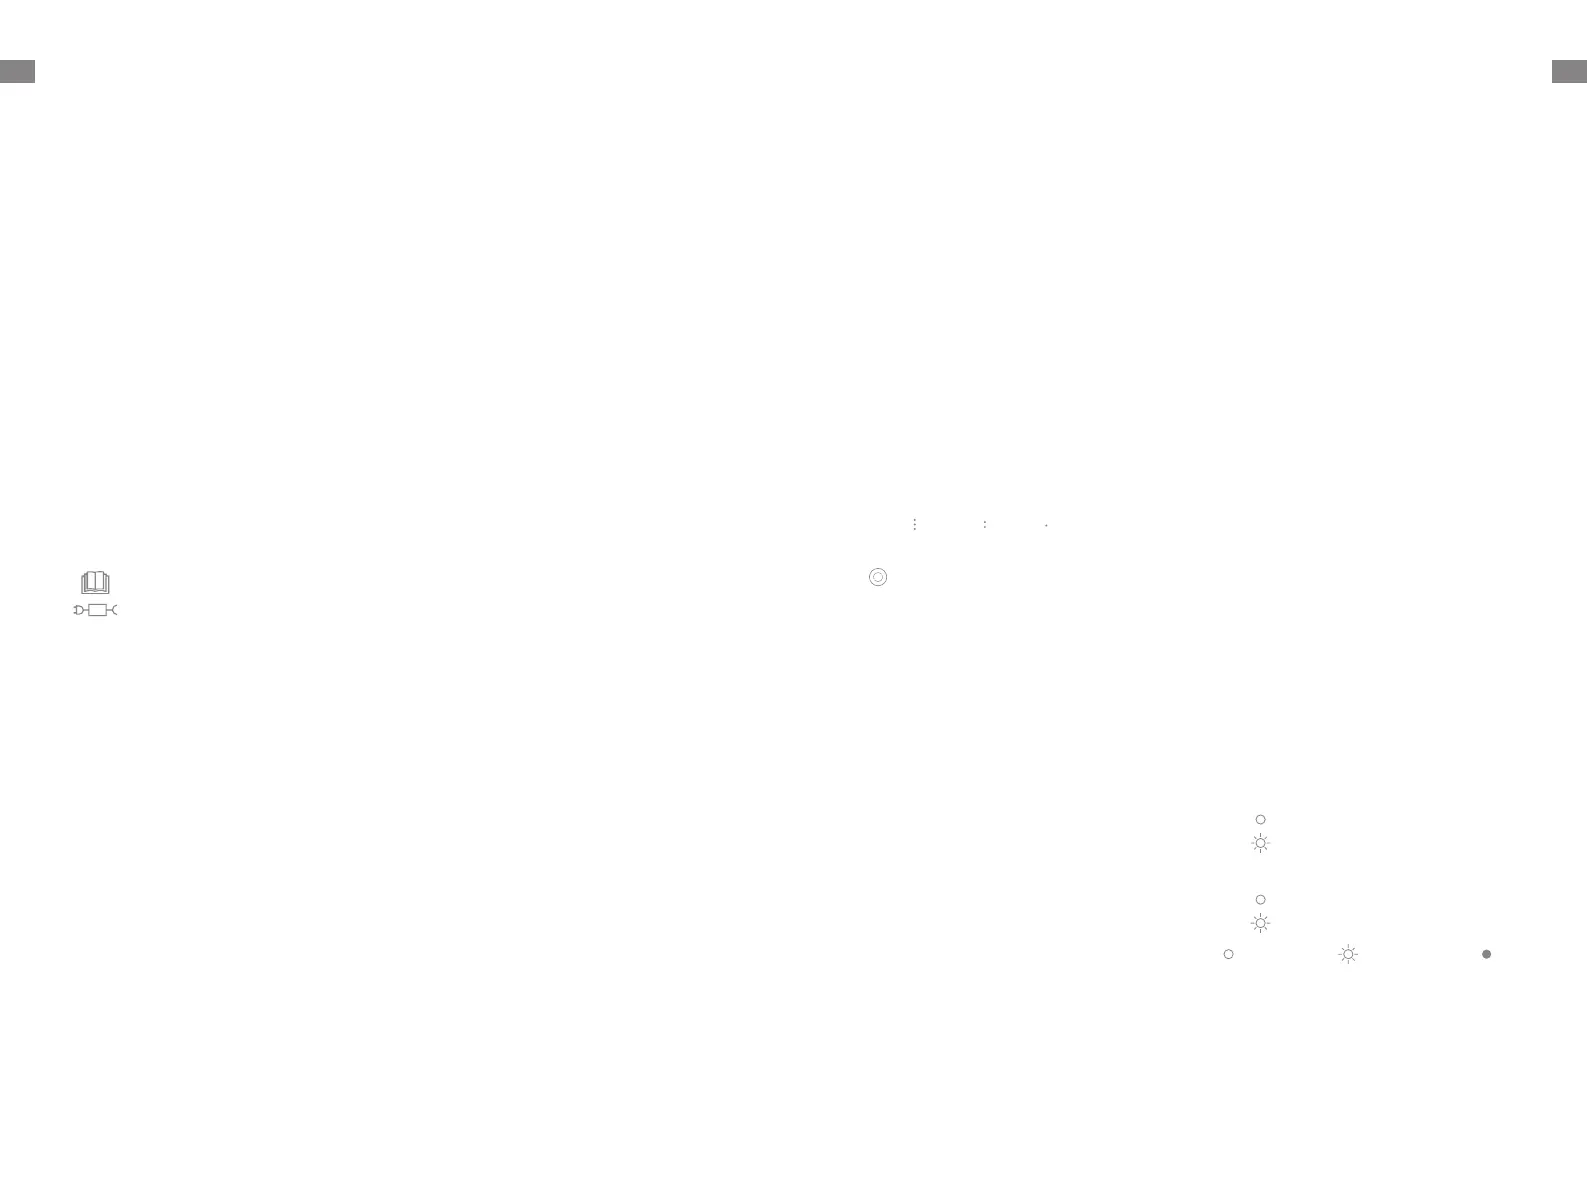
Battery Status Indicator
Fig. D-3
Operation
Note:
1.
The vacuum cannot be used while
charging.
2.
Fully charge the vacuum before using
it for the first time. This will take about
3 hours.
3.
Vacuuming at Turbo mode for a
prolonged period will cause the battery
Charging
Fully charged
Charging
Battery Level ≥ 10%
Battery Level < 10%
Solid white Blinking white o
Fig. C-2
lines.
1.
Before installation, measure the wall
in the height of 102 cm (40.2 inches)
above the ground.
2.
Mark and drill two 8 mm (0.315 inch)
diameter holes into the wall with an
electric drill.Insert the wall plugs into
the holes.
3.
Align the position holes on the mount
with the holes on the wall. Fasten it to
the wall with the included screws.
 Loading...