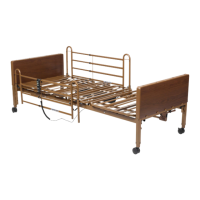
6
Step 1
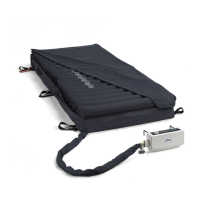
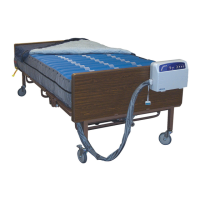
Place the mattress at on the bed frame. The ination tube should be towards the foot end so that it
can be connected to the ination nozzles on the control unit.
Step 2
You may place a thin cotton sheet over the quilted mattress top cover.
Step 3
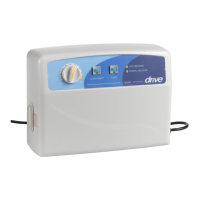
Hang the control unit over the frame or board at the foot end of the bed using the hooks attached to
the control unit. Make sure the control unit is secured.
Step 4
Connect the ination tubes from the mattress to the control unit’s inating nozzles. Make sure they
are properly attached.
NOTE!
Make sure the air hoses are not kinked or tucked under the mattress. Also check to ensure the
CPR valves are properly attached.
NOTE!
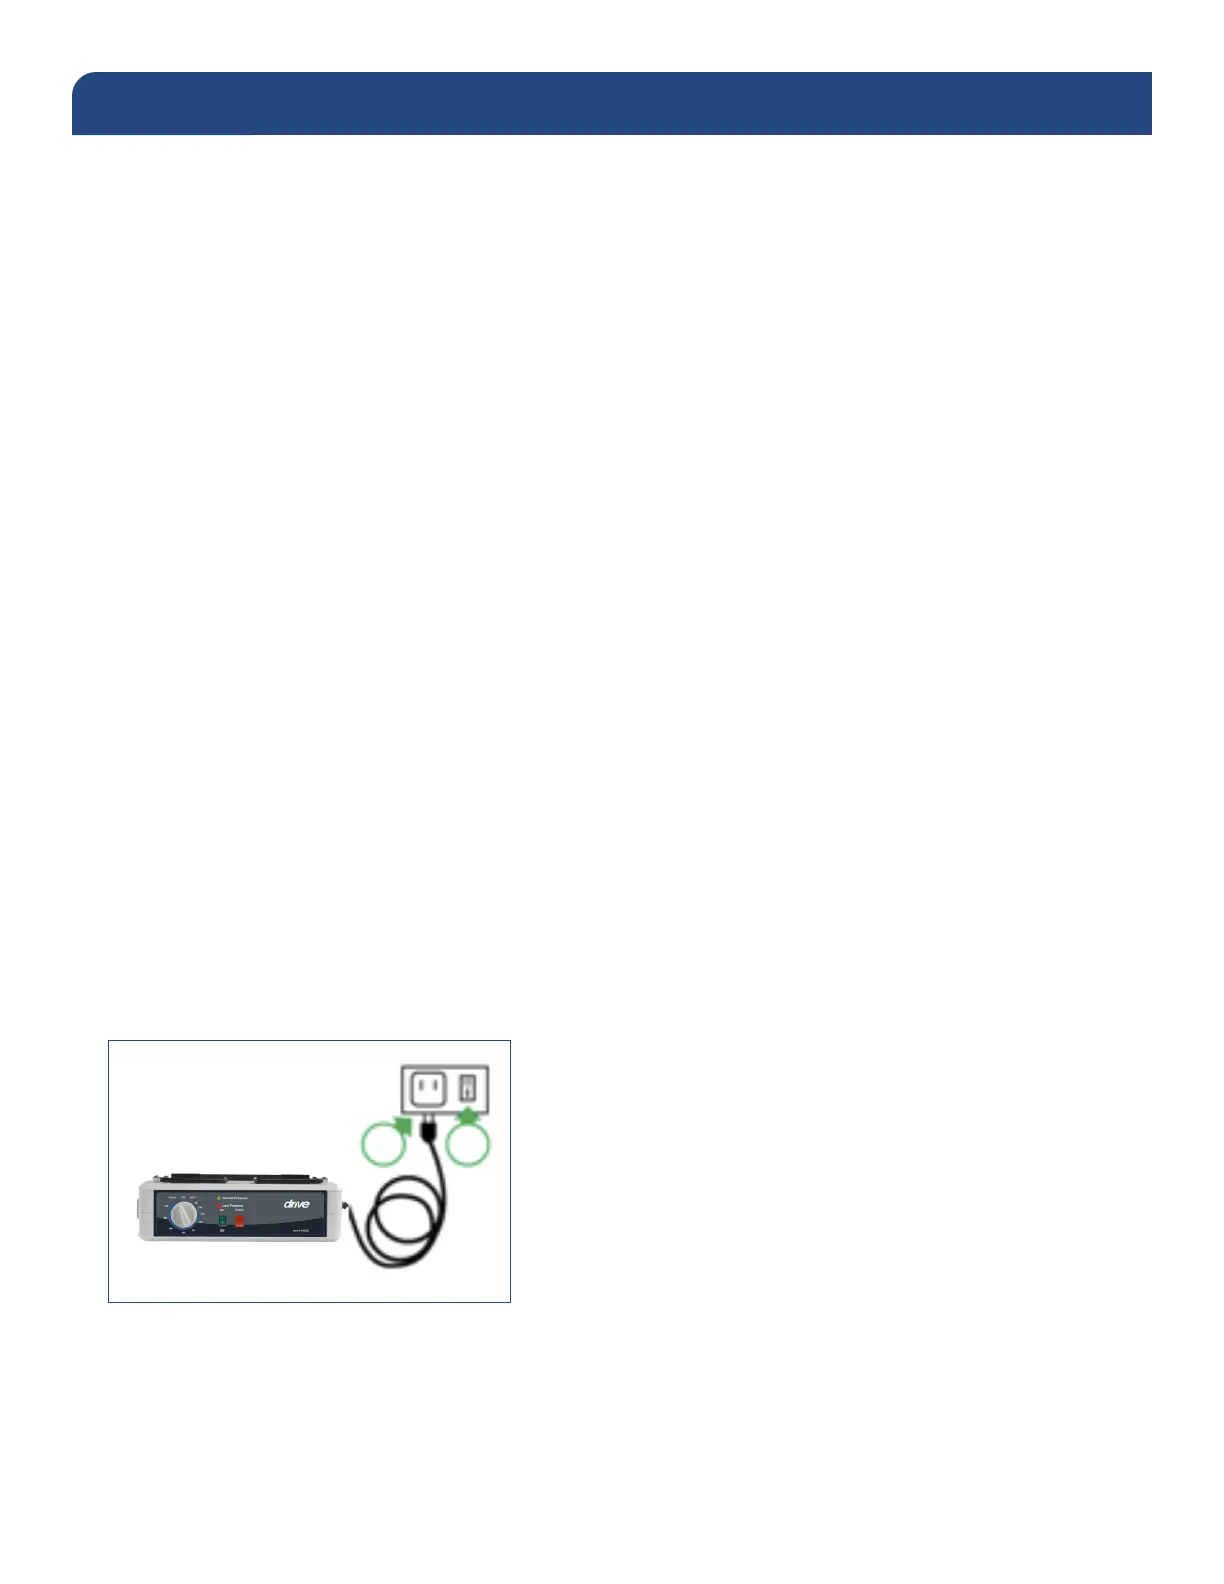
Before inserting the plug into the outlet, make sure the voltage is compatible.
Step 5
Switch the power switch on the side of the control unit on. The mattress replacement system may
take up to 40 minutes for full ination. For rapid ination an external pump may be used such as
Drive’s electric quick ll pump, item #: 14427QF.
Proceed to the Operating Instructions section on page 7.
INSTALLATION INSTRUCTIONS