4
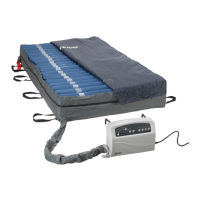
OPERATING INSTRUCTIONS
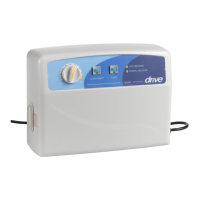
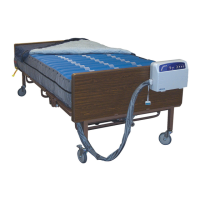
1. Place control unit on horizontal surface or hang it by means of the hook.
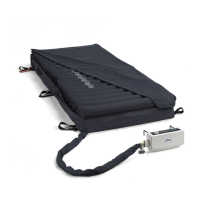
2. Open mattress on the bed. Secure it with end aps or straps. Air tubes must be at foot end of bed.
3. Connect air feed tubes to air outlet on the mattress and control unit, ensuring that the tubes are
not kinked or twisted. Allow space for bed rails to drop freely.
4. Turn on the control unit’s power. The indicator of the power switch will come on. The control unit
starts to pump air into the mattress.
5. The Low Pressure indicator (yellow or red) will come on as ination begins.
6. The audible alarm won’t alarm within 40 minutes and will be activated if the pressure is still low
inside the mattress. In case of low pressure, press the Alarm Reset button to mute the audible alarm,
and its indicator will ash.
7. For rst ination, we recommend that you press Static button to quickly inate.
8. When the pressure reaches the preset level within approximately 30 minutes, the Normal Pressure
indicator will come on, and the Low Pressure indicator will turn off.
9. Turn the Pressure Adjust Knob to set a comfortable pressure level using the weight scale as a
guide.
10. Press the Static button to set it in static mode, and the Static indicator will come on. The static
mode will be started within approximately 6 minutes. Press the Static button again to switch back to
alternating mode.
NOTE!
In static mode, the mattress provides a rm surface that makes it easier for the patient to
transfer or reposition. The static mode prevents the patient from bottoming out when in a
sitting position.