Drobo Mini Getting Started Guide 17
4.
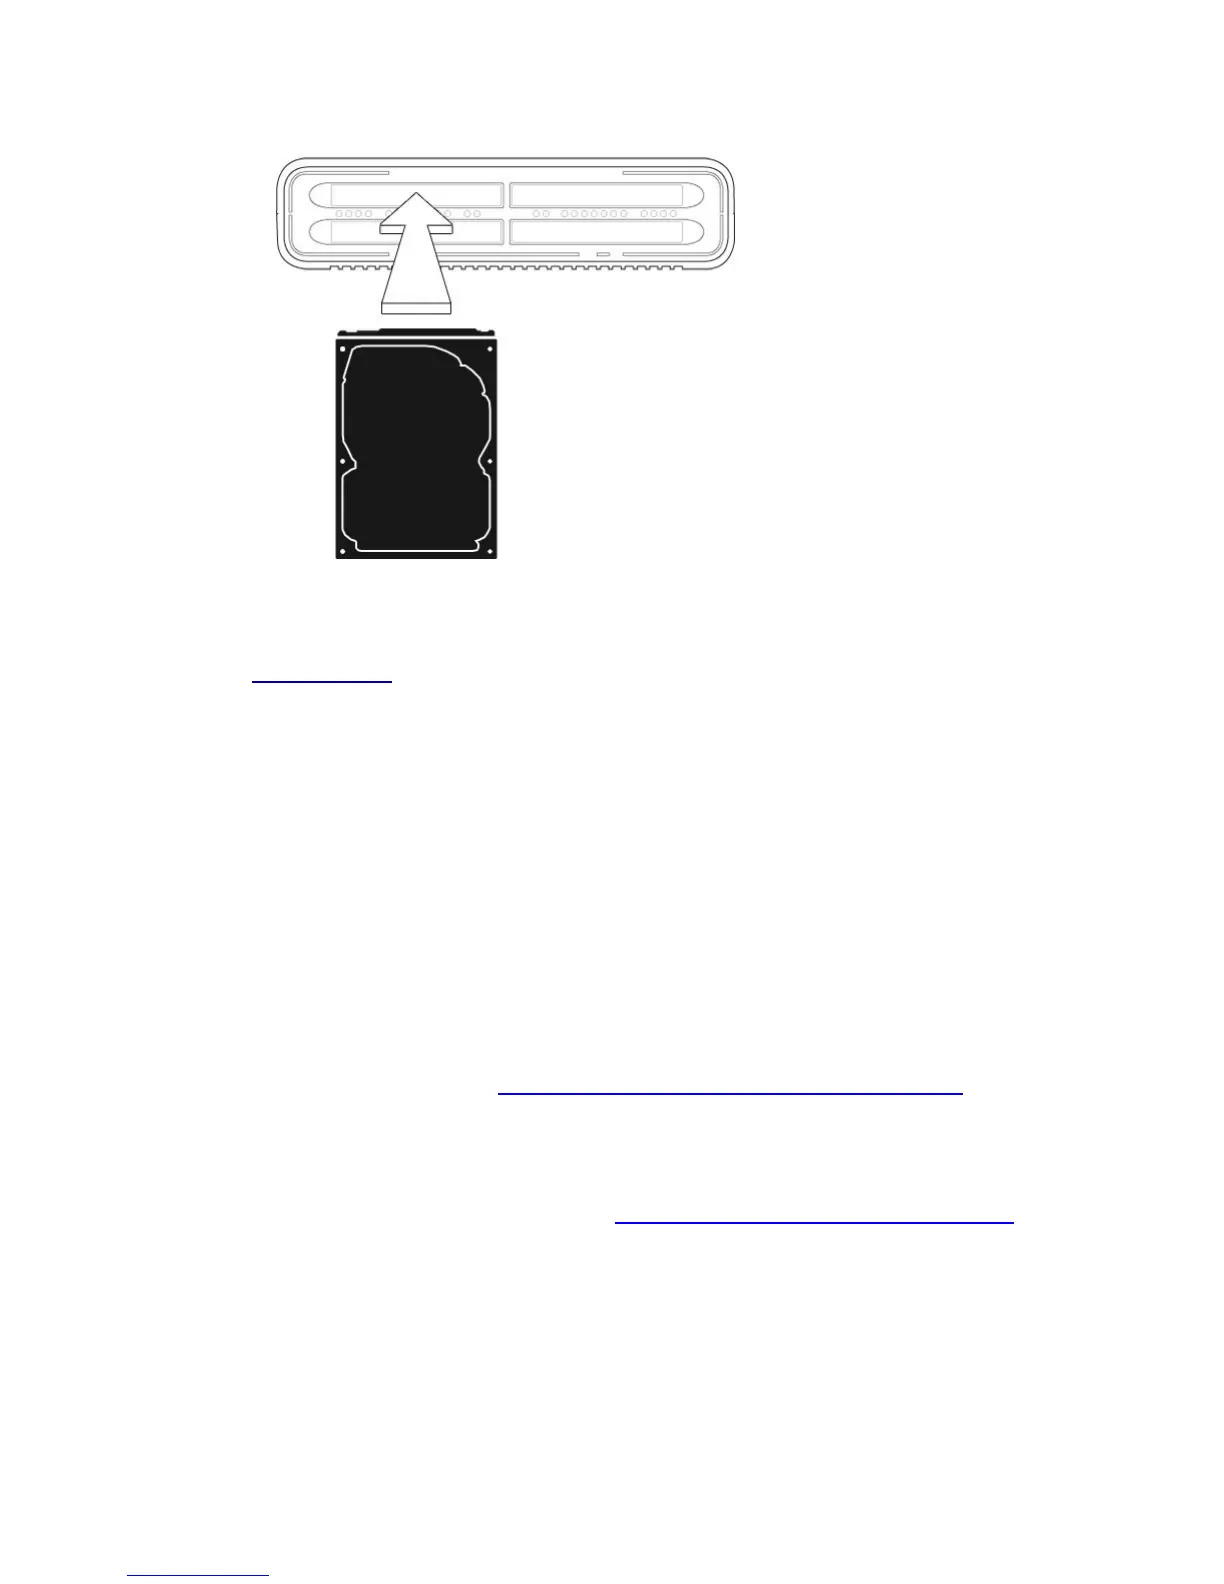
Slide the drive into a selected drive bay and push it into place until you feel it connect. It
should feel like clicking a ballpoint pen.
Note: If you are inserting an SSD (Solid State Drive), ensure that it is on Drobo, Inc.'s
compatibility list.
5.
Insert additional drives in the same manner, following steps 3 and 4.
6.
When finished, replace the bezel.
Warning! You must replace the front bezel to ensure the Drobo Mini's cooling system
functions properly.
You are now ready to connect cables and power on your Drobo device.
Connecting Cables on Your Drobo Mini
After installing Drobo Dashboard and inserting the drives into your Drobo Mini, you are ready to
connect the power and data cables on your Drobo device. There are two ways you can connect
the data cables:
•
You can connect the Drobo Mini directly to your computer using the Thunderbolt port or
the USB 3.0 port. For information on the different connectivity interfaces available and
their requirements, see
Connectivity Interfaces Supported for the Drobo Mini.
•
If you use the Thunderbolt port, you also have the option to connect the Drobo Mini to
another Thunderbolt-enabled device that is attached to your computer (including another
Drobo device or a display monitor) in a daisy-chain manner. The Drobo Mini can be the
first in the daisy-chain (directly attached to your computer), in the middle, or at the end.
For more information and steps, see
Connecting Your Drobo Mini in a Daisy-chain.