Tableof Contents
1.0QuickReference 4
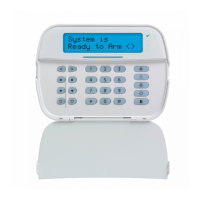
2.0UnderstandingYourKeypad 6
2.1 Icon and LED Keypad Symbols 6
2.2 Keypad Models 7
3.0SecuringthePremises 8
3.1 Arming the System 8
3.1.1 Arming the System (Infinite Exit Delay) 8
3.1.2 Away Arming the System with the Keypad 8
3.2 Stay Arming the System with the Keypad 9
3.2.1 Silent Exit Delay 9
3.3 Night Arming the System with the Keypad 9
3.4 No-Entry Arming 10
3.5 Leaving when the System is Already Armed - Quick Exit 10
3.6 Arming the System with a 2-Way Wireless Key 11
3.7 Bypassing Zones 11
3.7.1 Additional Bypass Features 11
3.8 Bypass Groups 13
3.9 Arming Errors and Exit Faults 13
3.9.1 Arming Errors 13
3.9.2 Audible Exit Faults 14
3.9.3 To Correct an Exit Fault 14
3.10 Disarming the System 14
3.10.1 Disarming Error 14
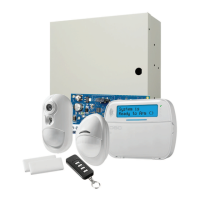
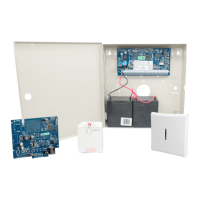
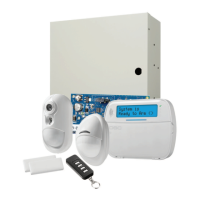
4.0ThePowerSeriesNeoSecuritySystem 15
4.1 General System Operation 15
4.2 Carbon Monoxide Detection 15
4.3 Fire Detection 15
4.4 Testing Your System 15
4.5 Monitoring 15
4.6 Maintenance 16
5.0EmergencyKeys 17
5.1 Alarms 17
5.1.1 Fire Alarm 17
5.1.2 Carbon Monoxide Alarm - 4 beeps, long pause, 4 beeps 17
5.1.3 Intrusion (Burglary) Alarm - Continuous Siren 17
5.1.4 Alarm Cancel Window 17
5.1.5 Viewing Alarms in Memory 18
5.1.5.1 Alarm Messages 18
5.2 Resetting Smoke Detectors 18
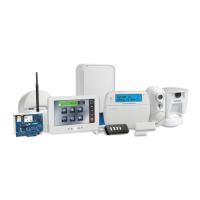
6.0WirelessKeysandotherDevices 19
6.1 Using 2-way Wireless Keys 19
6.1.1 PG4929/PG8929/PG9929 19
6.1.2 PG4939/PG8939/PG9939 19
6.2 Using Proximity Tags 19
6.3 SMS Command and Control 19
6.3.1 Using the Keypad to Lookup the Number to Call for SMS Commands 19
6.3.2 Sending SMS Commands to your System 20
6.3.3 SMS Commands 20
6.3.4 SMS Responses from your System 21
7.0ManagingUsers 22
7.1 Access Code Types 22
7.1.1 Adding, Changing and Deleting Access Codes 23
7.1.2 Enrolling and Deleting Proximity Tags 23
7.1.3 Naming a User 24
7.1.4 Assigning a Partition to a User code 24
7.2 Configuring additional User Options 24
8.0UserFunctions 26
8.1 Event Buffer 26
8.2 Setting the Time and Date 26
8.3 Enabling/Disabling the Auto Arm/Disarm Feature 26
8.4 Setting the Auto Arm Time 26
8.5 Allowing the Installer to Service your System Remotely - DLS 27
8.6 User Callup 27
8.7 Late to Open 27
8.8 Changing the Brightness of the LCD keypad 28
8.9 Changing the Contrast of the LCD keypad 28
8.10 Setting the Buzzer volume 28
8.11 Setting the Voice Prompt volume 28
8.12 Setting the Voice Chime volume 28
8.13 Resetting the System 29
- 2 -